TL;DR: I made a villainous dice tower for a friend’s bday, combining two of his favorite things—Star Wars and board gaming.
October was a pretty busy month for me with work and fantasy football both ramping up. However, I’m very happy I was able to get some design and project time in. My friend Nick’s birthday was earlier this week, and I wanted to make him something practical yet personalized. Anybody who knows him at all knows how much he loves both board games and Star Wars, so to me, printing a Darth Vader dice tower was simply a no brainer.
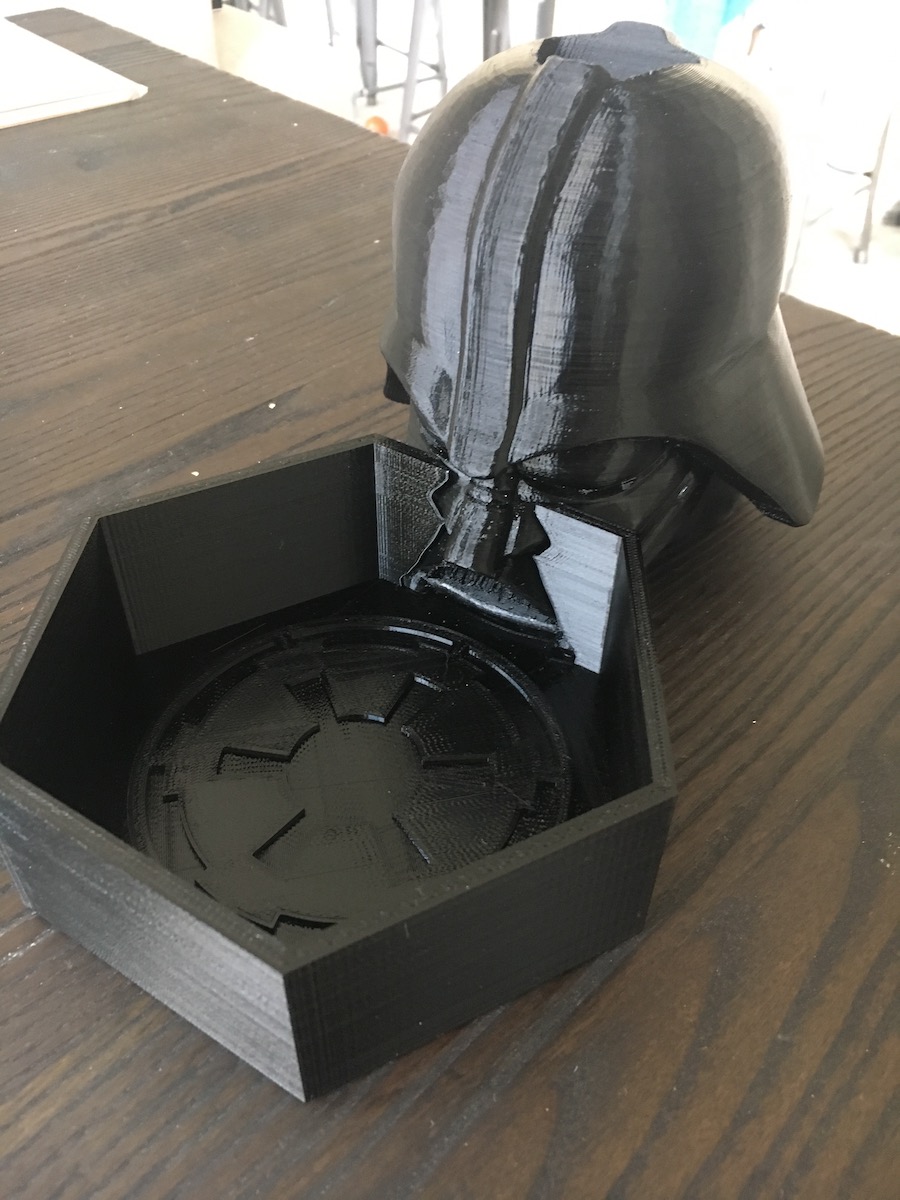
For those of you who may not know, a dice tower is a very simple device to ensure fair rolls while keeping dice from flying all over the place and messing up stuff on the table. Dice towers can take on a wide variety of shapes and sizes. All that is really needed is some sort of aperture at the top to put dice in, a path which randomizes spins, and a tray to collect them at the end.
Before I started designing, I did a quick search on thingiverse and other 3d print sharing sites to make sure I wasn’t completely reinventing the wheel. I found a few Vader dice towers, but to be honest, I didn’t think they were very good in terms of amount of detail and general aesthetics. I was fortunate to find a great model of Darth Vader to begin with: https://www.myminifactory.com/object/3d-print-star-wars-darth-vader-30-cm-tall-60500.
Essentially my plan was as follows:
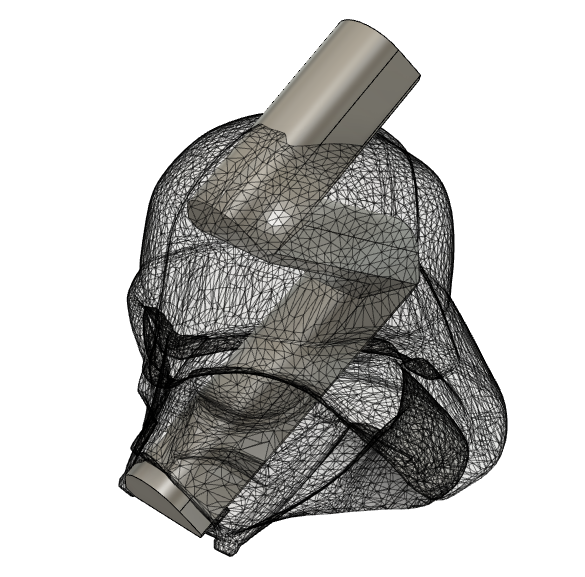
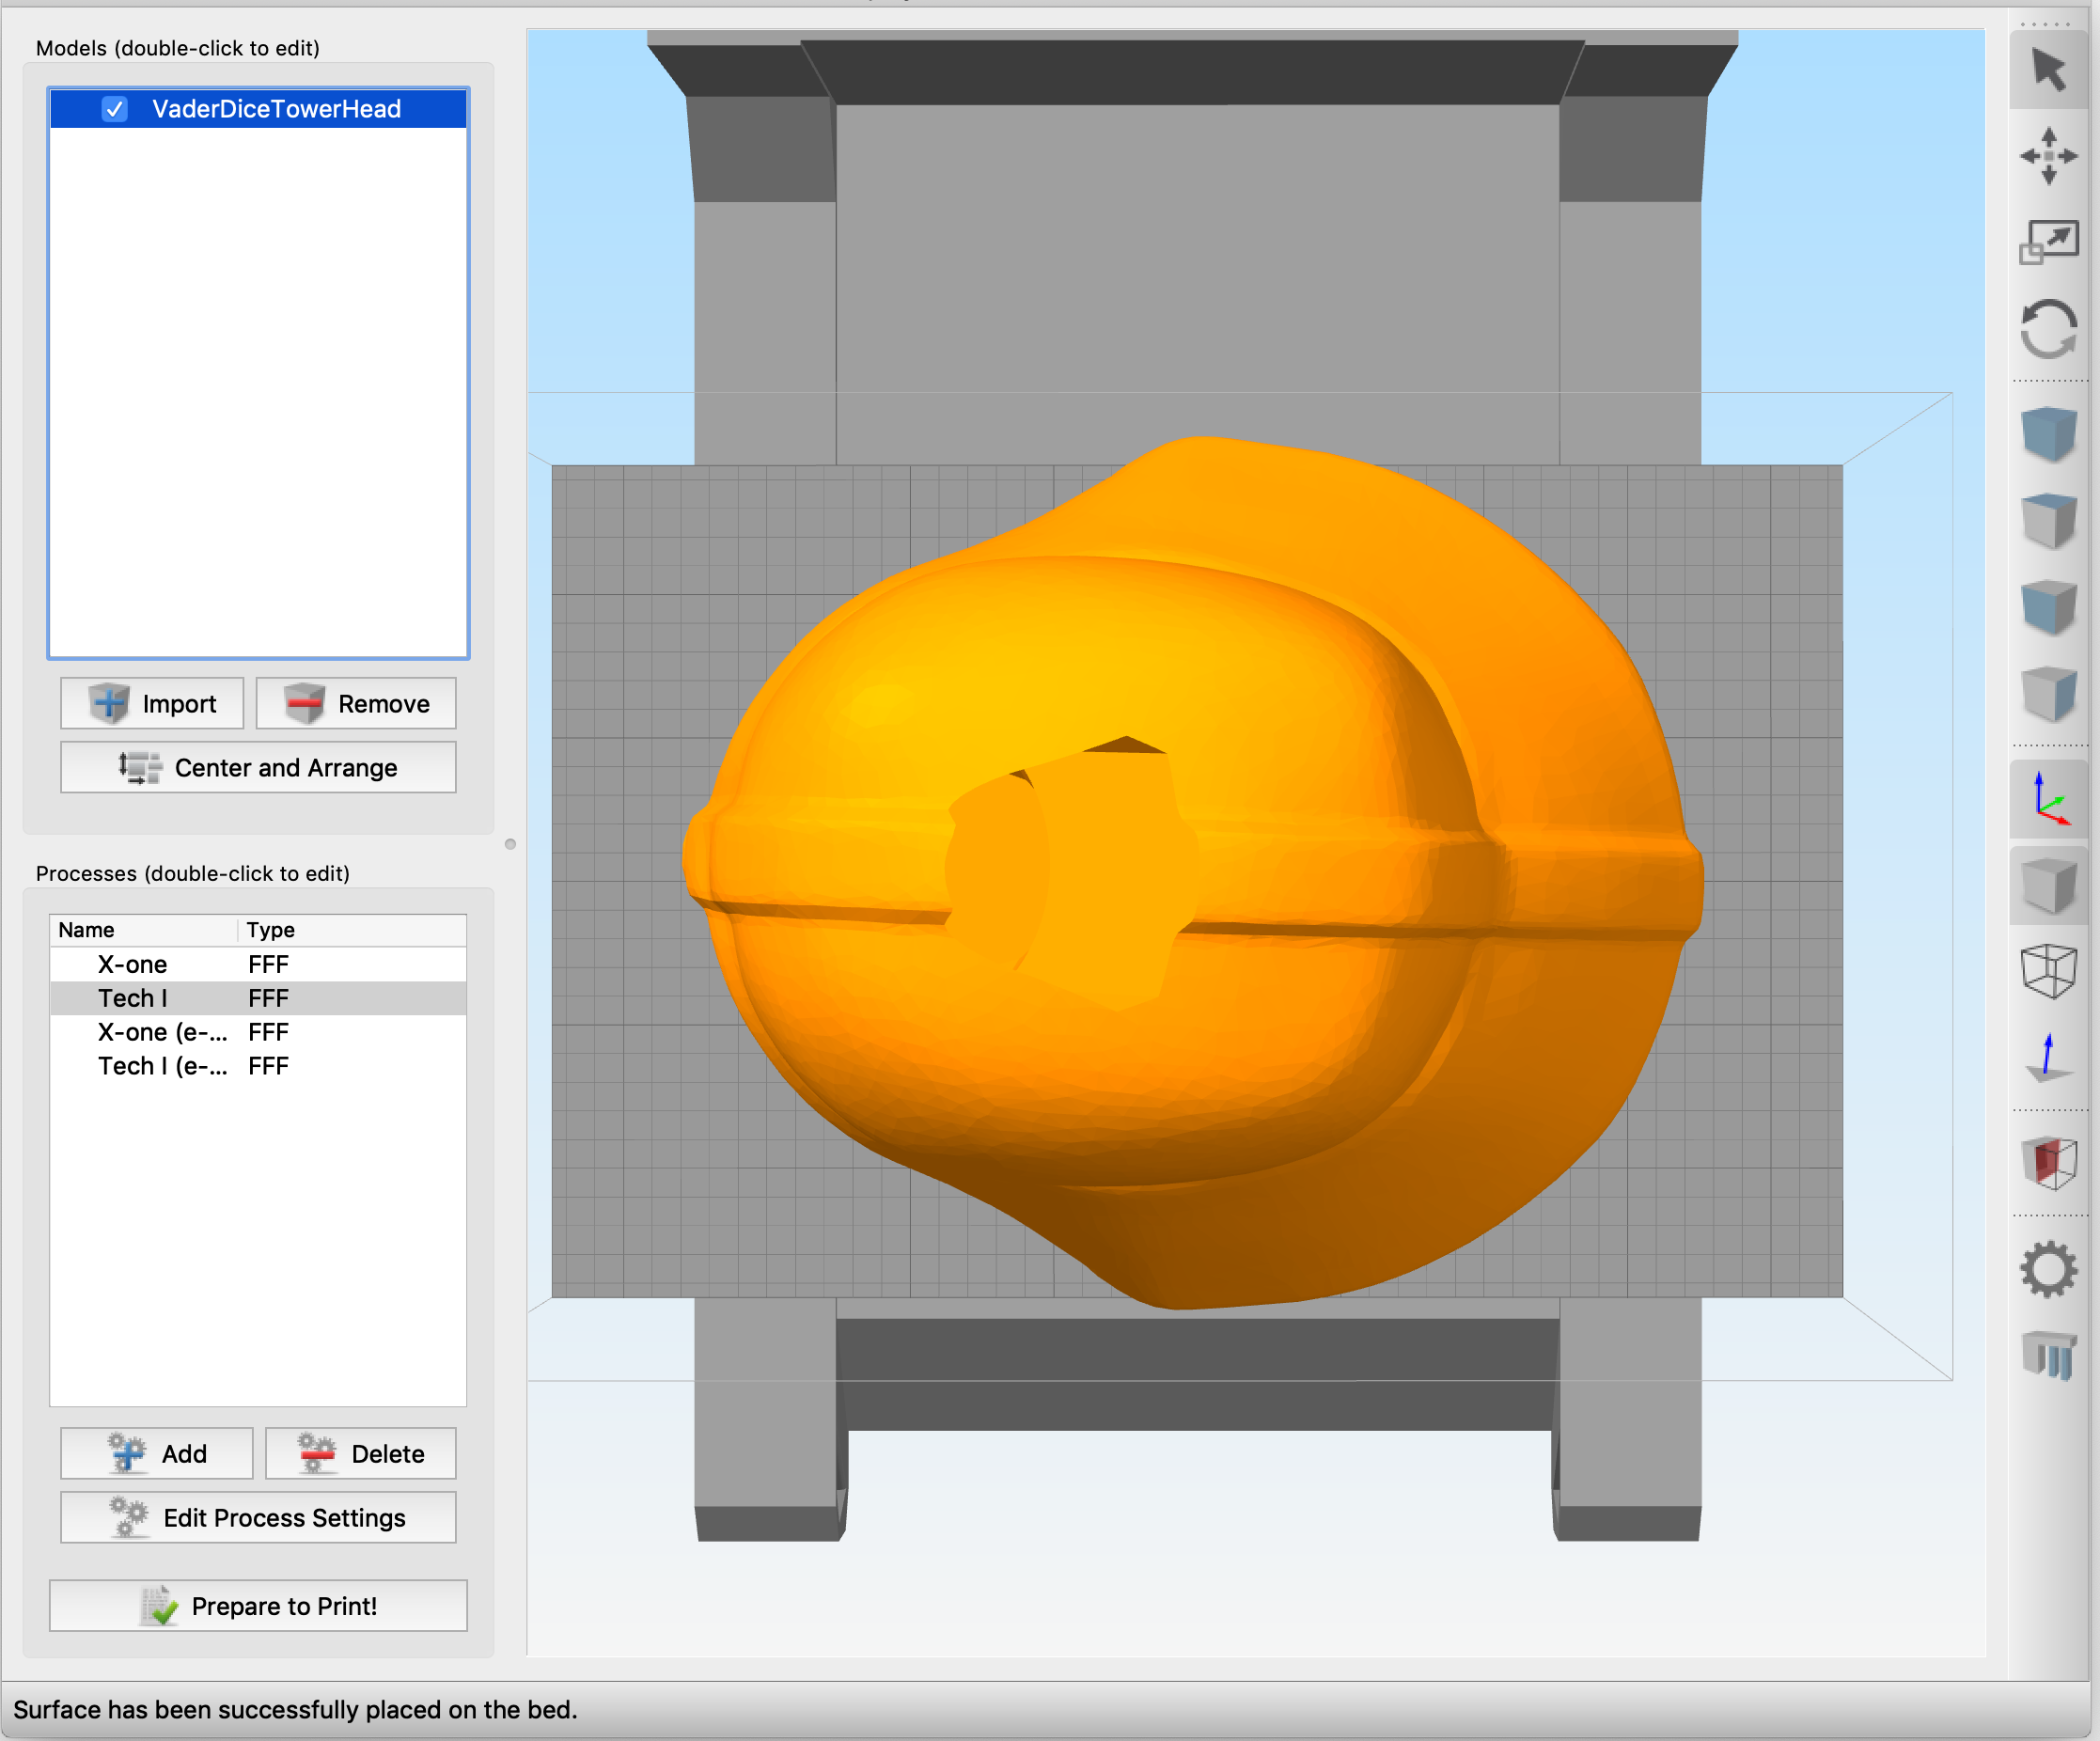
- Reorient and resize the head to maximize the print area on my bed.
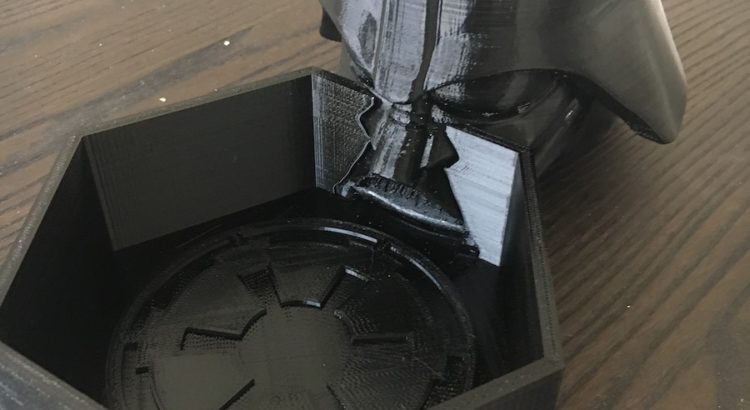
- Create the dice travel path leading from the top of the head out of the mouth.
- Subtract the path model from the head model.
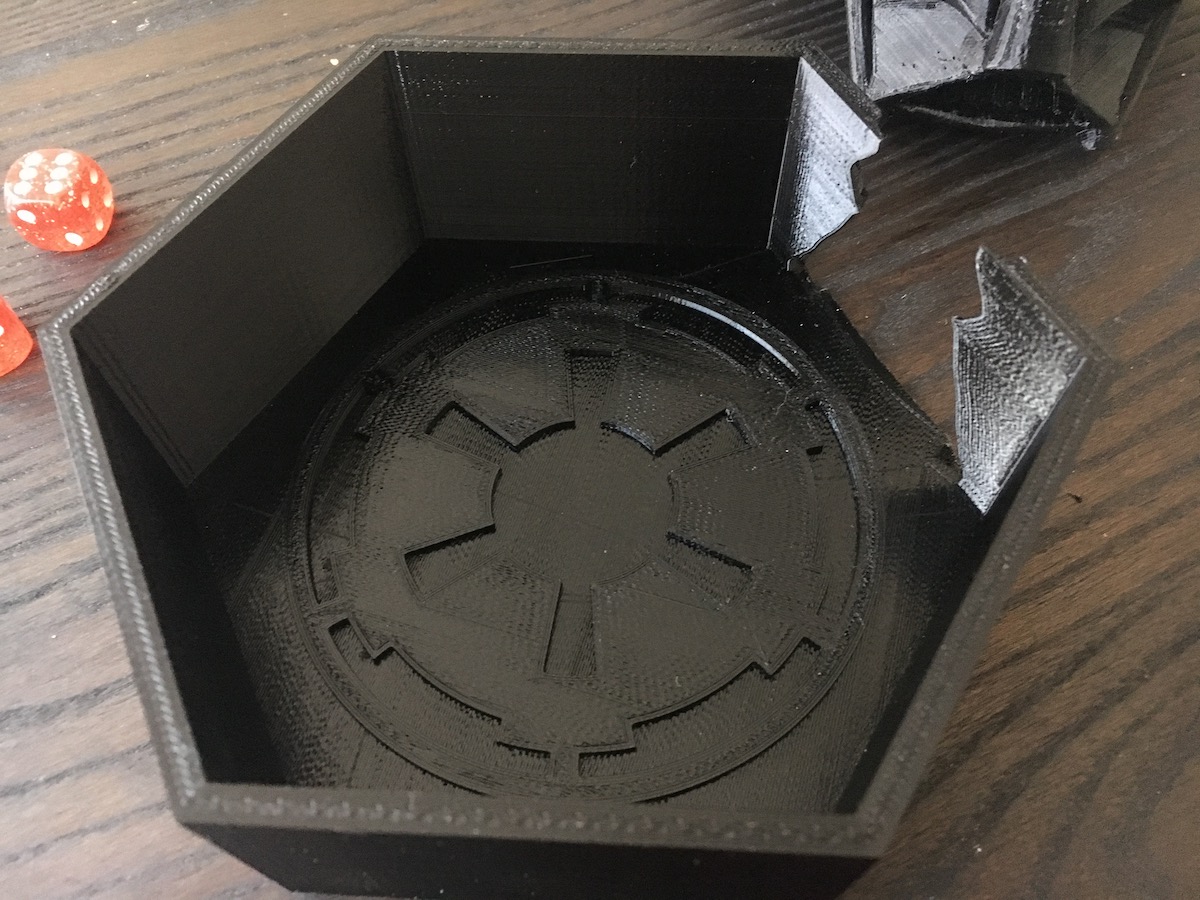
- Create a tray to catch the dice
- Print the parts
- Ship it
Parts 1-4 went incredibly smoothly all within Fusion 360. I successfully printed a ¼ size test part to ensure the path I created could be printed without any internal support structures to minimize post processing work. Unfortunately, I then ran into printer issues I had never previously encountered…
My Monoprice Maker Select Plus (aka Wanhao Duplicator III Plus clone) has been a workhorse without any major issues for years now. Of course, she decided to act up when I was up against a deadline since birth dates are immutable. My printer would randomly stop working and send bed temperature errors before rebooting. I pinpointed the problem to the thermistor on my print bed, but I didn’t have time to mess around. Luckily for me, my neighbor across the street literally has a print farm in his bedroom (15 machines and counting) so I was still able to get the parts made on time. The only unfortunate thing is that his machines are smaller than mine—so he had to scale the size down by 5% to get them to fit. (I found out later that the fix I needed on my printer was incredibly basic: the kapton tape holding the thermistor to the bed loosened over time, thus the printer received intermittent temperature readings.)
Luckily, the 5% reduction in size did not severely diminish the part’s functionality:
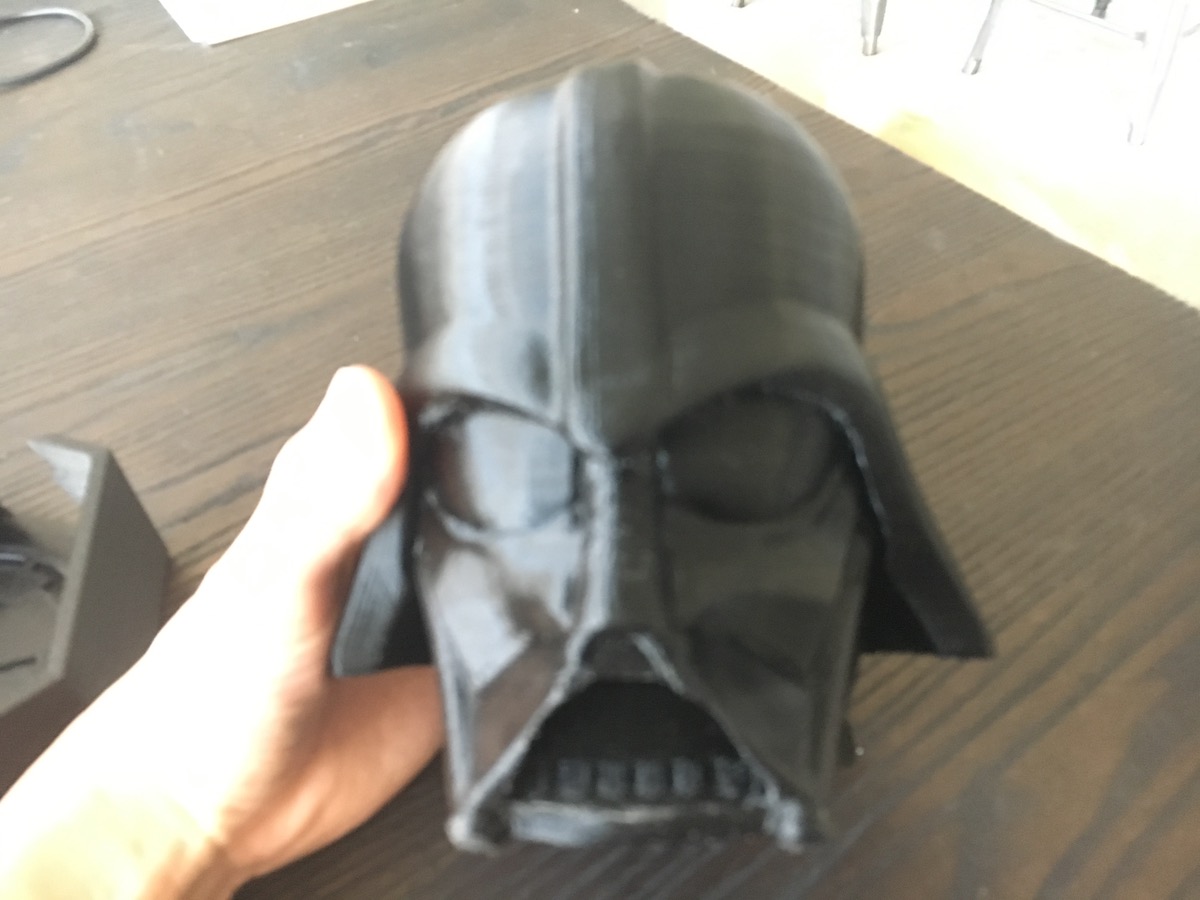
I’m incredibly happy with the results of this project. I enjoyed the challenge of modifying an existing mesh to create a new, meaningful, and practical object. Even though UPS spoiled the surprise by giving Nick a notification about the arrival of a package sent from my area, and the package arrived late, I’m pretty sure he was very pleased upon arrival.
Thanks for making it to the end of this post—here’s an incredibly sparse build gallery: