9/25/2014
Back when I first got the itch to sculpt again, I picked up both a polymer-based oven-fired clay (Sculpey) and a water-based self-hardening clay (Boneware). Neither of these materials requires the use of a kiln for finishing. Although I was incredibly impressed with Sculpey when I used it to make my mini Groot figurine, I wanted to try working with the Boneware clay today.
Today I decided to complete a project inspired by Guardians of the Galaxy again. The Boneware felt a lot more like real clay than the Sculpey did. I hadn’t realized how artificial the Sculpey felt until after working with a more natural material. Don’t get me wrong—the polymer-based stuff was fantastic—it felt incredibly smooth and was super easy to work with, but it was definitely different tactilely.
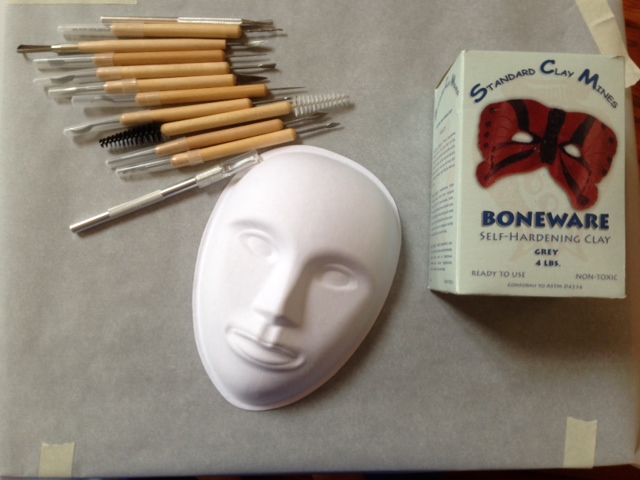
In the photo below are all the materials I used for this project. I bought a set of cheap sculpting tools to use this time, along with a paper mask to use as a base. The four-pound block of clay was about only $8, which is a great value.
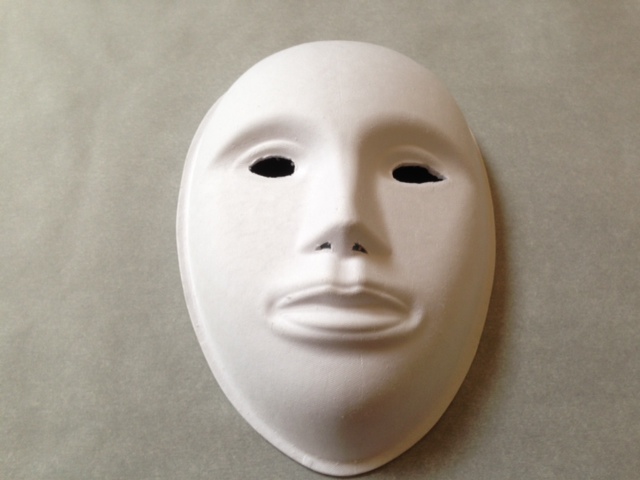
Before I touched the clay, I cut eye and nose holes into the paper mask. I found the paper to be surprisingly thick, perfect for use as a support material.
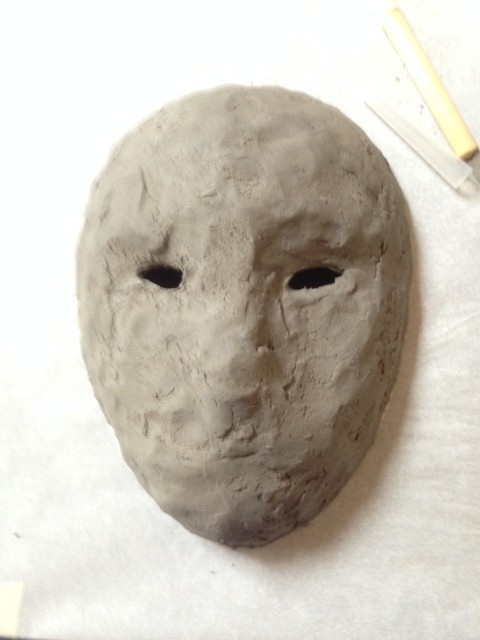
My first impression of the material was very positive. I was worried that I may need to use a side bowl with water and sponge to keep the clay moist and workable. Luckily, this worry was for naught and I was able to avoid the mess needing extra water would have brought. I began by covering the base with clay.
Next, I added forehead, brow and cheek elements. At this point, I realized it may be difficult to keep breathing holes in the mask while hiding them well due to the fact that Groot doesn’t really have a visible nose.
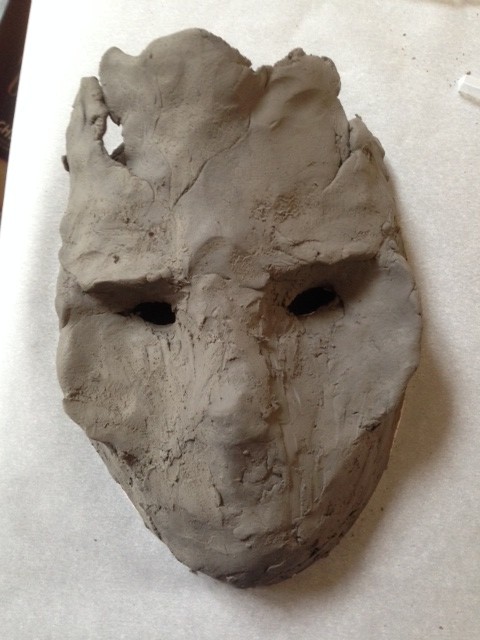
Separate from the main mask, I cut and shaped a combined “nose and mouth” piece. I found it easier for me to keep the shape by attaching this piece to the main body after forming. In the photo below is the mask with the nose/mouth and some forehead appendages added.
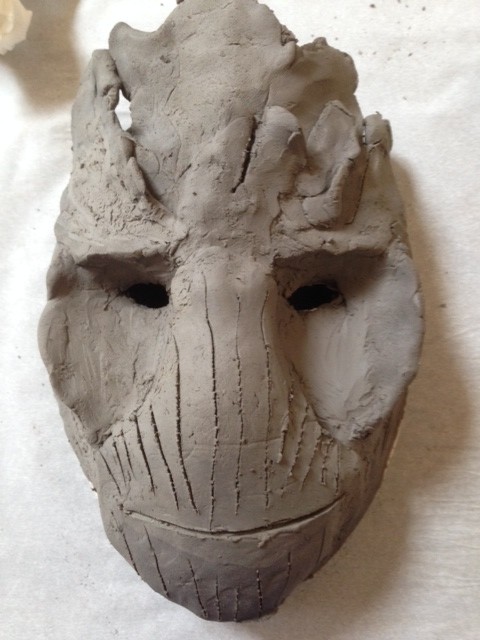
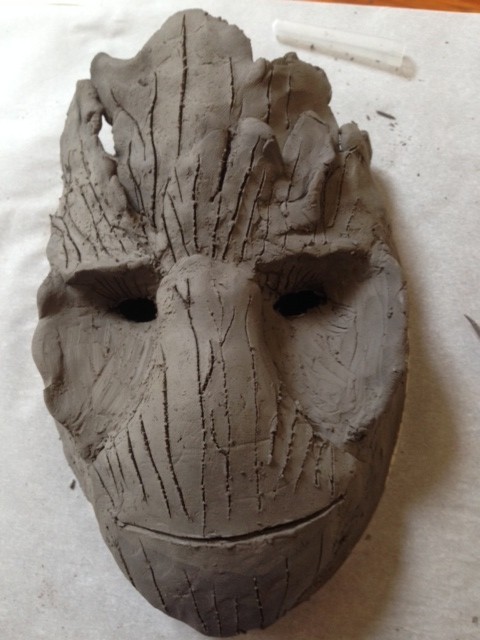
With all the parts attached, I added more details to the face and forehead.
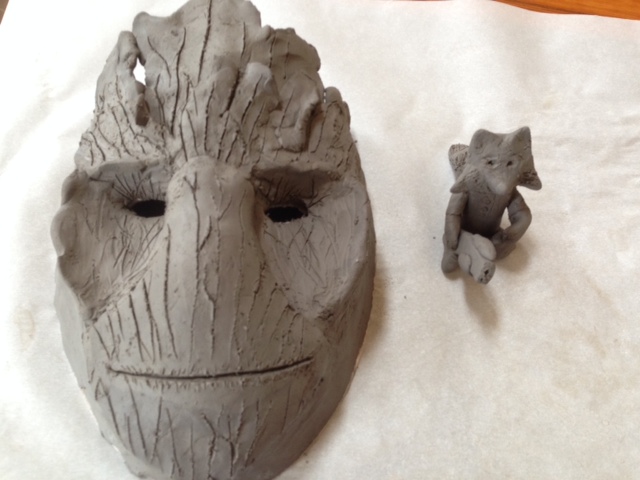
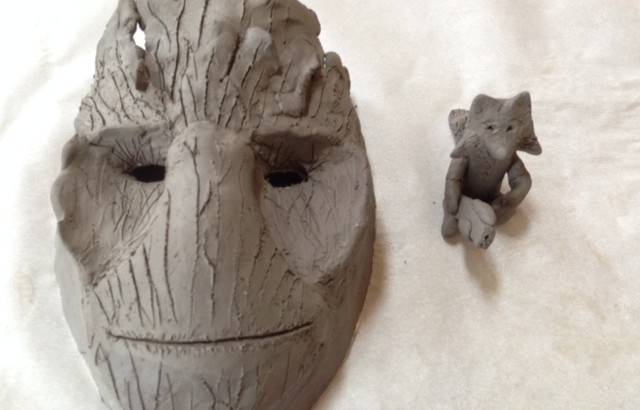
I had a chunk of material left over, so I decided to make Groot’s best friend :). No Rocket Raccoon rendition is complete without a large gun.
Together here are the two pieces I made today. All that is left now is waiting for them to dry before painting. The box doesn’t really have directions for estimating how long to wait, other than “up to a week for larger pieces”. Oh well. I’ll update later if/when I decide to buy paints to finish these guys—my only concern is how messy paints can be.