Lithophane Lamp Shade

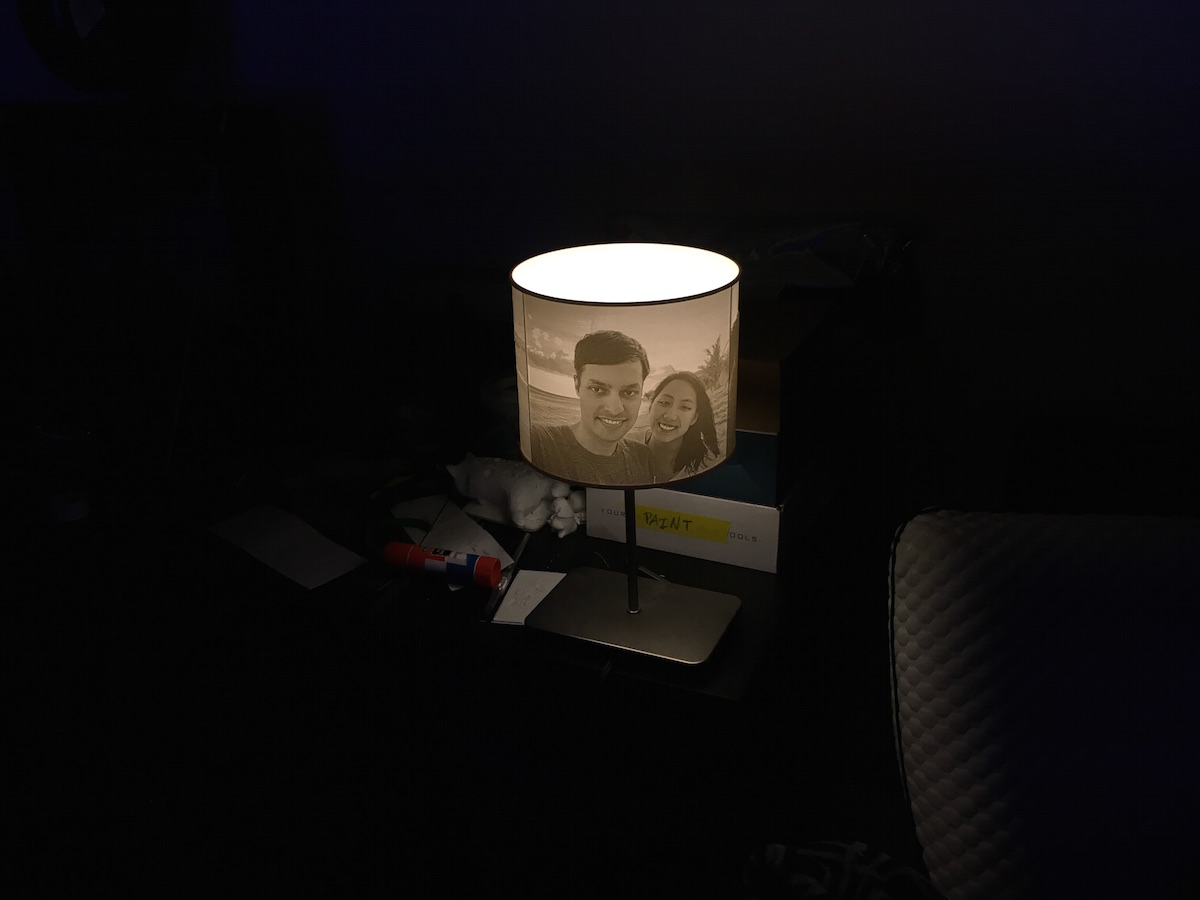
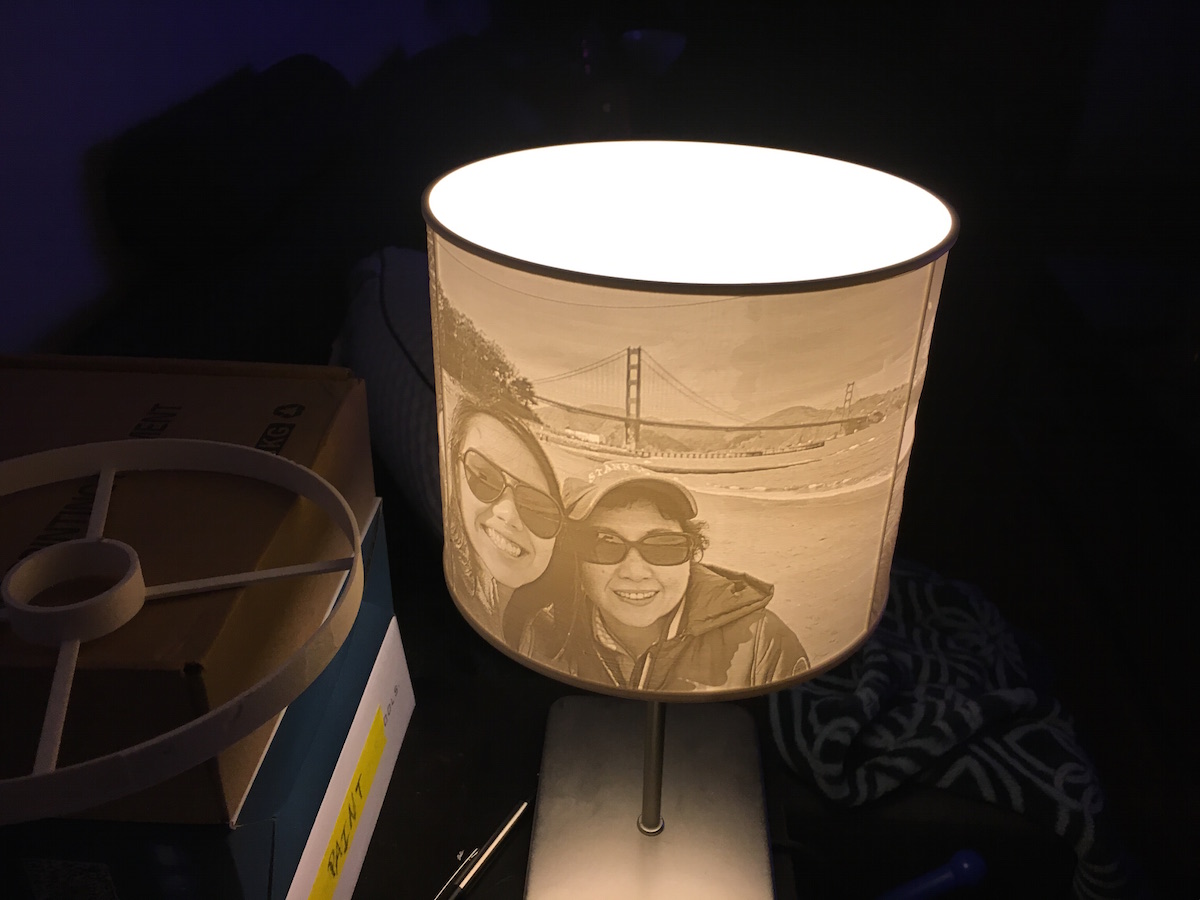
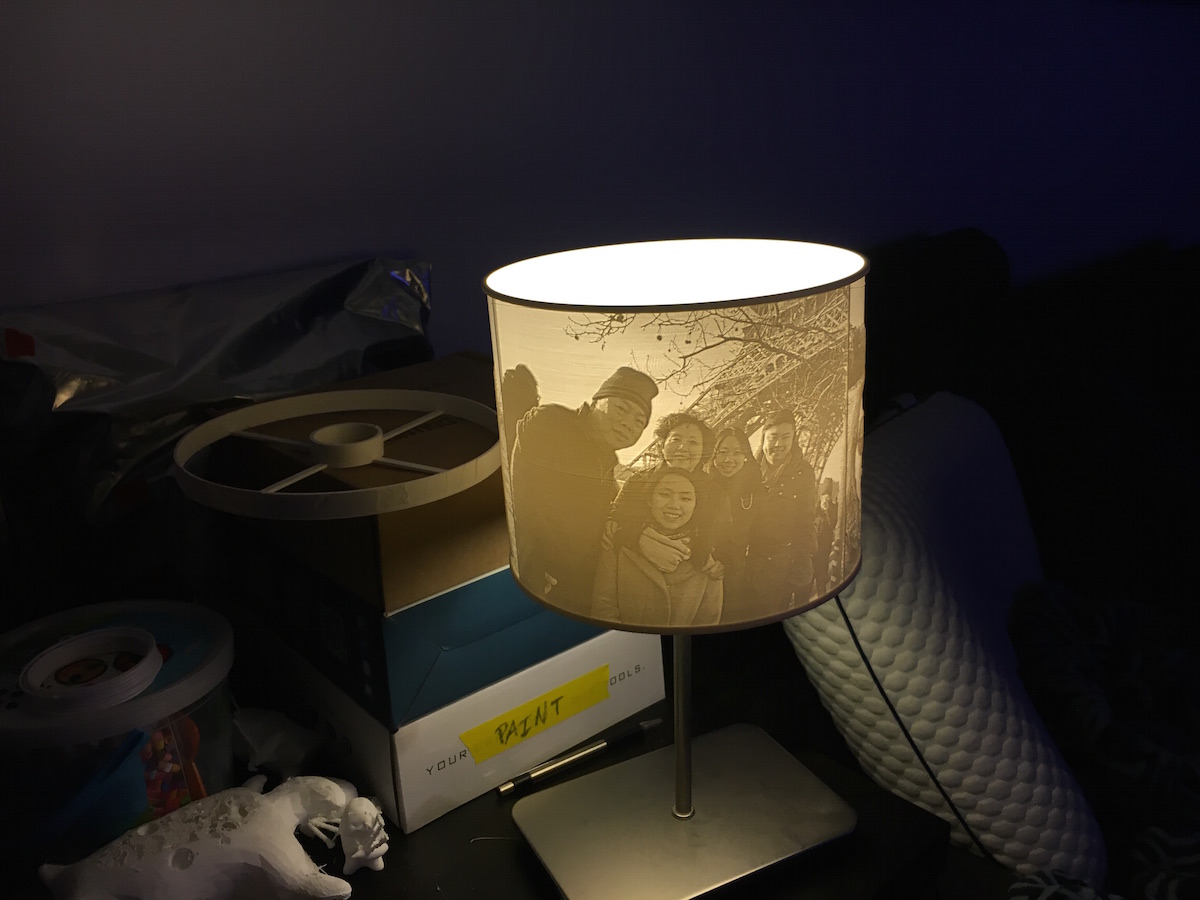
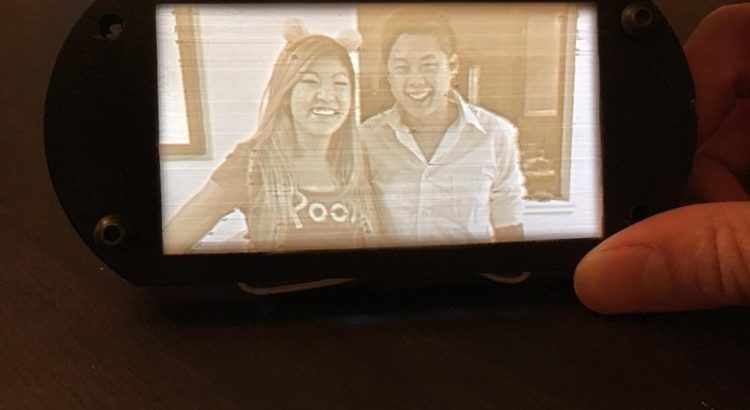
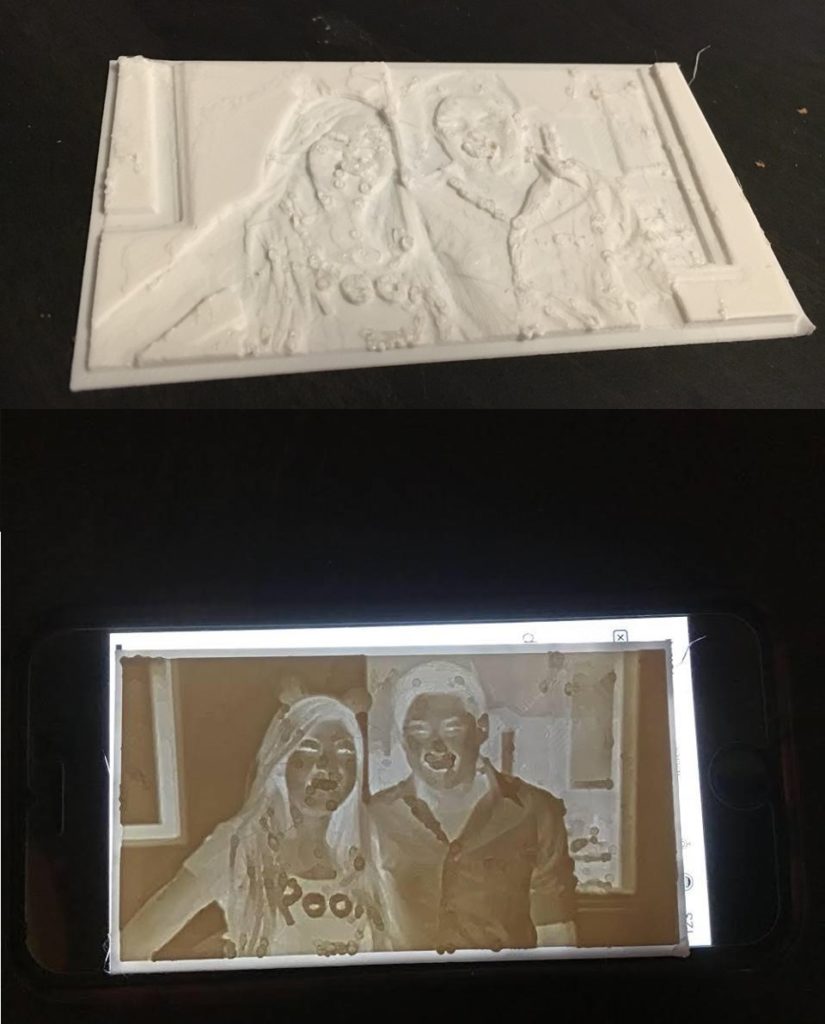
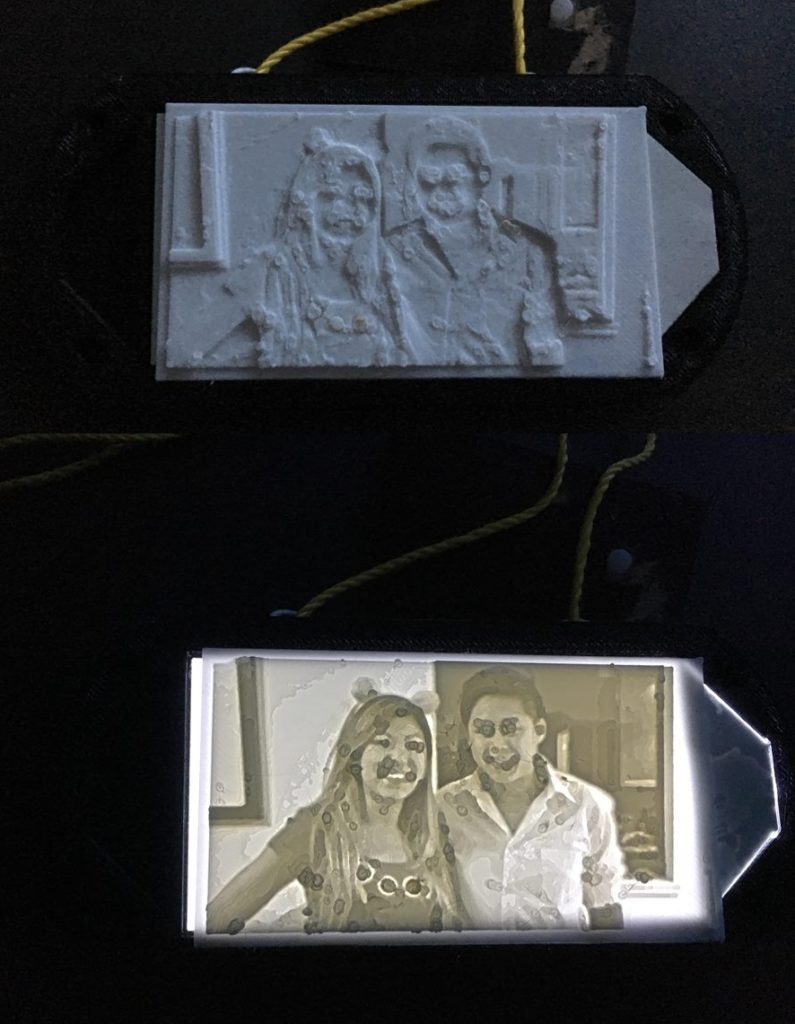
TL;DR: I made a lithophane lamp shade for my sister’s birthday. I used an online tool that combined multiple images with specific measurements to create a part that fit around my particular desk lamp. This was probably my longest single part print to date—about 60 hours, but the results were well worth the wait!

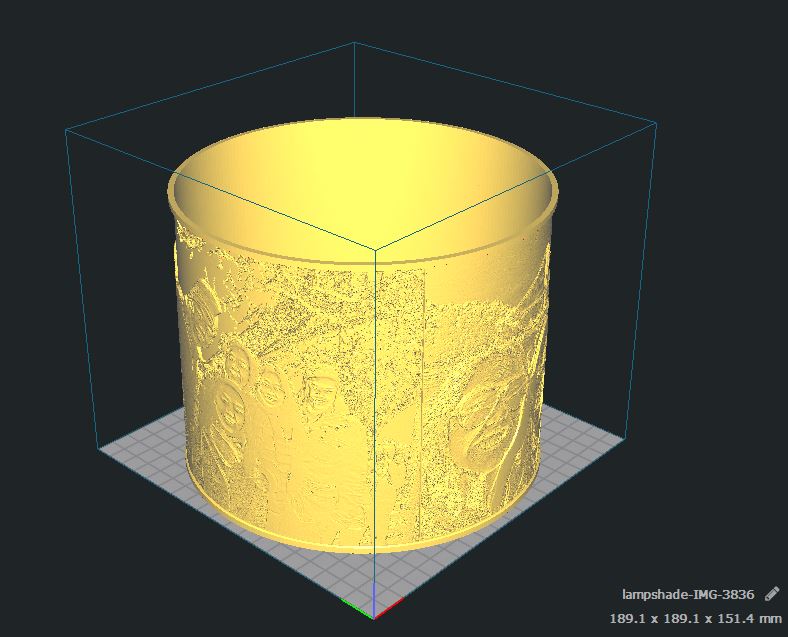
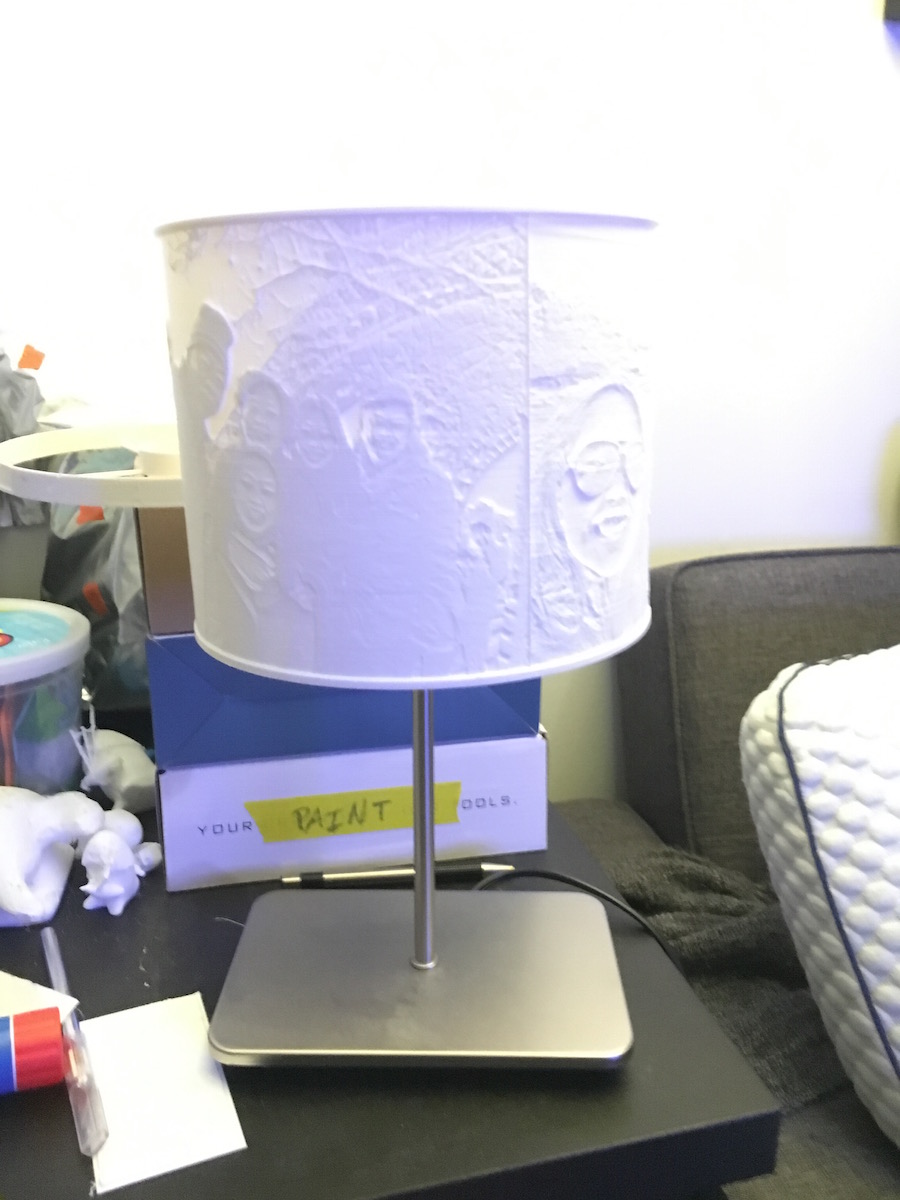
I continued playing around with lithophanes and made my sister a birthday present—a litphophane lamp shade! I found another online tool at: https://www.lithophanemaker.com/Lamp%20Lithophane.html. This one lets you enter various parameters to create an entire ready-to-print part very quickly. While I would design this part a bit differently if I were to do it from scratch, the speed of use was pretty undeniable.

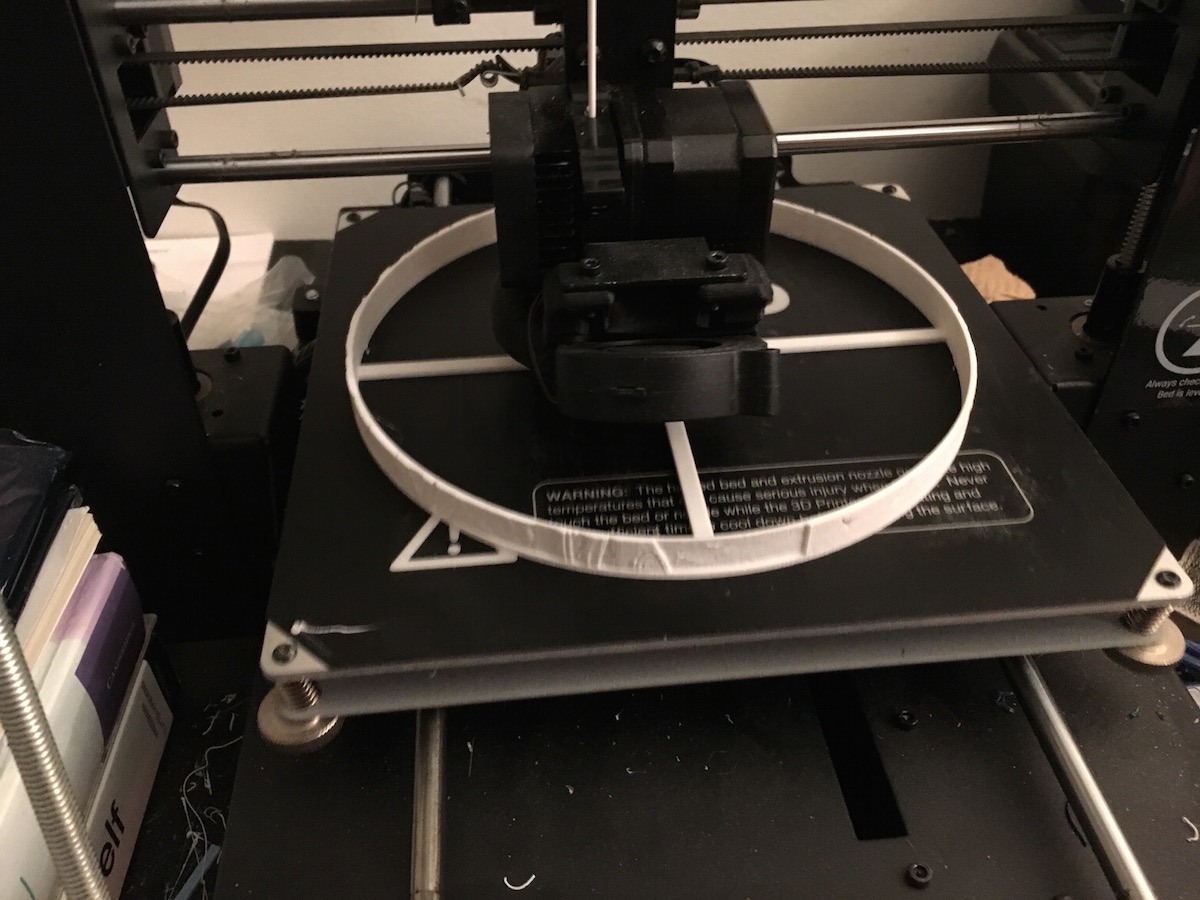
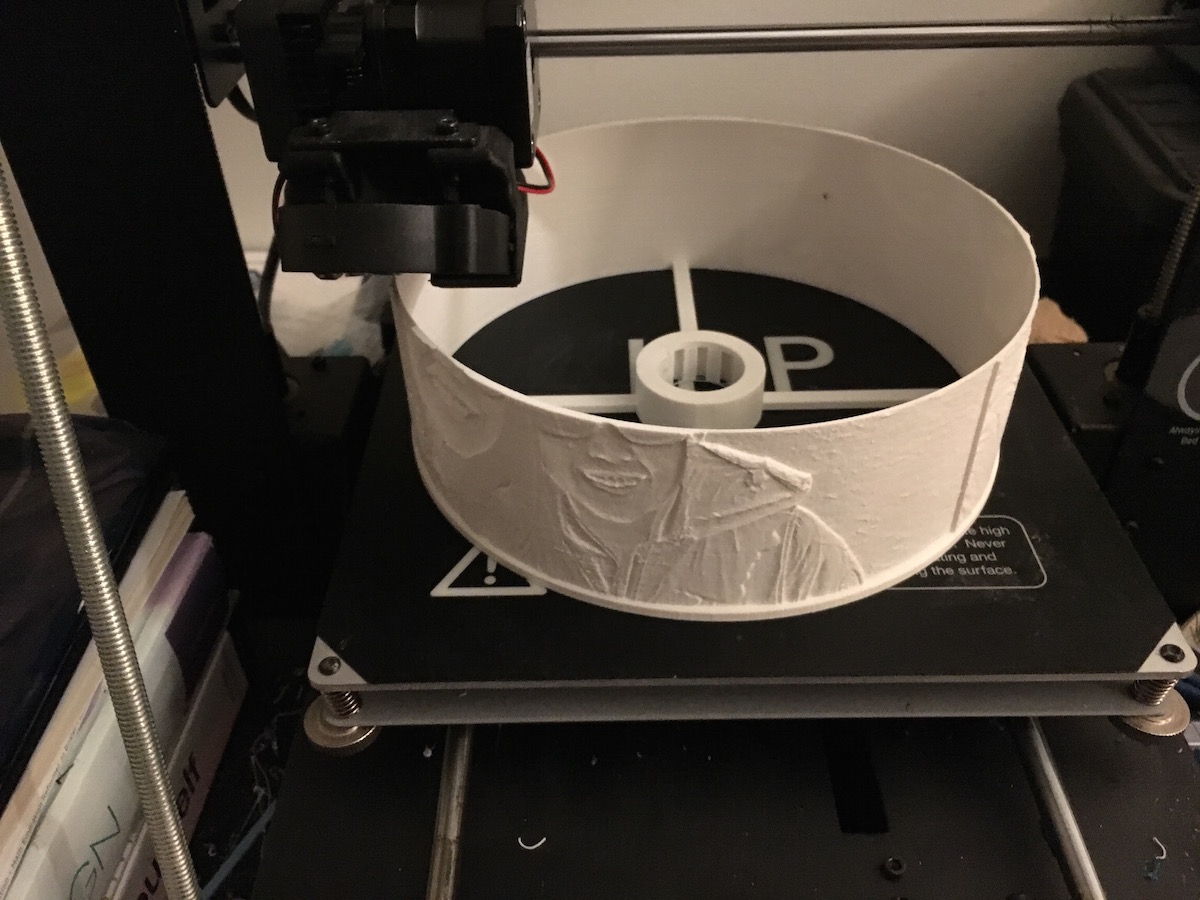
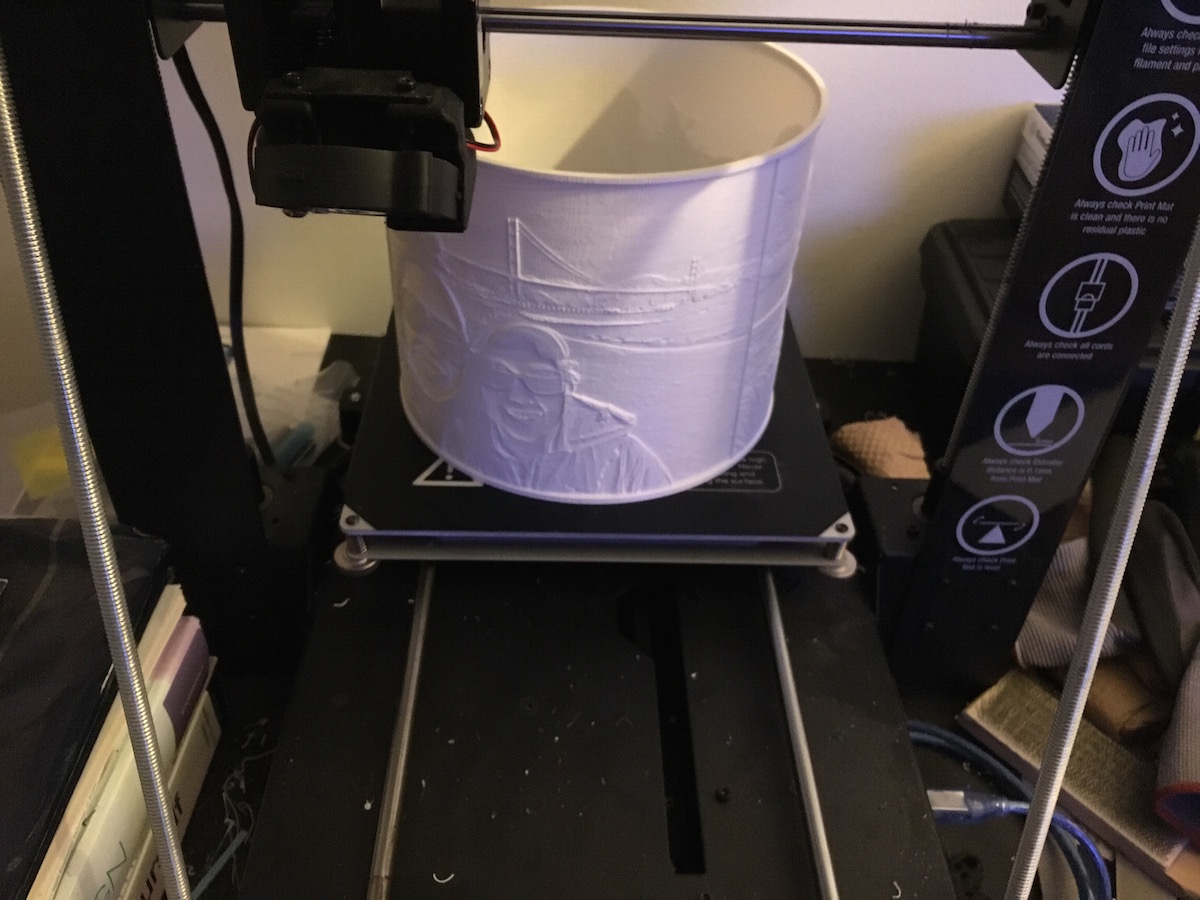
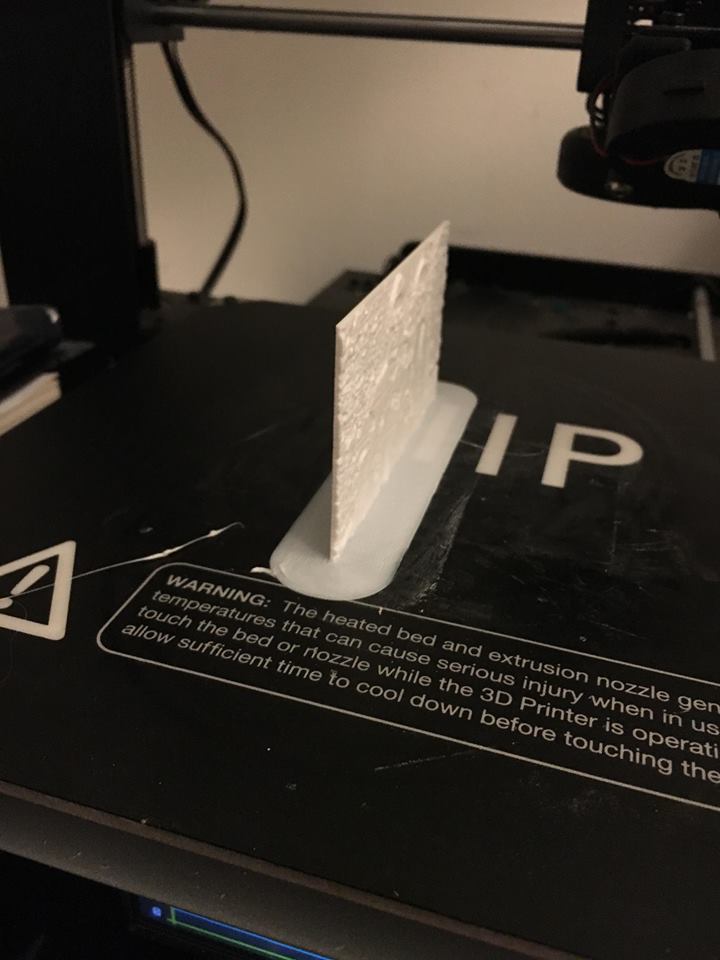
I only had a two small hiccups—the size of the lamp retaining lip didn’t quite match what I expected. That is—the cylinder turned out undersized for what I needed. Luckily, I had the foresight to first print only the inner cylinder for a fit check. After I started the print the first time, I realized that I forgot to add supports for the cylinder retaining lip to come out properly, so I had to restart the print after a few hours >.<.

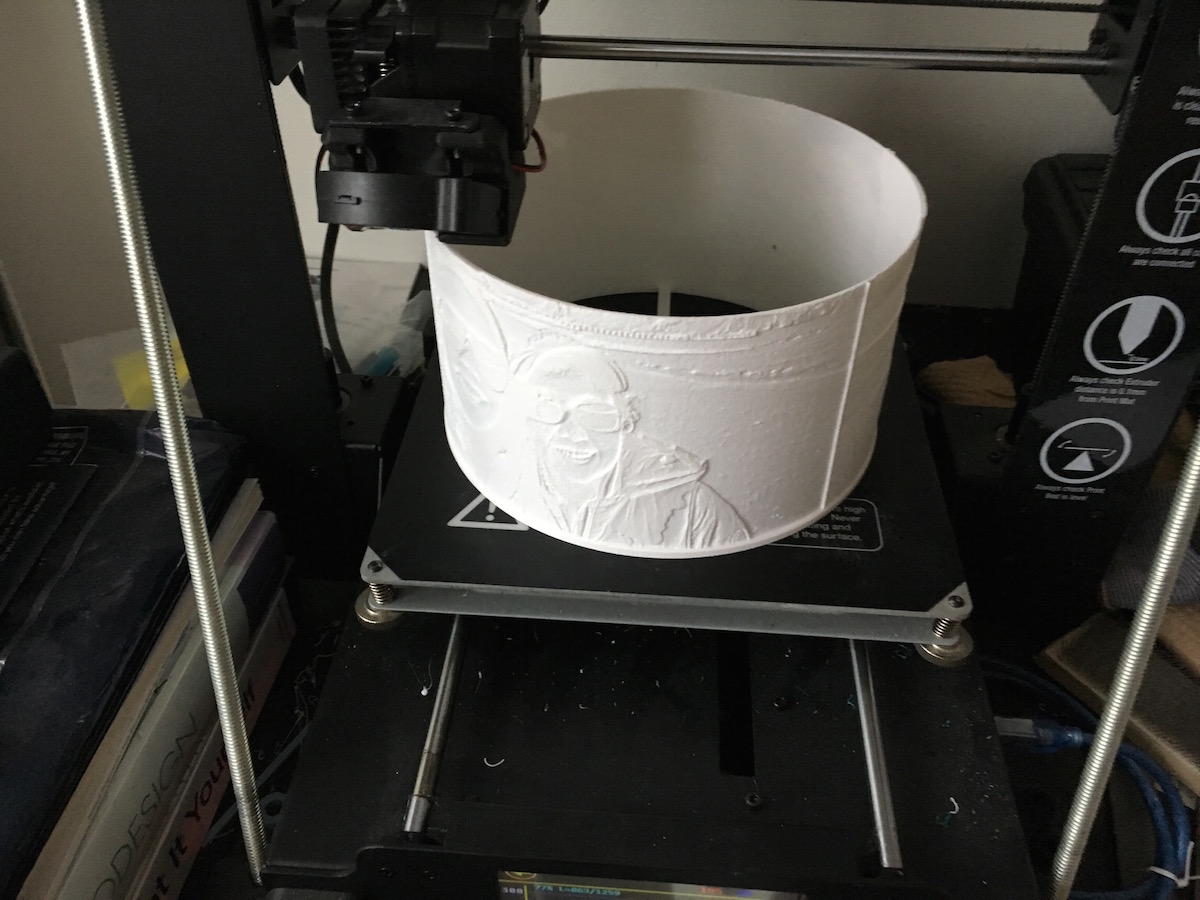
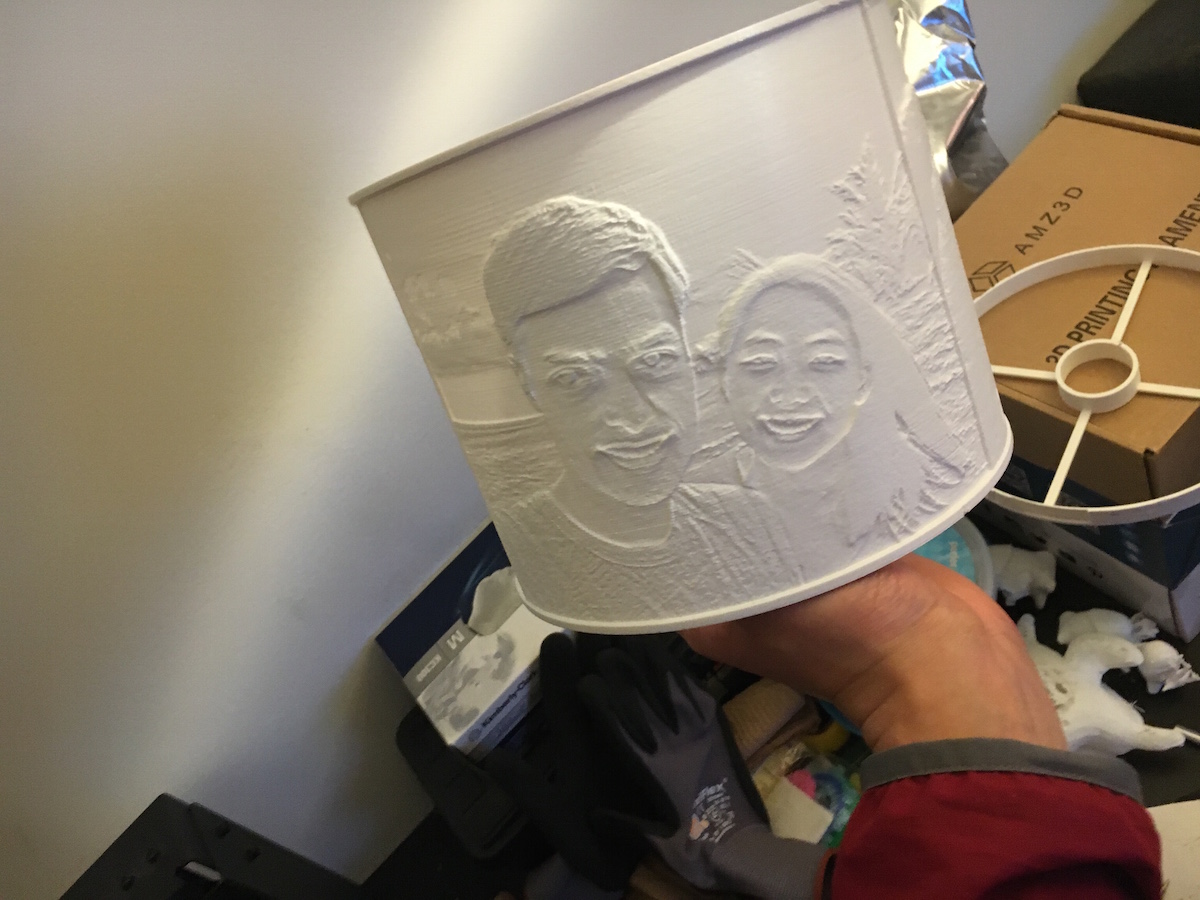
Once I started the print for real, I had the full lamp shade in hand after about 60 hours. This was my longest single part print to date, and I think it turned out incredibly well 😀

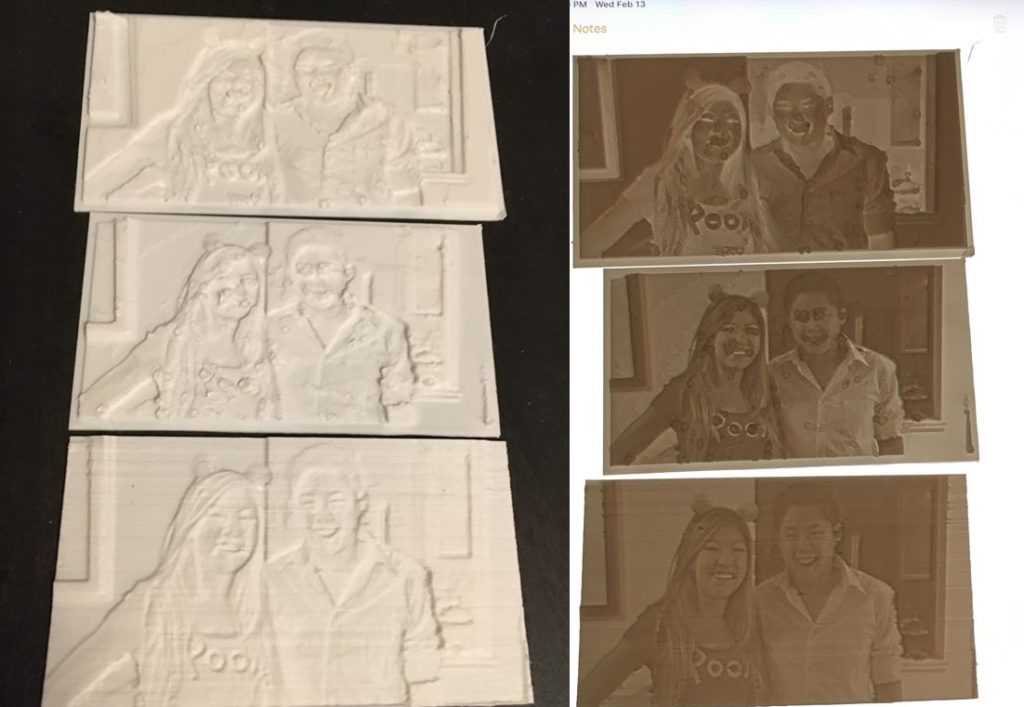
The gallery with descriptions below shows the process:

Lithophane

TL;DR: For Valentines Day, I made a lithophane—a 3D object which reveals an image when light is shined through it. The operating principle is basic—different “pixels” are created since thicker areas block more light.

Lithophanes are really cool. Essentially, they’re 3D photos that physically encode pixels of an image by varying the amount of material. Thinner sections of the lithophane allow more light to pass through. I discovered a simple to use, yet highly customizable online lithophane generator at http://3dp.rocks/lithophane/. Upon making this discovery, my mind immediately went to the perler project I worked on last year… I saw I could reuse most of the components (back plate, switch, LED backlight), only making a new front plate. Since I designed the perler project housing in Onshape using top-down design principles, all the modifications only took a few minutes to complete and export for printing.

It took me three tries to finetune my print settings. In the first print, I inadvertently made the image inverted:

My first attempt resulted in a scary looking inverted image… oops!

For the second print, I ended with a lot of blobs on our faces. Clearly this was because the nozzle dwelled a bit too long on the top surfaces since I printed this part flat on the bed:

My second attempt turned out nicer looking with the proper color inversion… but the blobs all over the place were less than ideal.

To correct for this, I reoriented the part on the print bed. I was worried about the part falling over (hence my original print orientation), so I added a really large brim to keep it rooted:

The 12mm brim I added, along with copious glue, helped keep the print from falling over

The third time really did turn out to be the charm, and I was very pleased with how it turned out:

Success! Third time’s the charm 🙂

There’s a ton of ways in which the lithophane idea can be expanded and improved upon. First, I need to redesign the housing unit to incorporate the switch and battery. Others on the internet have wrapped lithophanes around objects like cylinders to make custom lamps, trophies, and other neat projects. The possibilities are endless… as you can see in the summary photo below, you can use pretty much any light source and have the images turn out well:

It was very easy to progress pretty quickly since the parts were fast to print.

I’m excited to play around more with this type of stuff!