TL;DR: I printed a slow feeder bowl for Bailey out of food safe filament and coated it with an FDA-compliant food safe resin. It works, but I think she hates it and me for making it.
I’ve wanted to experiment with 3D prints out of PETG for a while, and finally found some time to do so during this long Thanksgiving weekend. PETG (polyethylene terephthalate glycol-modified) is a 3D-printable plastic with numerous advantageous properties:
- High strength
- High density
- High temperature
- UV resistant
- Food safe
The drawback is that it is a bit trickier than PLA (the most typical home 3D printed filament) to print. I invested an hour’s worth of time to adjust settings and complete two quick test prints before deciding I dialed my printer in enough to start a real project.
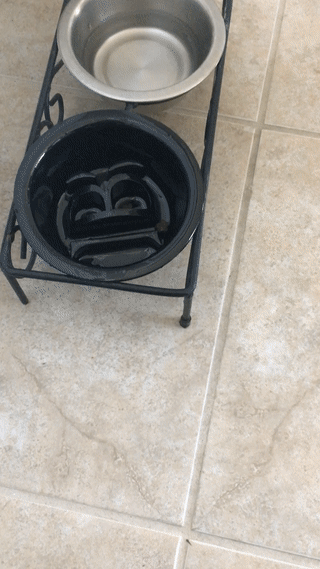
Our dog Bailey is a voraciously fast eater and I recently learned that various slow feeder bowls existed. However, most of the products on the market seem designed for larger dogs, and I wanted to make something that would fit in our existing holder. Spoiler image below:
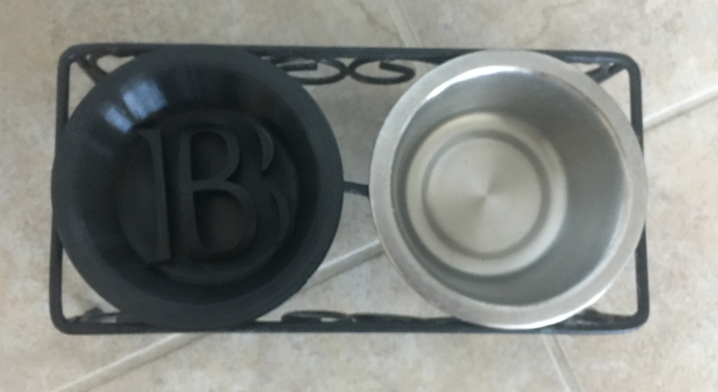
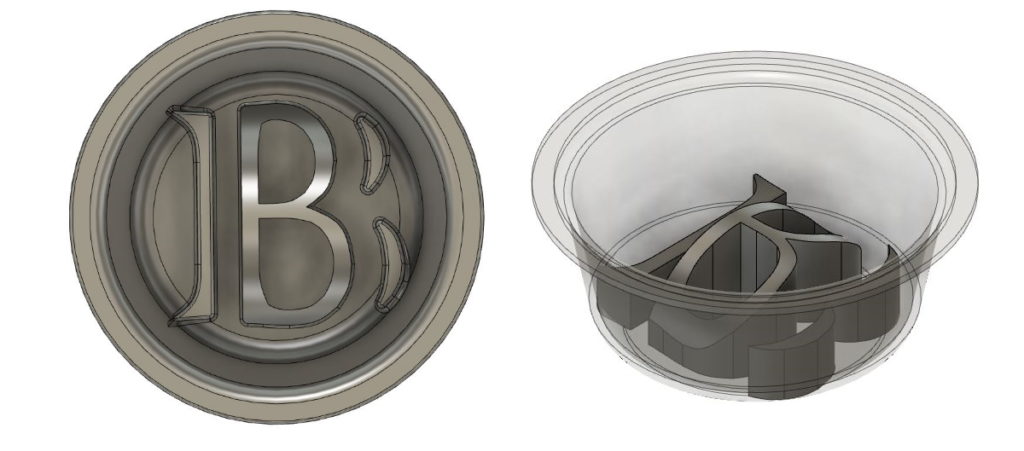
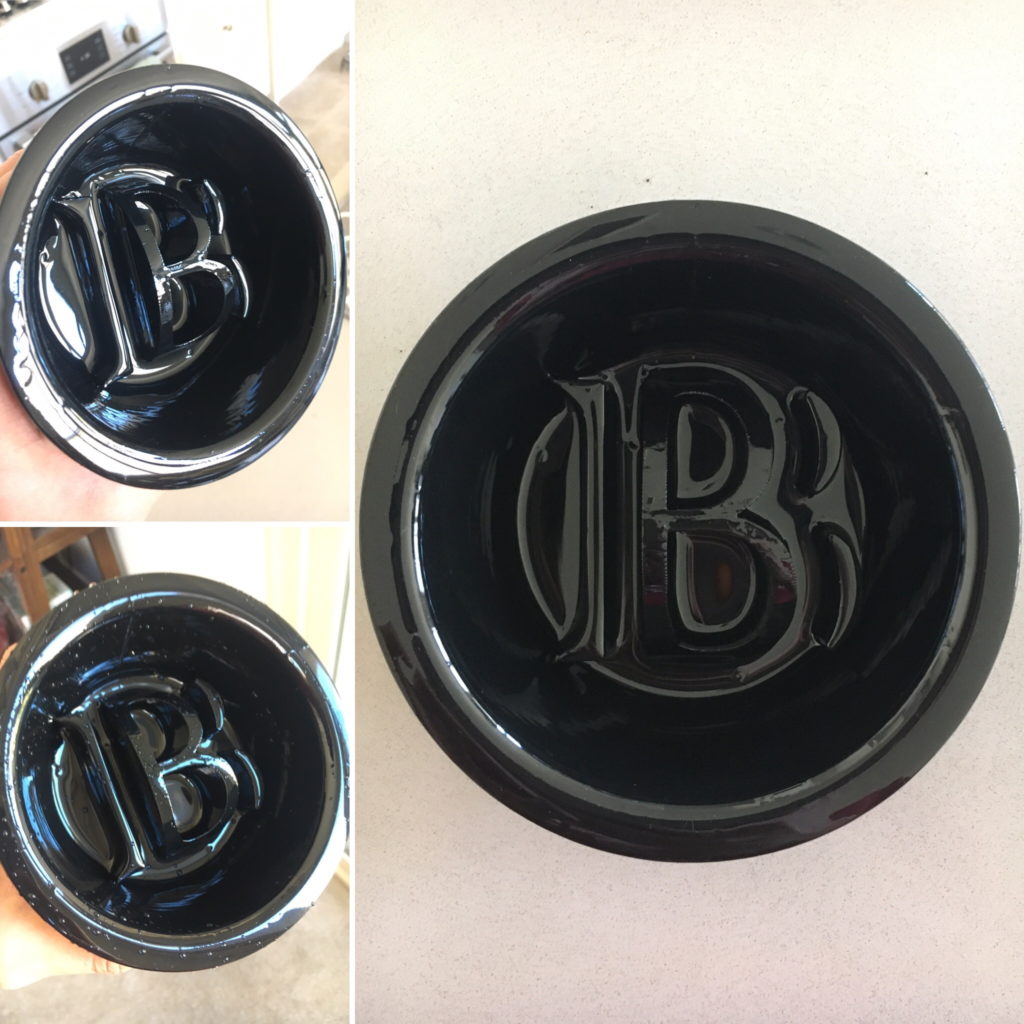
The design of the bowl was straightforward. I measured the dimensions of our existing metal bowl, added another mm of thickness of the bowl for strength, added an extruded “B” in the middle to act as an obstacle, and finally made some cuts in the B to allow Bailey to access all the nooks and crannies. I took care to fillet any sharp edges away to ensure safety:
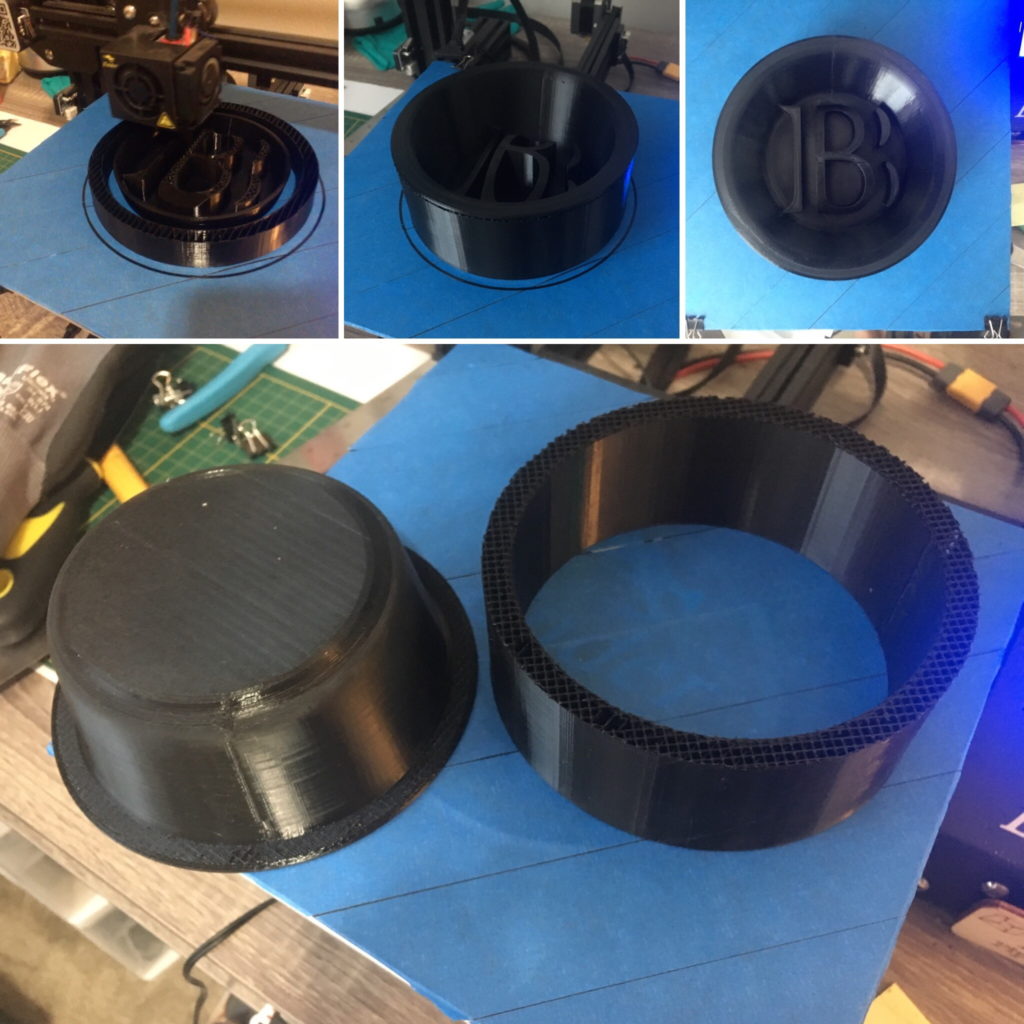
The quality of my first real PETG print exceeded my expectations… Based on troubles I’ve read about people having, I expected some blobs/zits or stringing issues, but surprisingly, I didn’t have any real problems at all. The ease of support material separation was shocking too–99.8+% of my support came off in a single piece, and the remaining two pieces were easily removed with pliers:
After the print was complete, I coated the bowl with this neat FDA 21 CFR 175.300 compliant resin I bought a while ago but hadn’t tried out before. The biggest pain point with the coating process was the 48-hour cure time. Luckily this was a long weekend, haha.
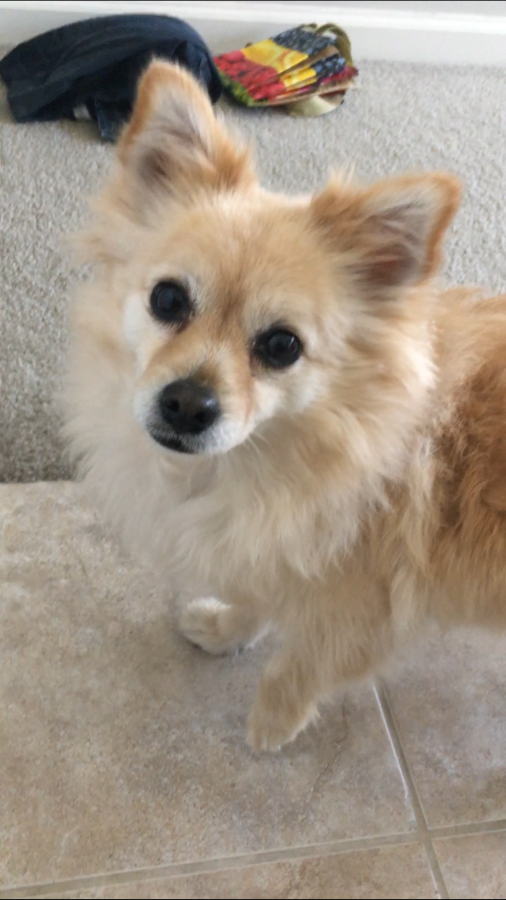
After washing the bowl with soap and water, I tested it out with Bailey by putting in a few training treats. She did not look very happy…
She eventually came around to eating, but clearly wasn’t happy:
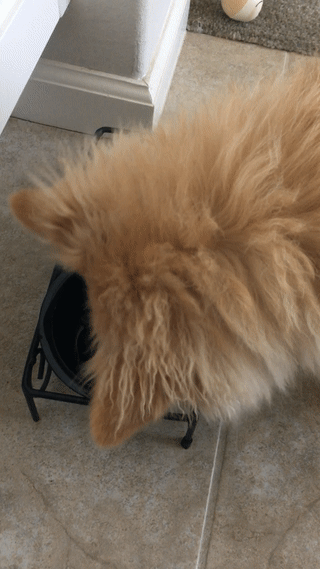
I hope she doesn’t hate me forever because of this…