Baymax Cord Lock

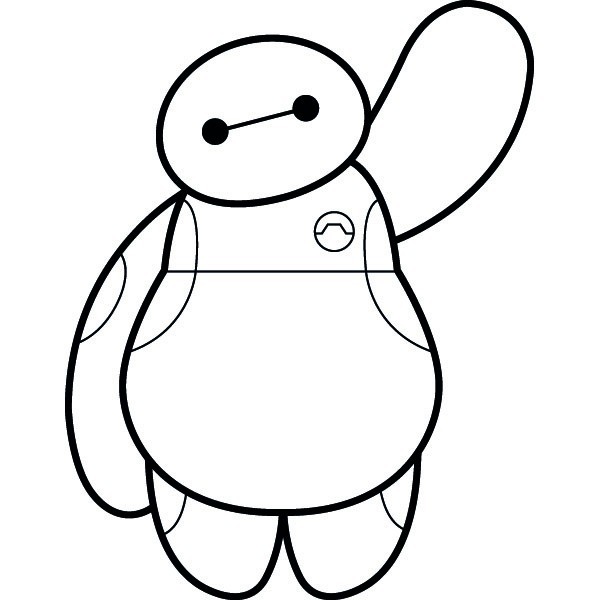
TL;DR: A cord lock for Tiff’s hat broke… so I made a replacement shaped like Baymax since I had white material installed in my printer and I was too lazy to change it, haha.

Tiff got a great sun hat from a friend’s beach birthday party last year. I use it almost every day when walking Bailey. I noticed that the cord lock was starting to break, so I decided to make something useful while scratching my maker itch now that the need for PPE has declined.

Since I currently have black TPU (an elastic material not really suited for this application) installed in one printer, white PLA installed in my other, and a severe lazy streak, I needed to design something white and ovoid.

White? Check. Ovoid? Check. Fun? Check Check Check.

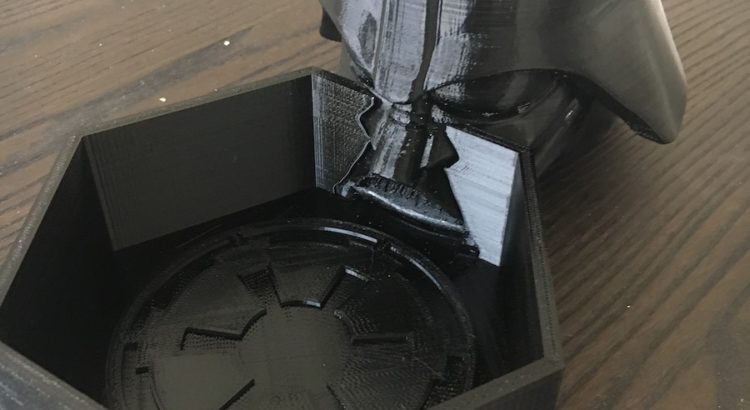
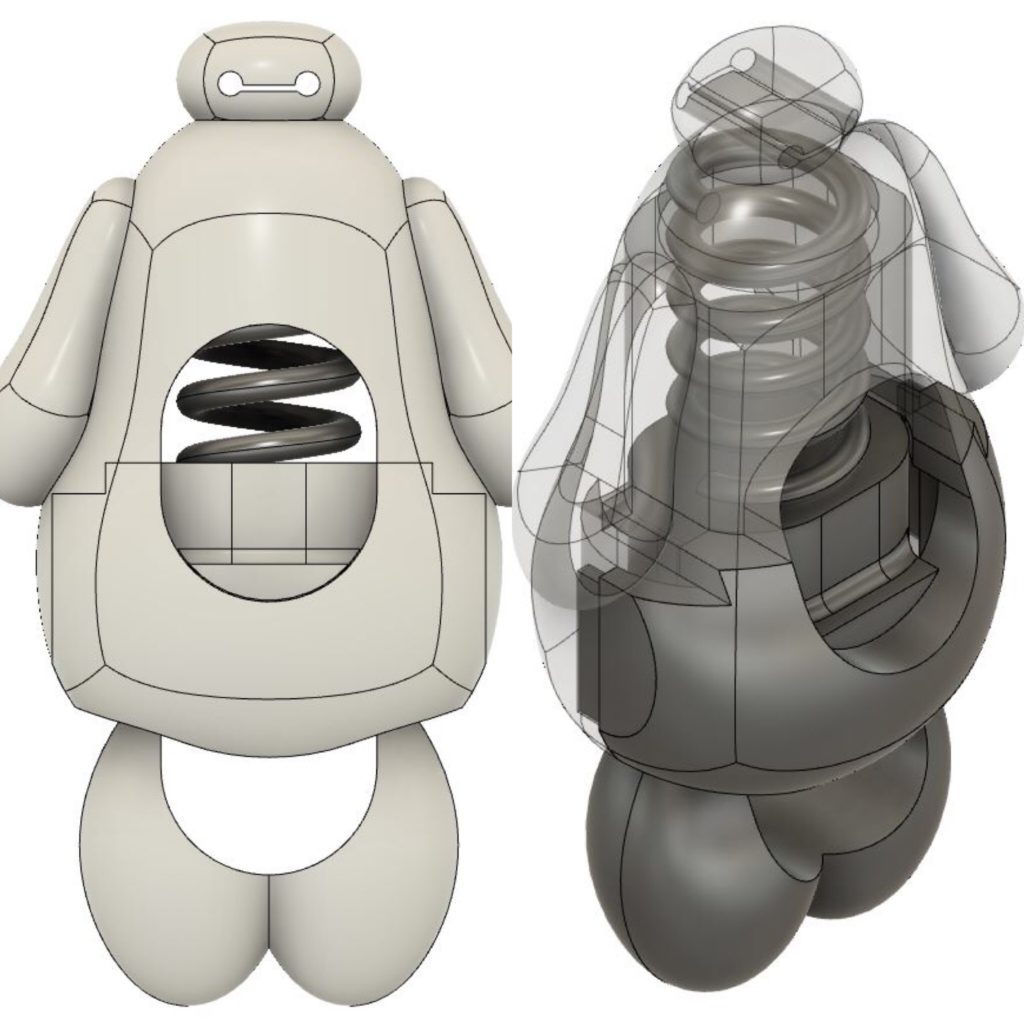
With proper source material in place, knocking out the design was straightforward for me. I decided to use the sculpting tools in Fusion 360. Sculpting is great for quickly making organic shapes that don’t require a lot of exact dimensions. Fusion makes it super easy to combine sculpted forms with parametrically defined features as well. I split Baymax’s body into two parts, one main body and a removable front plate to install the spring and legs.

Sculpt and boolean tools in Fusion 360 made designing and cutting the parts up for 3d printing a breeze!

Since the part was very small, I initially had some troubles with Cura deciding some areas (primarily the cut out for feet to retract into the body for cord installation) were so thin that I must not have wanted material there. I solved this problem by reshaping the Baymax body a bit and scaling the parts up by roughly 15%.

Functional? Check.

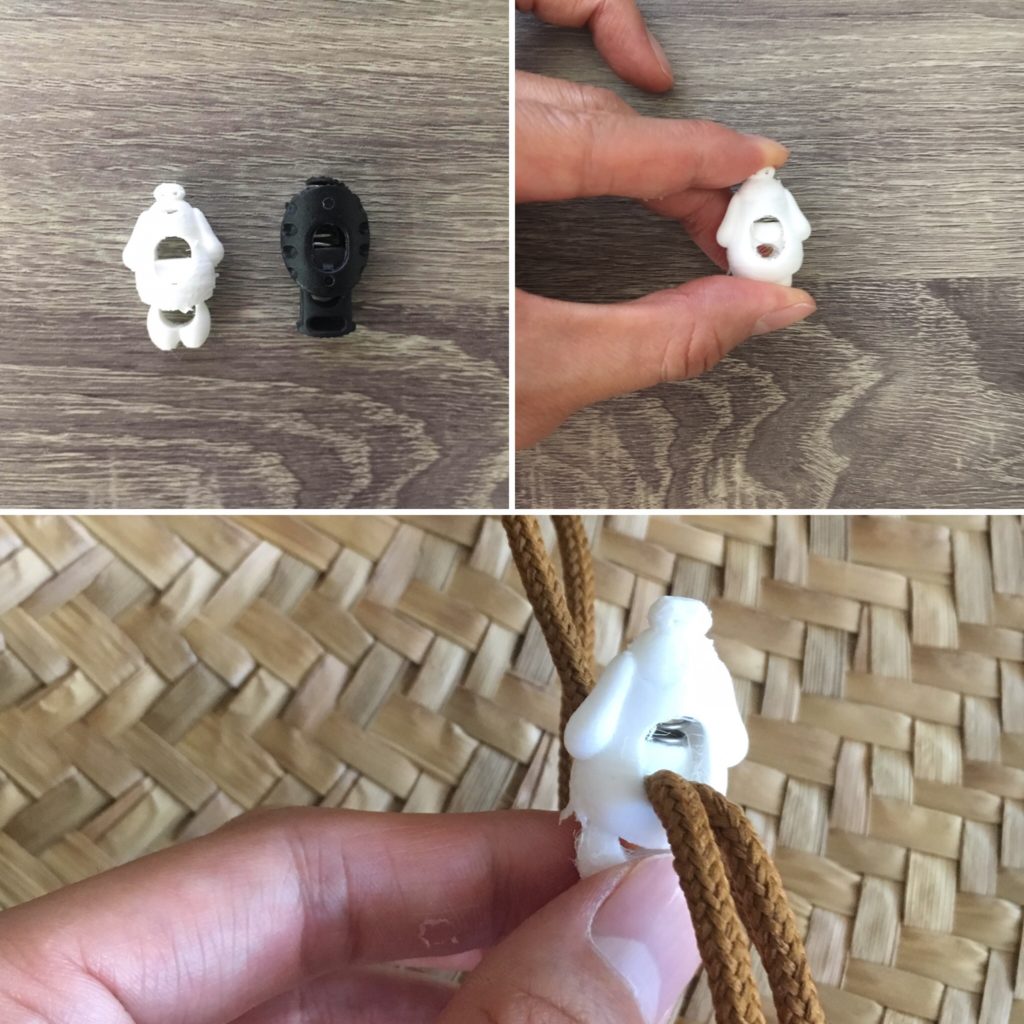
Overall, I’m pretty happy with the results… despite it looking slightly terrifying, IMO… like Baymax lost a fight. Maybe I should have gone with some sort of squid ¯\_(ツ)_/¯.

As always, hope everybody is staying safe and healthy!

UPDATE: 7/25/2020:

Looking at the Baymax cord lock I made last week depressed me because it looks like his body is getting pierced by some sort of tentacled foe. I decided to replace it by designing a Blooper (the squid thing from Mario games), since it is also white, but looks natural with long arms:

I think Blooper looks better than Baymax cause the strings are tentacles XD

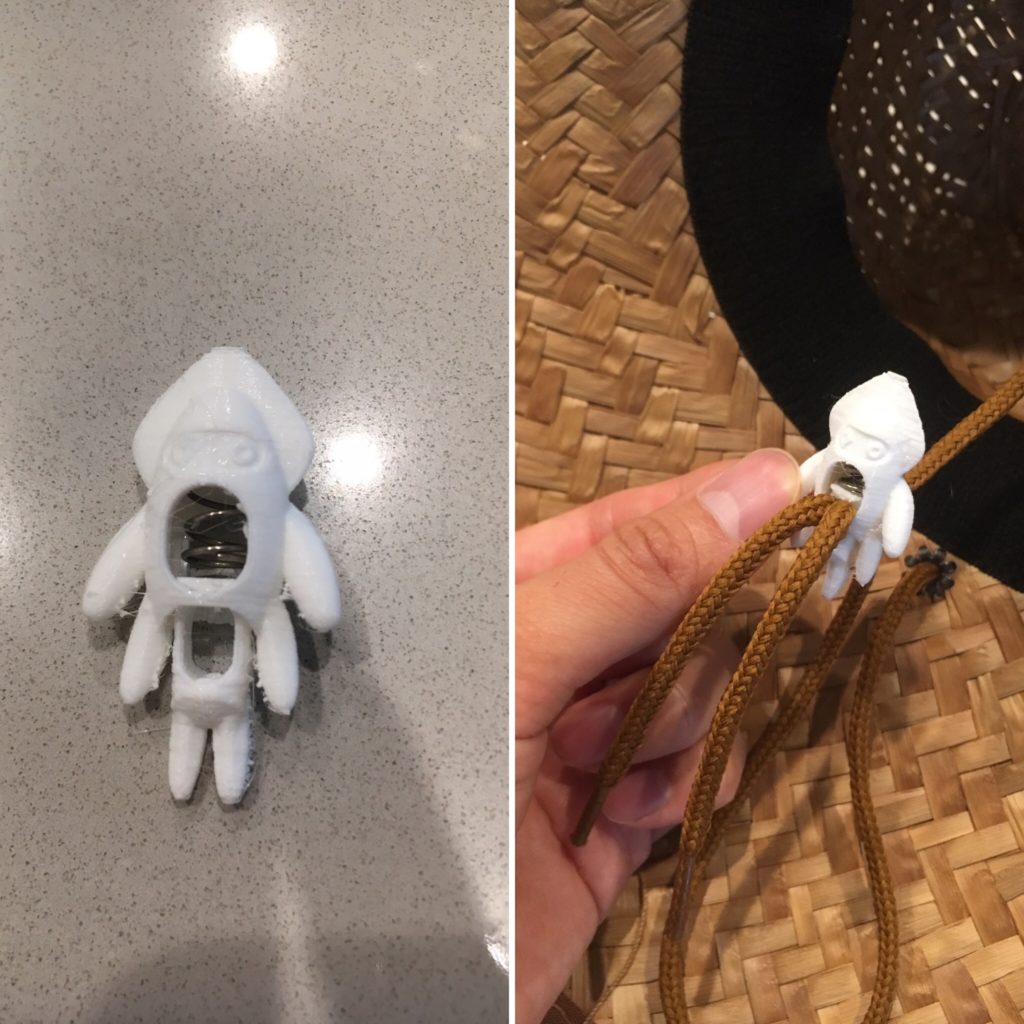
I used all the same tools I used for Baymax to make Blooper, but it was much faster the second time around. While I like this cord lock looks better, but Tiff doesn’t like it because of all the legs, hahaha ¯\_(ツ)_/¯.

Window Sill Shelf

TL;DR: It gets hot in SoCal so I overengineered a shelf to hold a fan to blow cool air into our bedroom at night.

Just a quick post this time—I decided to put my printer to work making another functional print! SoCal is a desert, so it gets very hot during the day, but cooler at night. A few days this past week were especially brutal. To help circulate the air at night, we use a little Vornado fan, but its effectiveness wanes when it doesn’t have access to cooler air.

A simple, but effective design. I originally intended to print the shelf itself too, but I found a piece of wood that I’ll cut later to eliminate the use of this piece of cardboard, haha.

I designed a very simple shelf comprised of brackets, a brace, and the shelf itself. I sized the brackets specifically for our bedroom windowsill. There is a very satisfying click during installation, but the shelf is very easily removable in case we need to close the window.

I didn’t end up printing the shelf part because I found a piece of spare wood which will work perfectly, and I installed a piece of cardboard until I find time to cut it. Although this specific design isn’t super generalizable, I decided to upload it to thingiverse anyway in case anybody is inspired to made minor modifications to fit their needs:

https://www.thingiverse.com/thing:4462927

Stay safe and healthy!

Booklet Maker

TL;DR: I designed and printed a booklet maker for a friend.  

Instead of completing the Inktober challenge I spent the month of October designing and printing gifts for friends… and I spent November writing about them, haha. I posted about a Darth Vader dice tower here, an Ironman figurine here, and the third project I completed is this booklet maker.

My friend Will reached out for help solving a specific problem: he likes to staple papers into booklets, but needed a way to make them more easily and consistently. We went back and forth with some requirements (number of sheets at a time, staple placement, etc.), he drop shipped a stapler to me, and I started designing.

I began by modeling the classic Swingline 747 stapler from caliper measurements. I needed an accurate stapler model to ensure a good fit for whatever 3D printed part I would ultimately design. Capturing the draft of the side and determining the clearance available during stapler actuation was of paramount importance, so I created the stapler in two components and added movable mates.

Creating the stapler model in two components to allow for assembly mating features proved very useful in determining space available for designing

For this project there were advantages to taking a top-down design approach. In a new part model, I created a layout sketch to place the staplers per the desired specifications 6 inches apart on a line ¼ inch away from the left margin.

Taking a top-down design approach ensured the requirements were met from the beginning. All dimensions were driven from where the staples ultimately need to go.

With the staplers fixed in place, I focused my attention on the design of the main paper retention body. The trickiest part of the design was creating an attachment method that keeps a clear path for the stapler head to reach the crimp area.

After completing a test print to check the fit, I made a few adjustments to the paper backstop height, mirrored the body and connected the two halves with beam extrusions. Pictures speak louder than words, so here’s the build gallery:

Will tells me he’s very happy with the results, and I couldn’t be happier myself.

Action shot! It might take a bit of time for the gif to load

Vader Dice Tower

TL;DR: I made a villainous dice tower for a friend’s bday, combining two of his favorite things—Star Wars and board gaming.

October was a pretty busy month for me with work and fantasy football both ramping up. However, I’m very happy I was able to get some design and project time in. My friend Nick’s birthday was earlier this week, and I wanted to make him something practical yet personalized. Anybody who knows him at all knows how much he loves both board games and Star Wars, so to me, printing a Darth Vader dice tower was simply a no brainer.

For those of you who may not know, a dice tower is a very simple device to ensure fair rolls while keeping dice from flying all over the place and messing up stuff on the table. Dice towers can take on a wide variety of shapes and sizes. All that is really needed is some sort of aperture at the top to put dice in, a path which randomizes spins, and a tray to collect them at the end.

Before I started designing, I did a quick search on thingiverse and other 3d print sharing sites to make sure I wasn’t completely reinventing the wheel. I found a few Vader dice towers, but to be honest, I didn’t think they were very good in terms of amount of detail and general aesthetics. I was fortunate to find a great model of Darth Vader to begin with: https://www.myminifactory.com/object/3d-print-star-wars-darth-vader-30-cm-tall-60500.

Essentially my plan was as follows:

  1. Reorient and resize the head to maximize the print area on my bed.
  2. Create the dice travel path leading from the top of the head out of the mouth.
  3. Subtract the path model from the head model.
  4. Create a tray to catch the dice
  5. Print the parts
  6. Ship it

Parts 1-4 went incredibly smoothly all within Fusion 360. I successfully printed a ¼ size test part to ensure the path I created could be printed without any internal support structures to minimize post processing work. Unfortunately, I then ran into printer issues I had never previously encountered…

My Monoprice Maker Select Plus (aka Wanhao Duplicator III Plus clone) has been a workhorse without any major issues for years now. Of course, she decided to act up when I was up against a deadline since birth dates are immutable. My printer would randomly stop working and send bed temperature errors before rebooting. I pinpointed the problem to the thermistor on my print bed, but I didn’t have time to mess around. Luckily for me, my neighbor across the street literally has a print farm in his bedroom (15 machines and counting) so I was still able to get the parts made on time. The only unfortunate thing is that his machines are smaller than mine—so he had to scale the size down by 5% to get them to fit. (I found out later that the fix I needed on my printer was incredibly basic: the kapton tape holding the thermistor to the bed loosened over time, thus the printer received intermittent temperature readings.)

Luckily, the 5% reduction in size did not severely diminish the part’s functionality:

It works! May the Force Be With You!

I’m incredibly happy with the results of this project. I enjoyed the challenge of modifying an existing mesh to create a new, meaningful, and practical object. Even though UPS spoiled the surprise by giving Nick a notification about the arrival of a package sent from my area, and the package arrived late, I’m pretty sure he was very pleased upon arrival.  

Thanks for making it to the end of this post—here’s an incredibly sparse build gallery:

Laundry Basket Divider

TL;DR: I made a divider for our new laundry bin using material from our old bin and printing some threaded pins to hold it in place.

We used to have a stiff cloth laundry basket, but there were two main problems with it. Whenever I tossed my clothes on it inaccurately (this happened all the time, let’s be real), the walls would buckle a bit under the weight. Secondly, there’s just a single compartment, and I’m allergic to the laundry detergent Tiff likes to use.

To fix the first problem, we actually used the ubiquitous 20% off Bed Bath and Beyond and bought a new hard plastic hamper. To address the second, I got a bit more creative. Since our old laundry basket was cloth-based, I was able to fold it up using binder clips. The divider fit very tightly near the bottom, so I only needed a way to hold it in place closer to the top. I created a pocket on each side by adding two binder clips around where I wanted to place the holder.

The custom design I went with was very simple—it’s a simple threaded pin and retaining nut. I measured the hole I needed to fill, extruded a few cylinders, and added threads, ezpz. About two hours on the printer later, I installed two pins with nuts on the basket and put the divider into place.

I’ll be the first to admit that this isn’t my sexiest design ever, but it’s quite utilitarian.

Here’s a few build photos: