After a bit of a delay due to Independence Day travels, here’s Part 3 of my designing the wedding series; a listicle on specific tools we used and how we utilized them. The next part of the series will shift back to what my blog has traditionally focused on… physical builds and DIY projects! In no particular order, here are the Top 8 tools we utilized during our planning and preparation process!
1. New shared Google account
This proved to be indispensable for multiple reasons. Having a fresh and clean new inbox dedicated to wedding planning made it easy to find messages that either of us could respond to or reference at any time. As a side benefit, any spam associated with new accounts we created were contained to our wedding-specific email account :D.
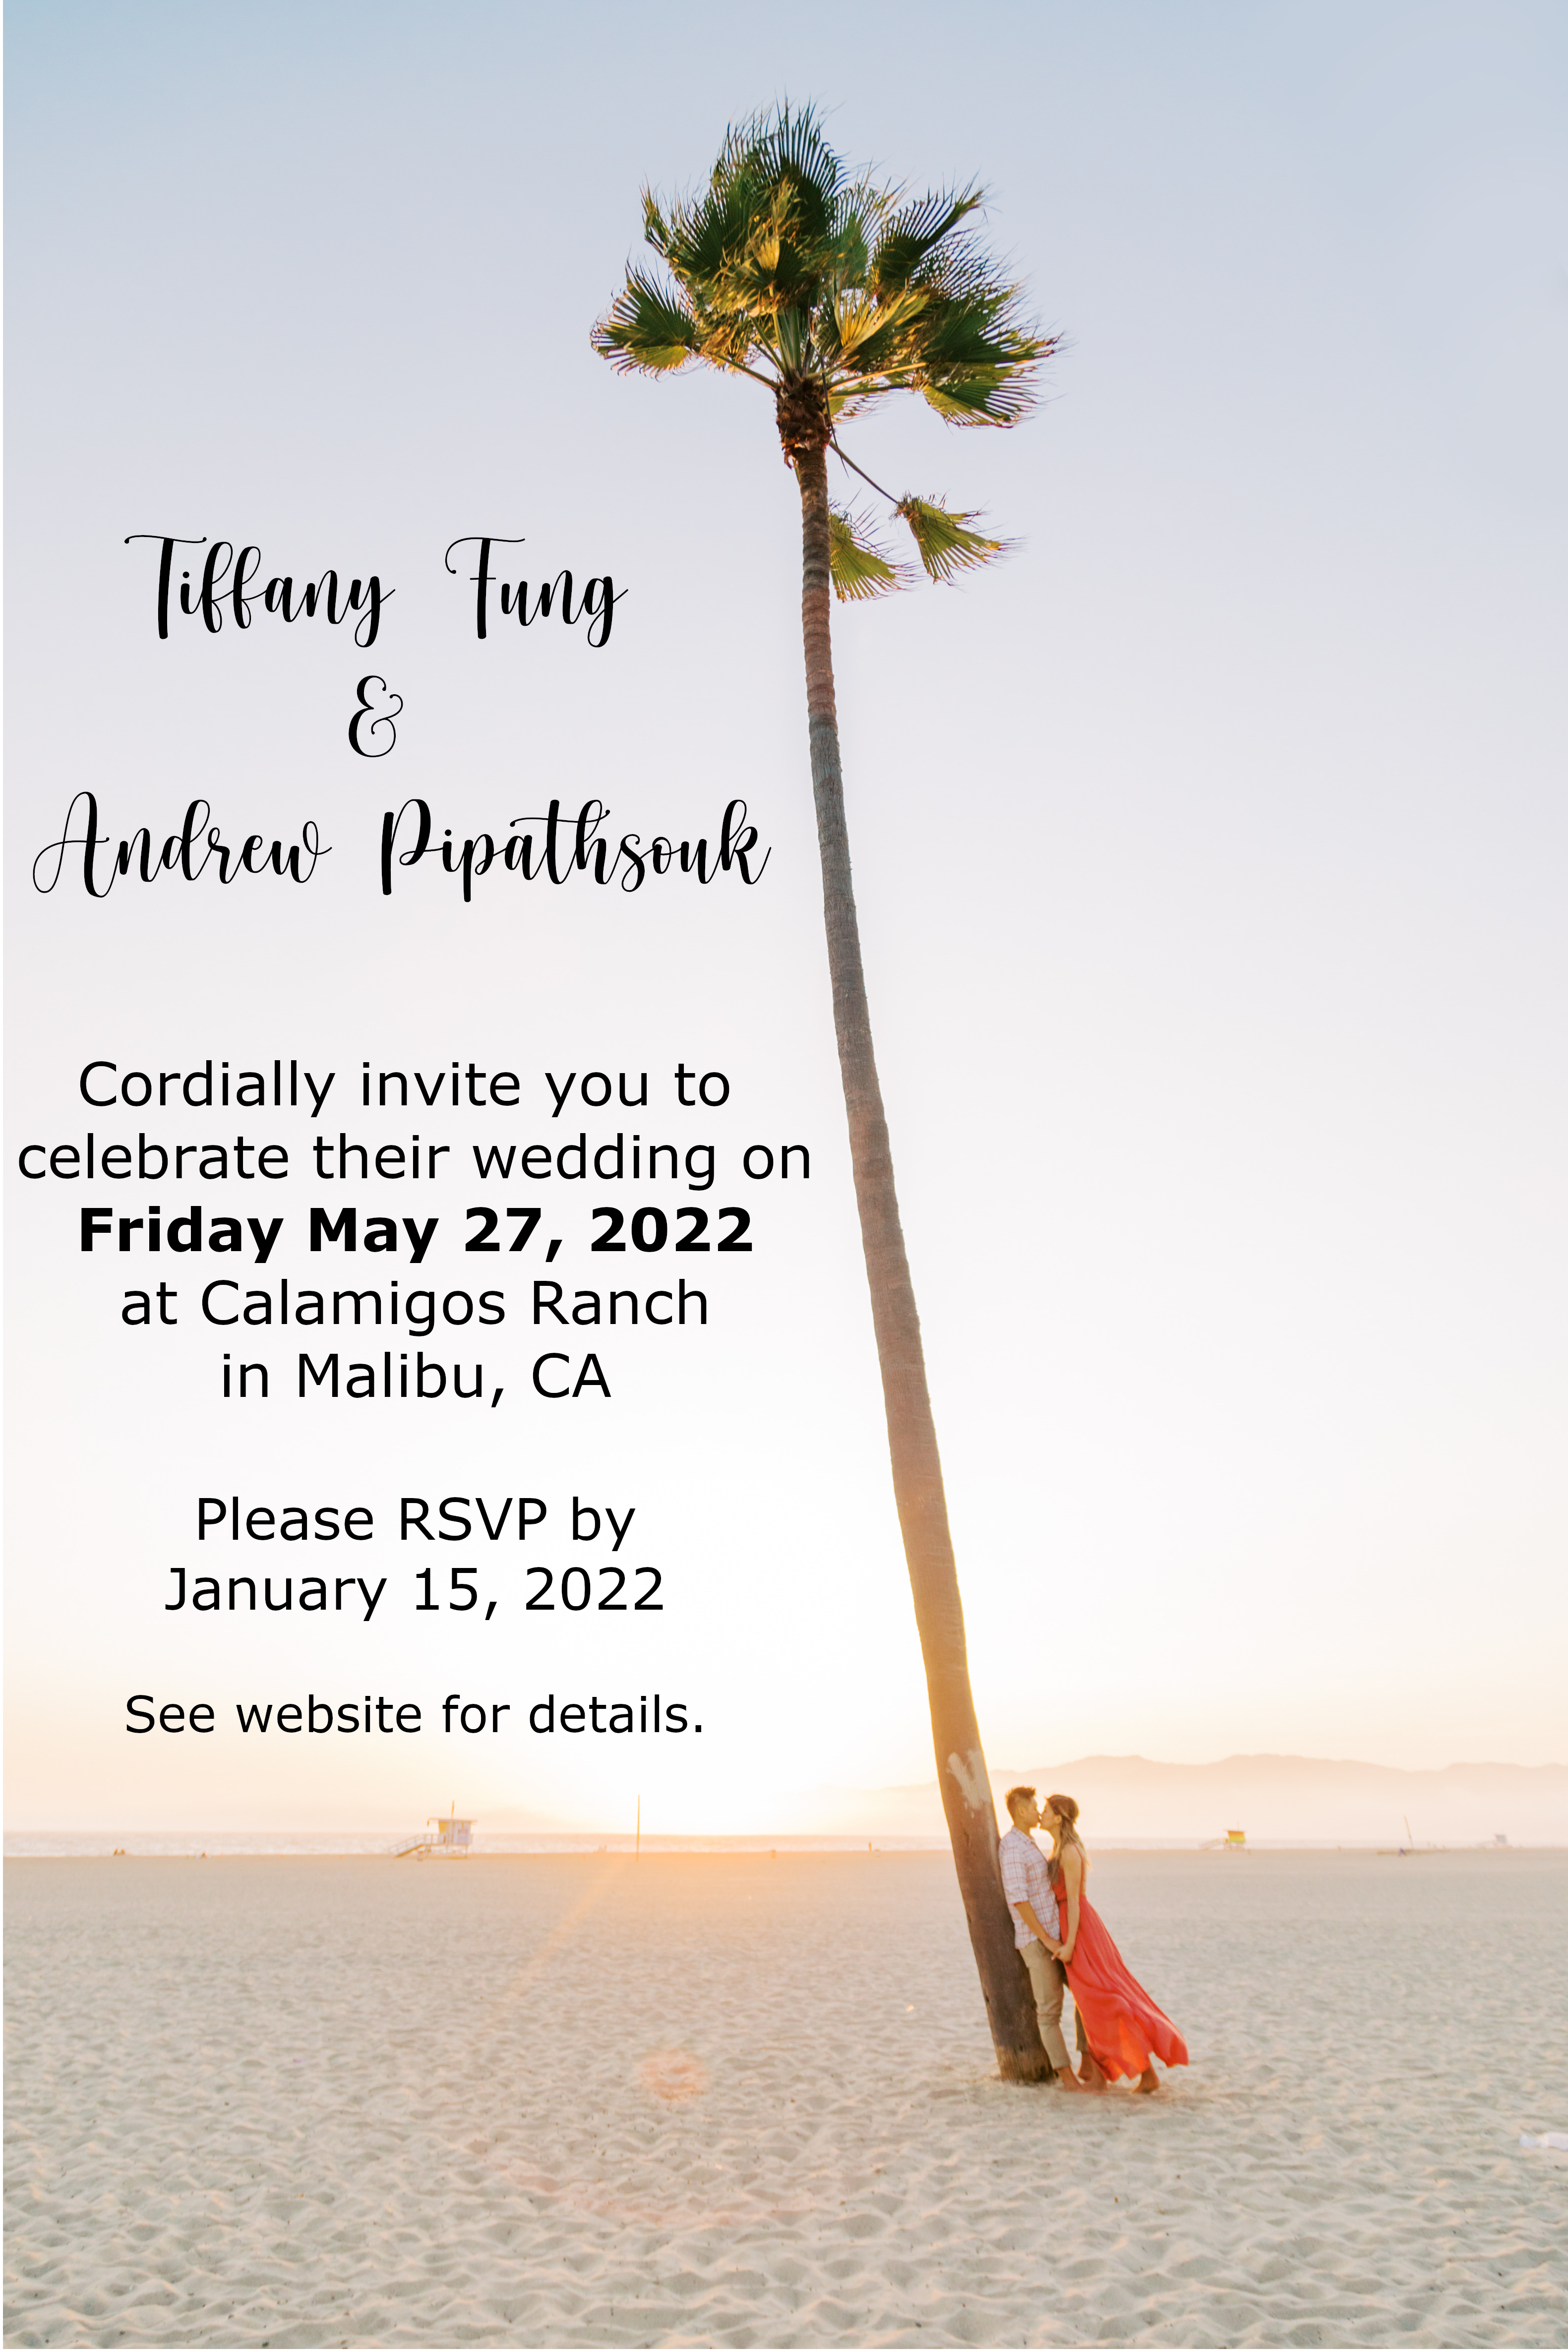
We handled email announcements in gmail semi-manually because I wanted full control over how the messages looked. To send out our invitations (we opted for sending them only digitally) I created a template using invisible tables to lay everything out and inserted our invitation graphic, then sent customized messages to all our guests using a mail merge script in google sheets. Further general announcements (RSVP reminders, month before, week before reminders for parking, weather, etc.) were sent more simply using bcc fields to keep any responses grouped in the same conversation.
Not only did we have a shared email, but we also were able to take advantage of file sharing via google drive (also came in clutch) to hold all of our planning spreadsheets, images, documents, etc. Speaking of spreadsheets–we ended up using two workbooks. We began with a single one to keep track of big picture things: the guests we could to invite, vendors we interviewed, budgeting, and a to-do list. Closer to the event, we created a second spreadsheet to share with our wedding party and coordinator. This spreadsheet included the table assignments, room assignments for our wedding party house, detailed schedules for individual vendors (shuttle, dj, photography, videography), a list of decor with photos and setup locations, and our vendor contact information.
While we did not create one, a shared google voice number would have been the next step–a shared virtual phone number that forwards text messages and calls to both of our cell phones could have been useful, but we made due without it.
2. Shared Google Photos Album
Right before the wedding, I created a new Google Photo album in my personal google account (instead of our new shared one), and sent invites out to everyone who attended our wedding beforehand. Although there were a few hiccups with adding everybody, a shared album proved to be better than using hashtags for us to find photos and videos taken by our guests.
3. Wedding Website
We used The Knot for our free wedding website. There are many out there, many with similar features. The two most important features to us were 1) the ability to create a custom shortened URL, and 2) an online RSVP manager with the ability to export data to CSV.
4. Social Media
Regardless of what you think about Zuck, or social media in general, Instagram is a very useful tool we used to conduct wedding venue and vendor research. Insta gave us a great idea of venues in our area, vendors who worked there before, and decoration ideas.
I don’t know how to use pinterest, but Tiff used it to create inspiration boards to help our vendors get a feel for our vision in terms of color scheme, feel, etc. I think you can use it to map out specific photo poses you want to match, hair, nail, makeup styles, etc. but I’m a n00b, so ¯\_(ツ)_/¯.
5. Gym
To practice our first dance choreography, we went to the gym every weekend after our normal workouts. The mirrored walls in the main multipurpose room were perfect–we just needed to avoid the scheduled classes and had to be cool w/ sharing the space with others there, but it worked out well. We made sure to record ourselves and review the footage (dips were particularly hard for me to initially master).
We also may have been using the facilities to get/stay in shape after our wedding clothing measurements were taken 😉
6. Venue Visits
During our venue visits, we tried to make sure to take photos of EVERYTHING in our space to help out with laying everything out. Specifically, I wanted to make sure we found the outlet locations for both the ceremony, and the reception (needed for DJ setup, lighting, etc.). We also scoped out areas we wanted to take golden hour photos and checked whether or not we would need to provide umbrellas for our guests during the ceremony.
Our venue visits were the perfect opportunity for us to practice our choreography on our actual dance floor. This was important to help us get a feel for spacing, identify any areas we needed to avoid, etc.


7. Printing Services
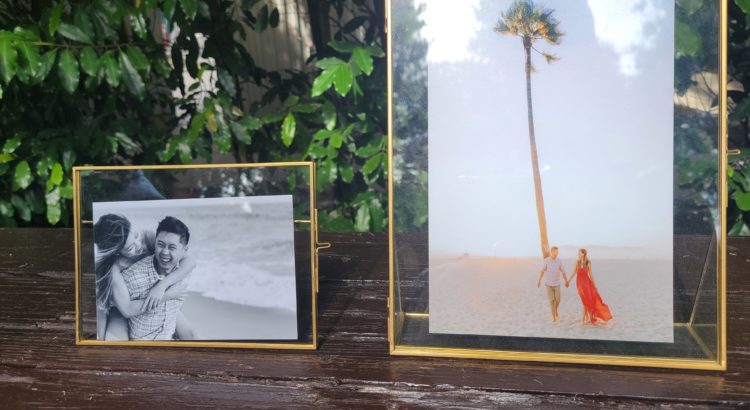
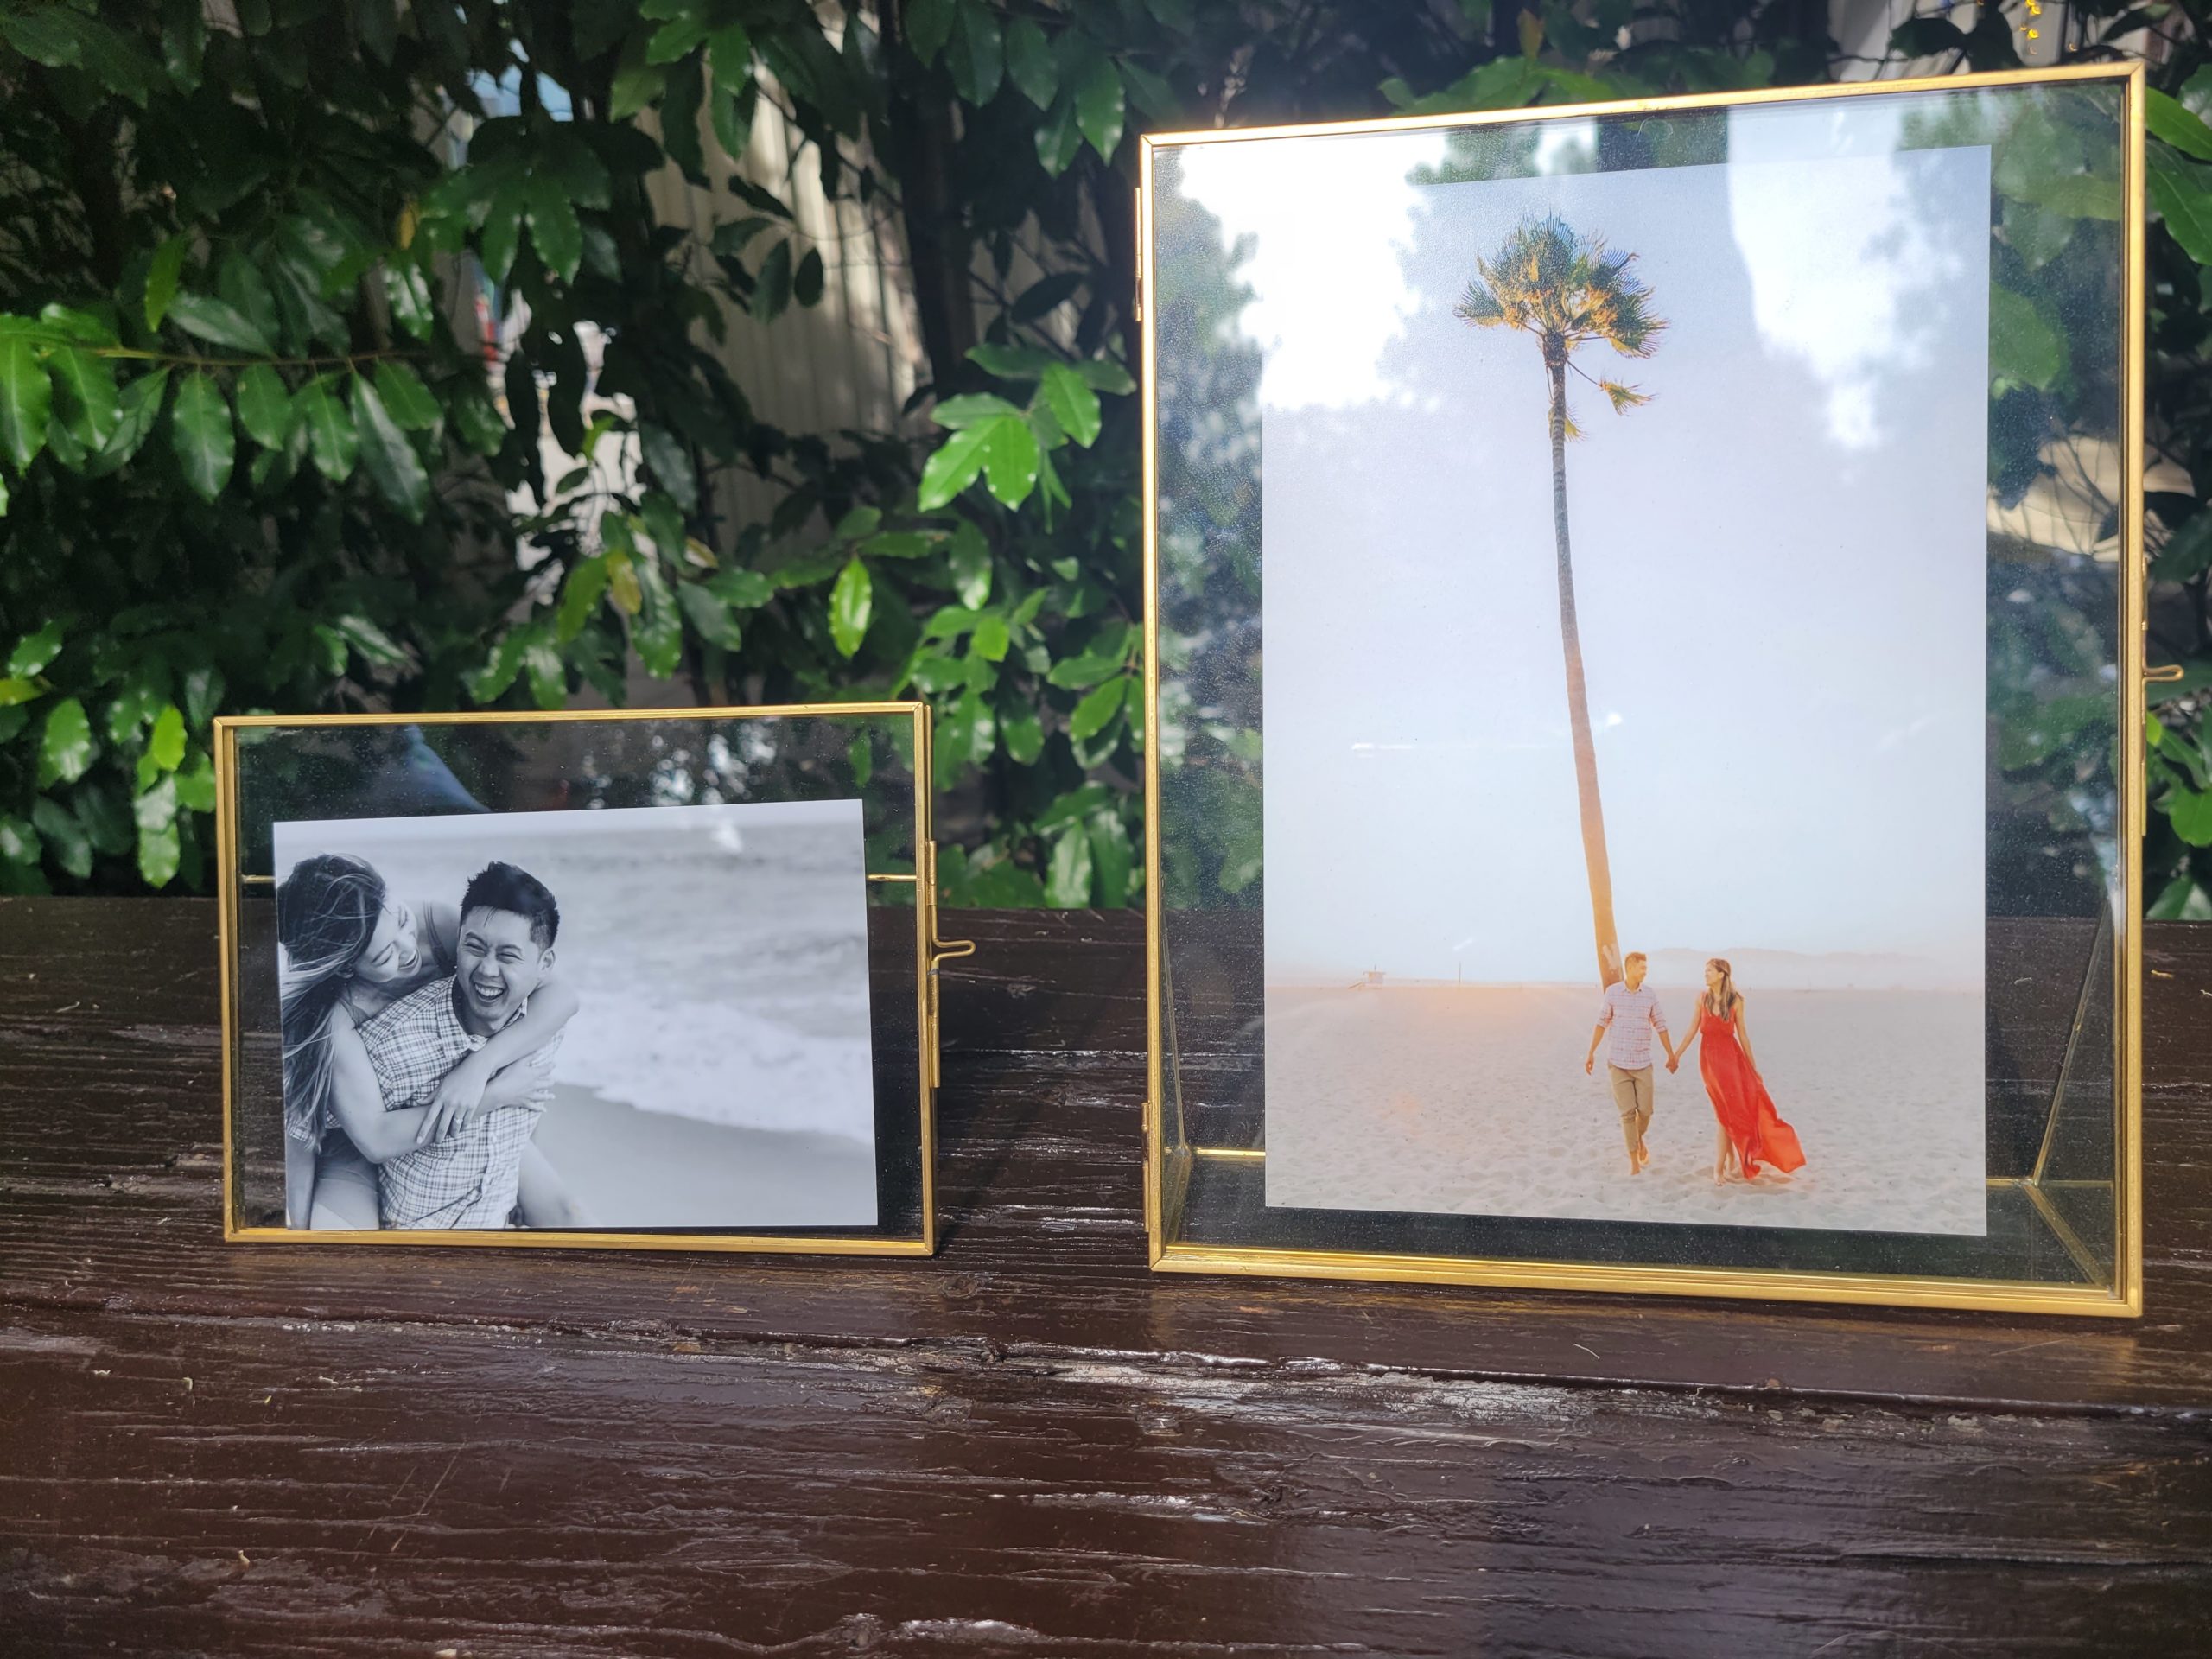
Before the wedding, we decorated two tables at the cocktail hour with photos printed using mpix.com.
After the wedding, we used minted.com to create our thank you cards. Instead of opting for a $0.45 charge for printing a return address on each envelope though, we just custom printed return labels from Walgreens for less than half the price, and now we’ve got extra labels we can use going forward to boot!
Lastly, I’m happy to have discovered that my trusty little Brother laser printer has a manual feed tray for printing on thicker materials. If I didn’t have this resource in-house, I was prepared to use the UPS store to print our mini schedule signs, the text for our escort cards, etc.
8. Tablet
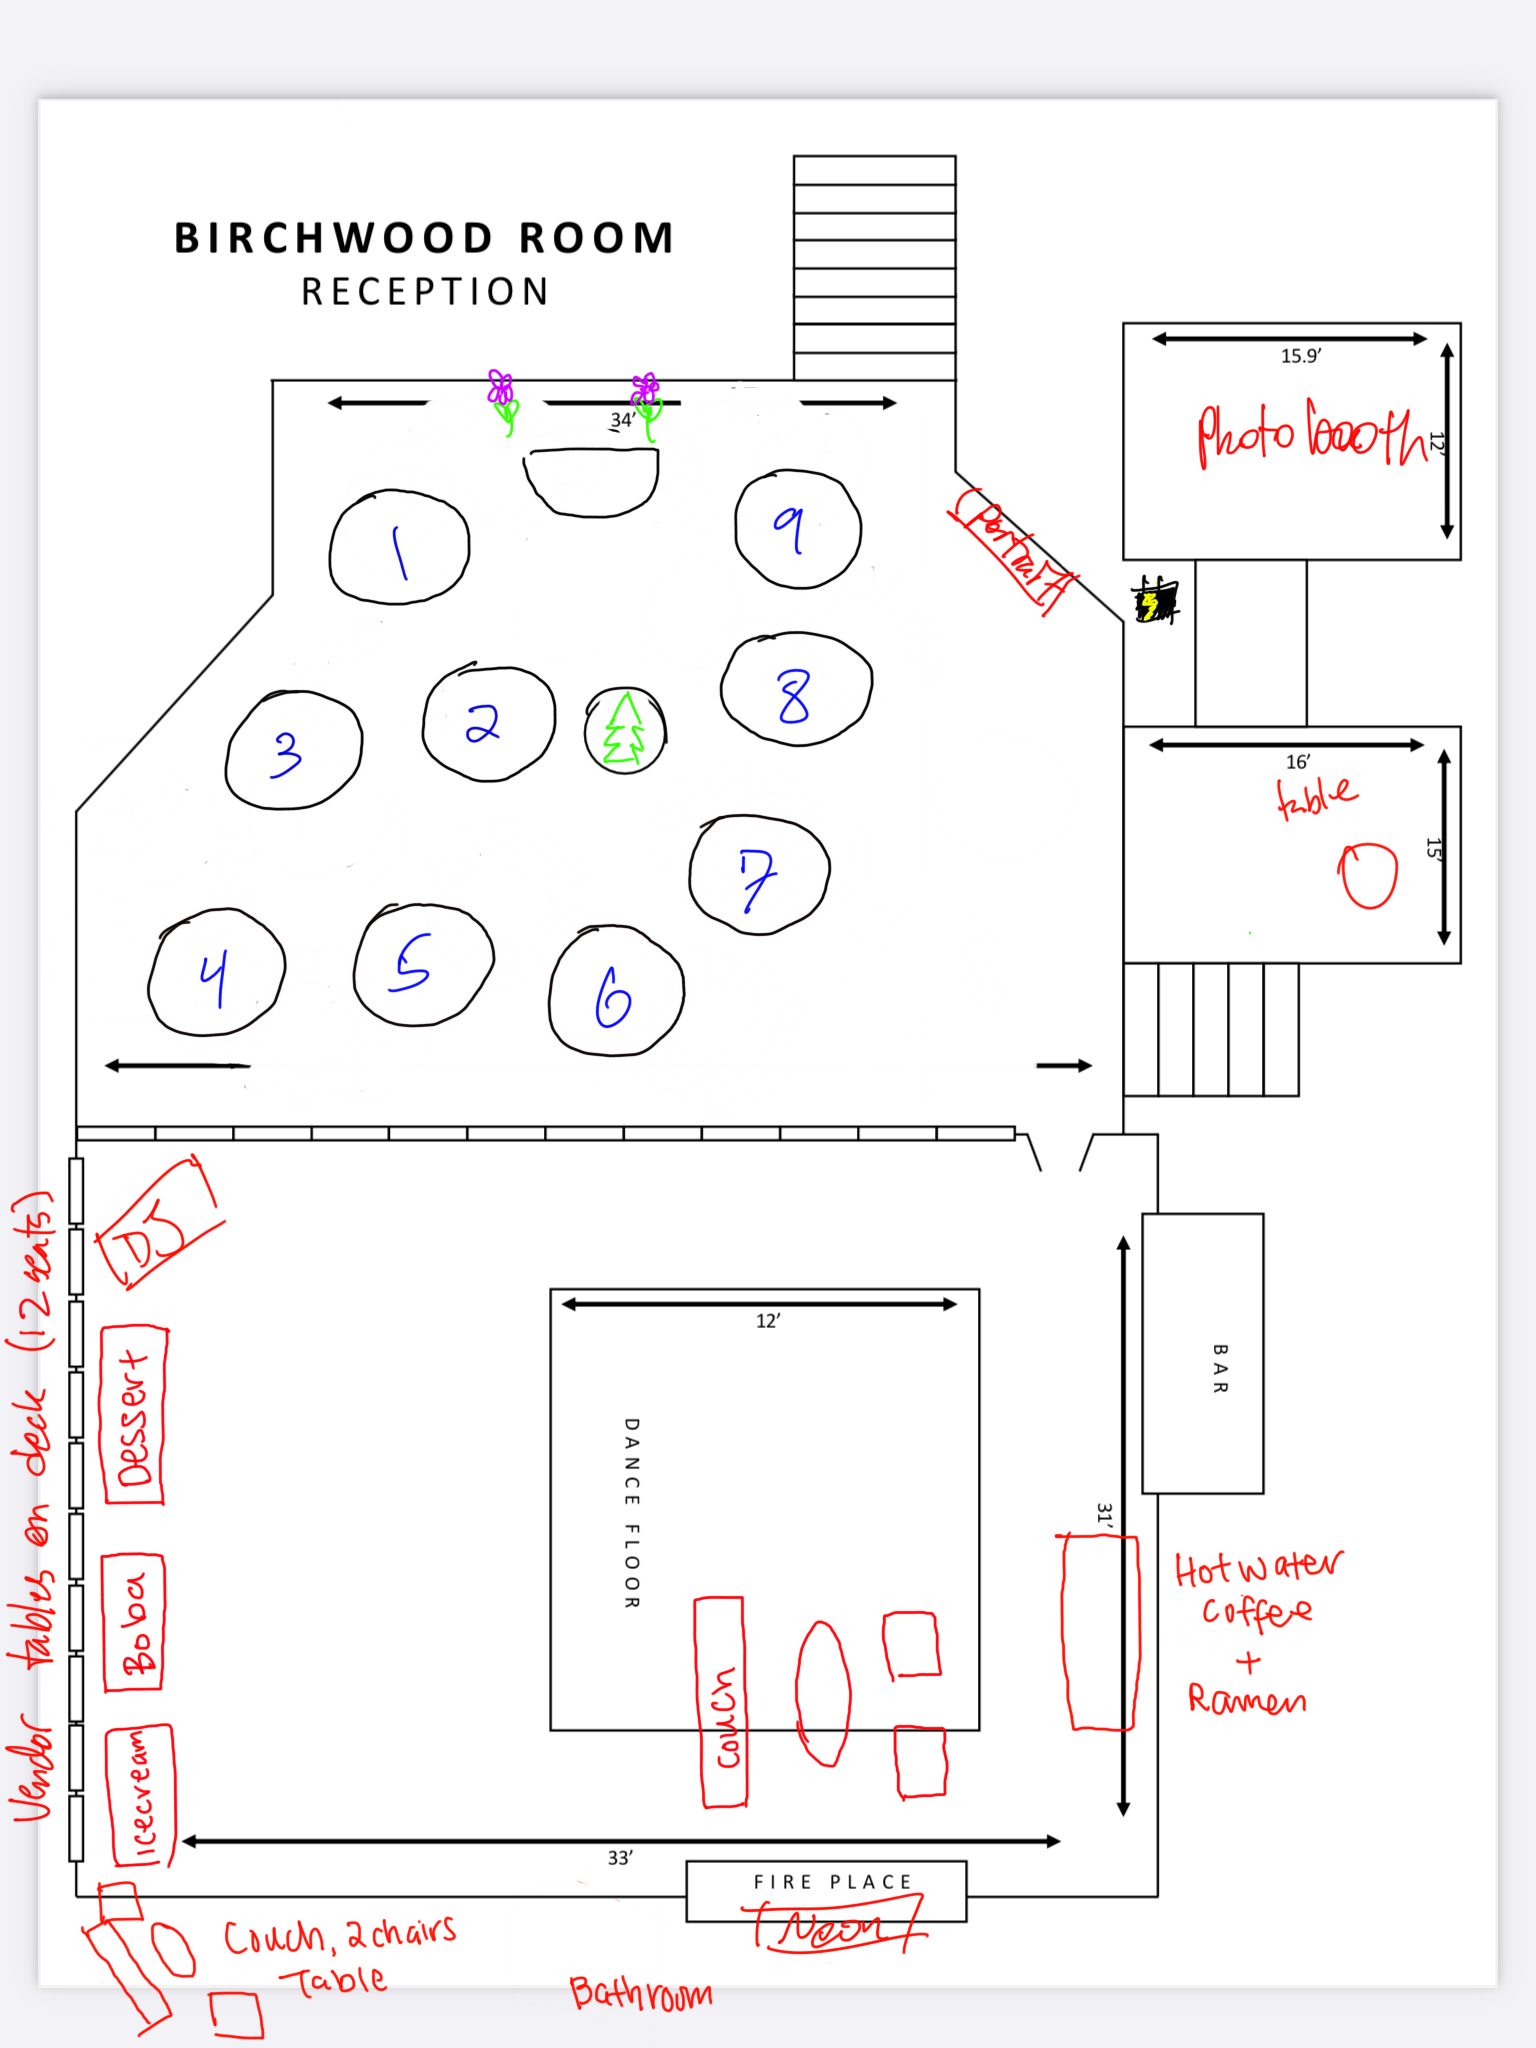
My iPad with pencil especially shined for sketching layout ideas of our ceremony and reception spaces. I used the Sketchbook app by Autodesk for this, but there’s many equivalent drawing apps. It was also generally helpful to have access to all of our planning documents on a screen larger than our phones while on the go.
That’s it for this edition! Next time I’m finally getting into specifics of how I created the individual components of our wedding (personally, my favorite part!)