It’s better late than never–at least that’s what I tell myself. At this point, I’m glad I finally found time (and we don’t even have kids) to sit down to knock out the very last part of this longer-than-expected series: the centerpieces! Designing, and making the centerpieces was probably my single favorite portion of planning the wedding.
I knew I wanted to make the centerpieces at my wedding even before I knew who I wanted to marry. I didn’t know what form the centerpiece would ultimately take at the outset since I planned on merging both Tiff’s and my tastes. I’m extremely proud of the product we (this was a team effort) ended up with. For those who haven’t seen yet, this is what they looked like:

Being an engineer, I began the process with a set of product requirements:
- Symbolic: The centerpiece had to represent Tiffany and I as a couple.
- Aesthetic: It had to look good and match the overall theme of our wedding
- Whimsical / Interactive: I wanted the centerpiece to be somewhat unique and fun.
- Manufacturable: About 10 needed to be made
- Easy assembly: Obvious for somebody who had never seen it before, with limited instructions
- Packaging: Simple disassembly and airplane-proof for guests to take home
With the requirements in mind, I began an iterative process of creating components, testing them, and refining them.
The first component I created was the top lighted portion. The shape is called a trefoil knot and it has a few interesting (for nerds at least) properties which double as symbolic attributes. First, like a ring, it’s made of a single unbroken strand (like marriage). From various angles, it looks almost like a three dimensional infinity sign (representing an everlasting love). The trefoil knot is also nontrivial in the mathematical sense in that it cannot be untied without cutting (insert your own apt marriage analogy here). Another property which made it highly adaptable for lighting in this project is the fact that even though it appears as if the faces twist around, they actually keep the same orientation with respect to each of the other faces (I don’t know enough math terms to describe this properly). In practical terms, it means I could insert a single strip of LED rope and have all the lighting be visible without cutting it into separate sections.

The physical model for the knot was created by extruding a U channel along a curve defined with a set of parametric equations (shout out to IMSA math teachers! I knew this stuff would be useful). I tweaked the parameters for the shape to fit my print bed, fit exactly 1 meter of lighted rope, and have “lobes” that look good.
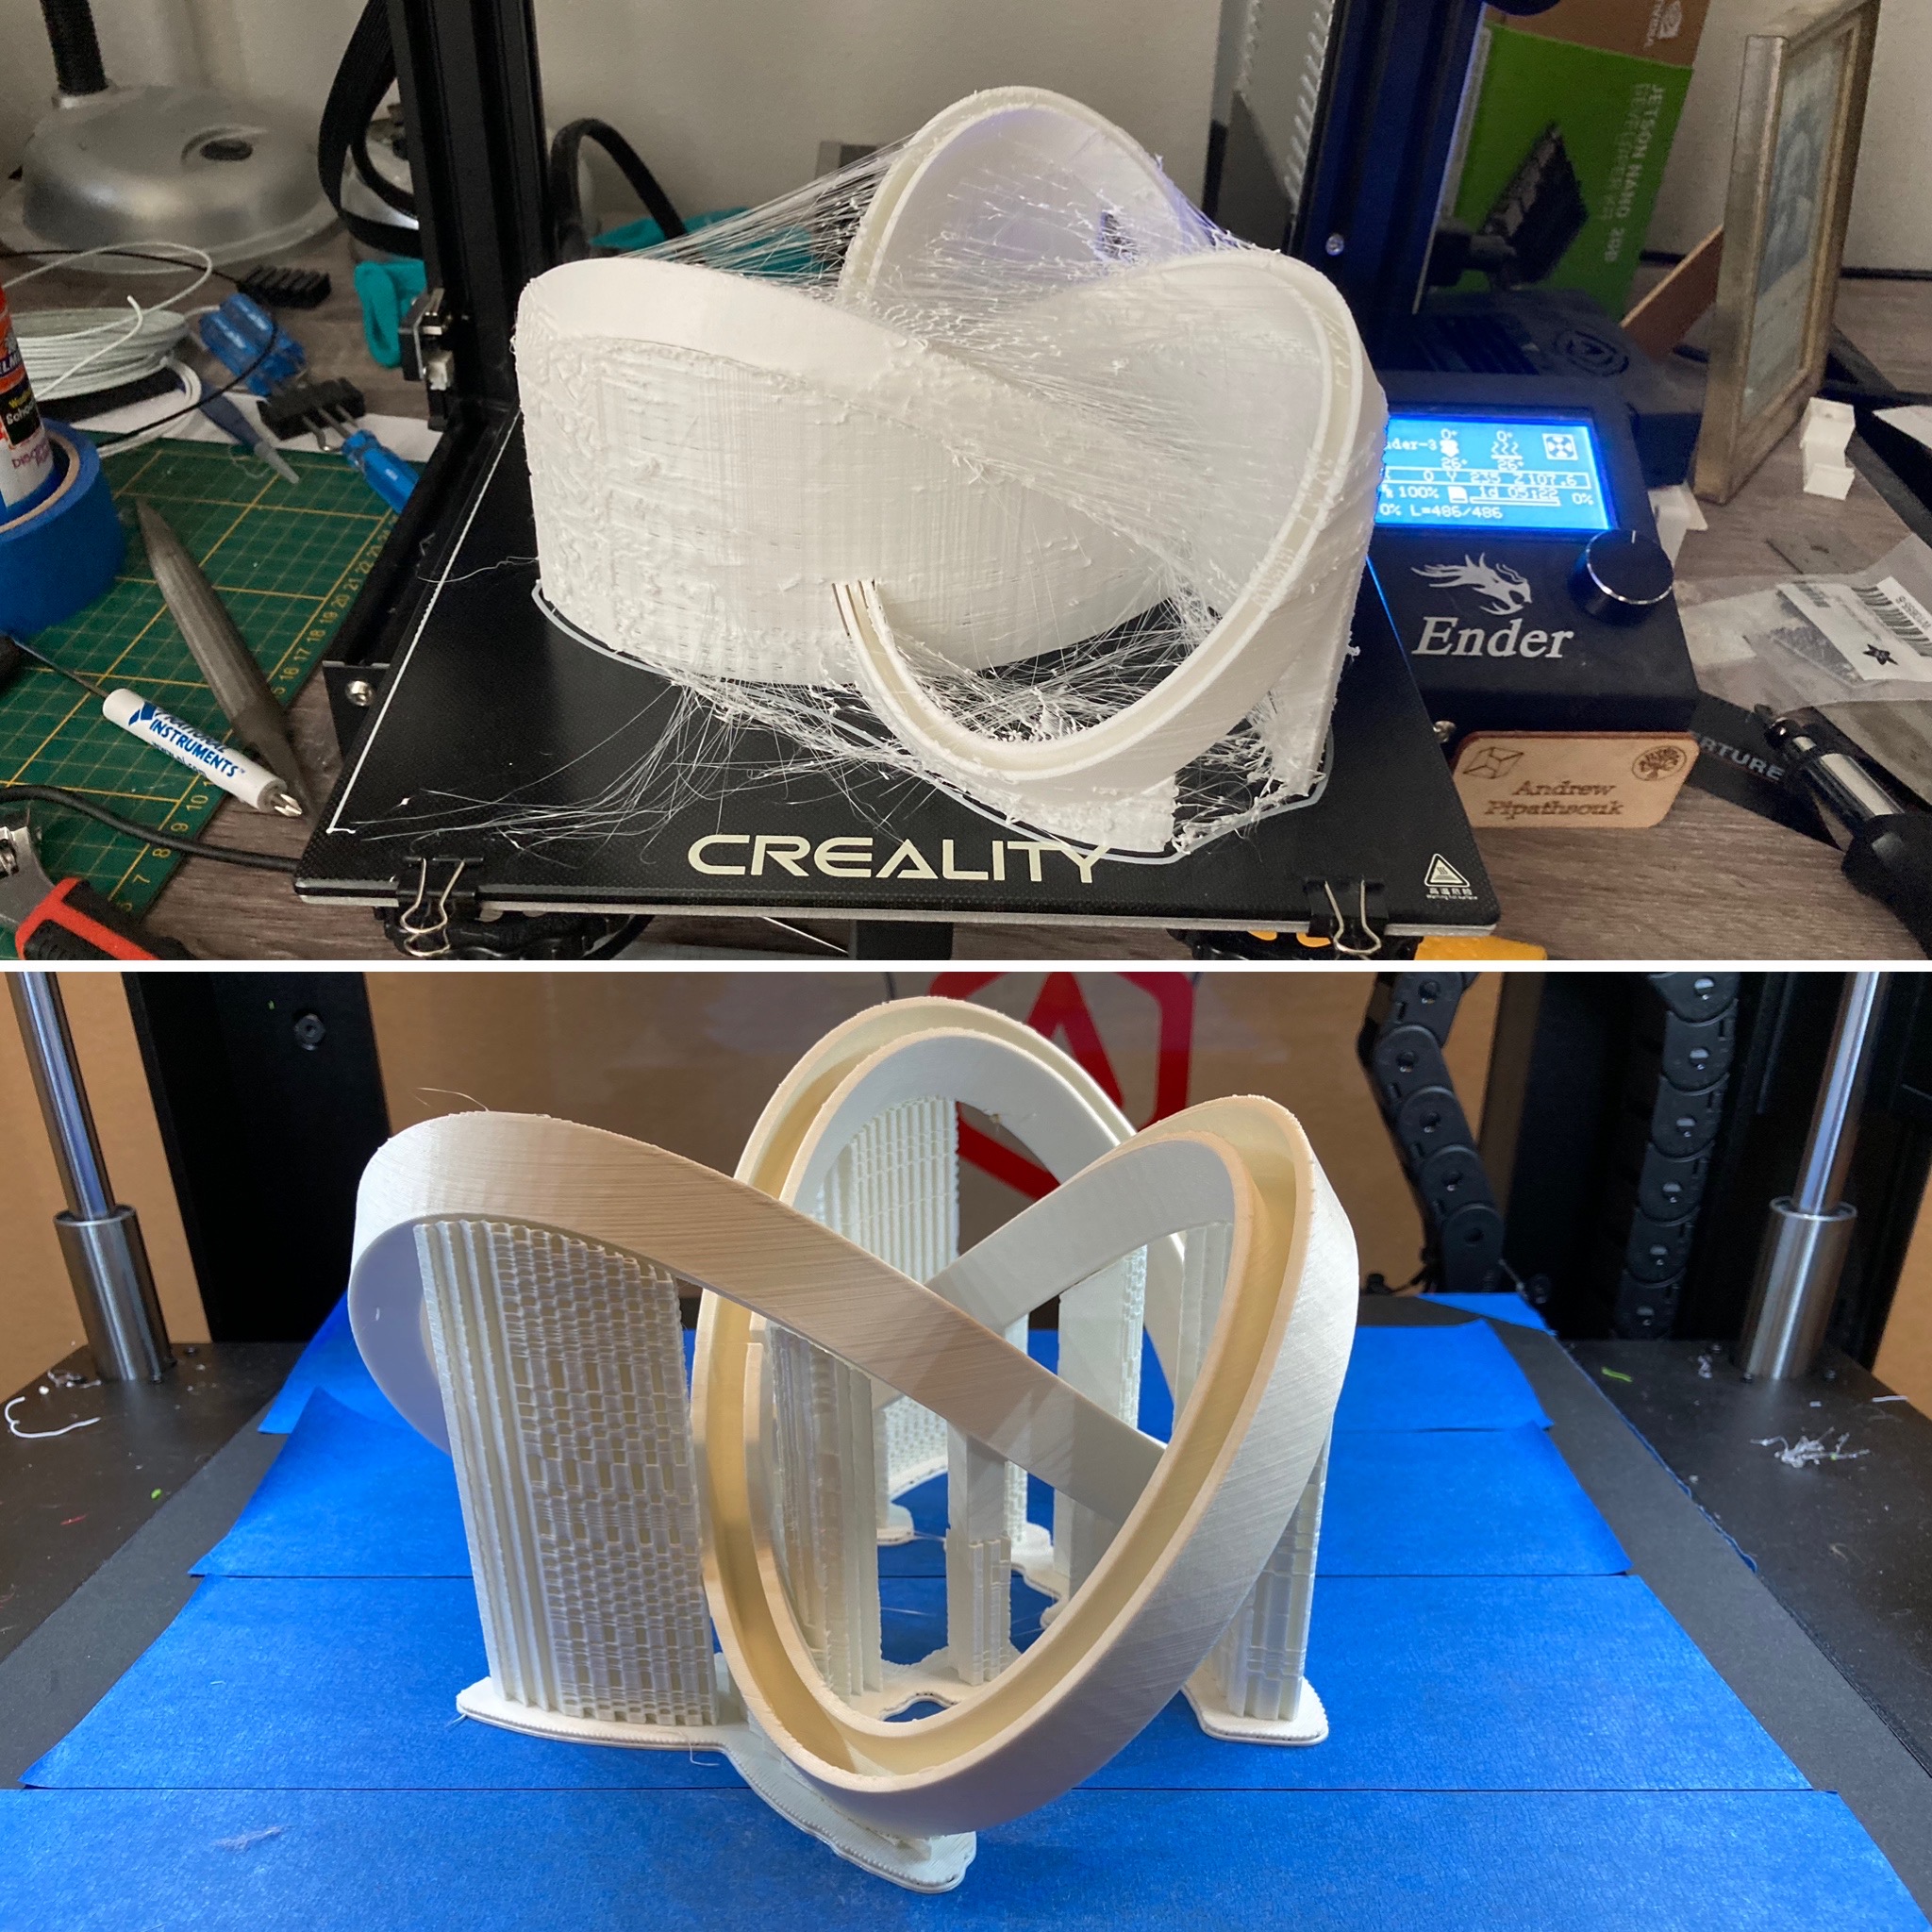
As you can see, my first print (top) had severe stringing and had a lot of overkill in terms of support material which made it a bit of a nightmare to finish. Luckily, I’ve got a bit of experience in optimizing print settings which helped in the production process down the line ;).
My first prototype trefoil knot used some WS2812 LED strips left over from projects I completed years ago. While it worked as a proof of concept, I didn’t like that discrete LEDs were clearly visible.
Searching for a replacement, I found a newer LED strip product with super high density (96 LEDs per meter). Additionally, I started the project out by planning to control the LEDs by rolling my own arduino code and creating some basic power management circuitry as I had done in the past, but I was amazed to find integrated controllers (SP511E) which did everything I wanted to and more for cheaper than I could buy individual components (thank you AliExpress!). This awesome little controller has two different power inputs for either battery or wall wart, has an IR sensor for a remote control, has a ton of pre-programmed light patterns, AND has a sound reactive function! Above is a prototype video showing all of this in action.
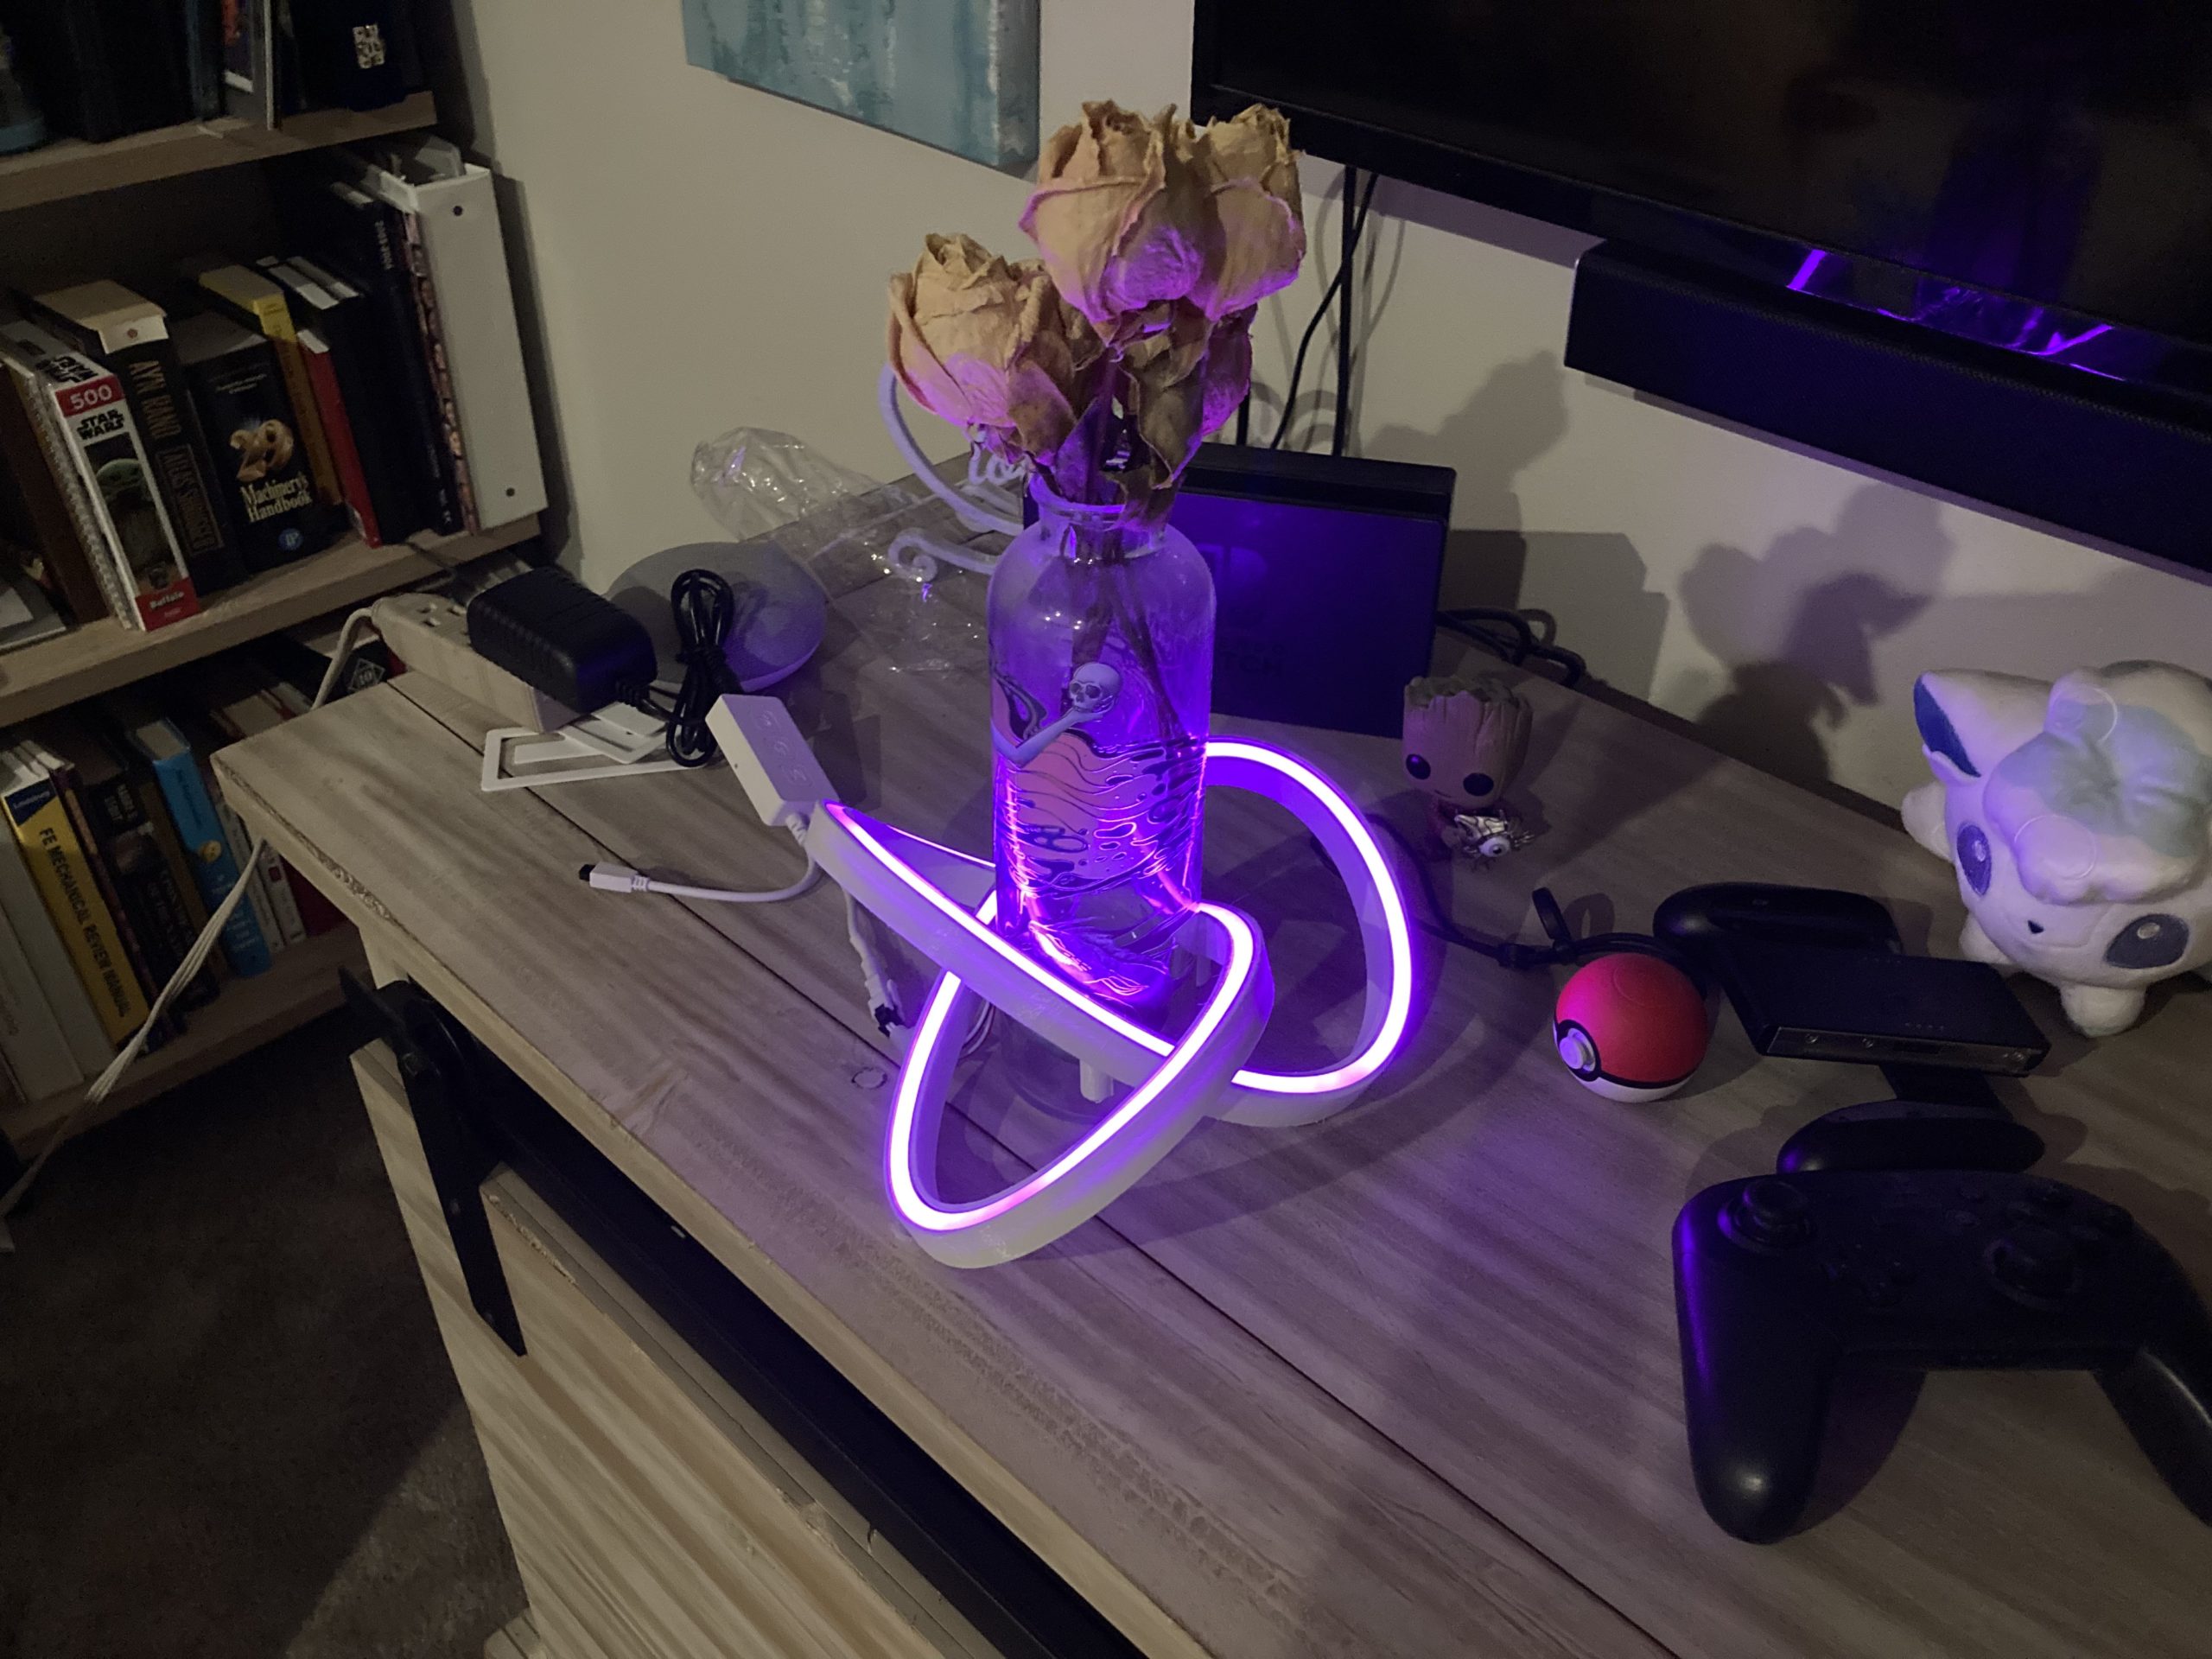
I toyed around with the idea of having a vase with flowers inside the trefoil knot for a little bit, but ultimately we decided that the lighting would look better raised. We also searched for and tried multiple color options on both black and white plastic before deciding on gold paint on white.
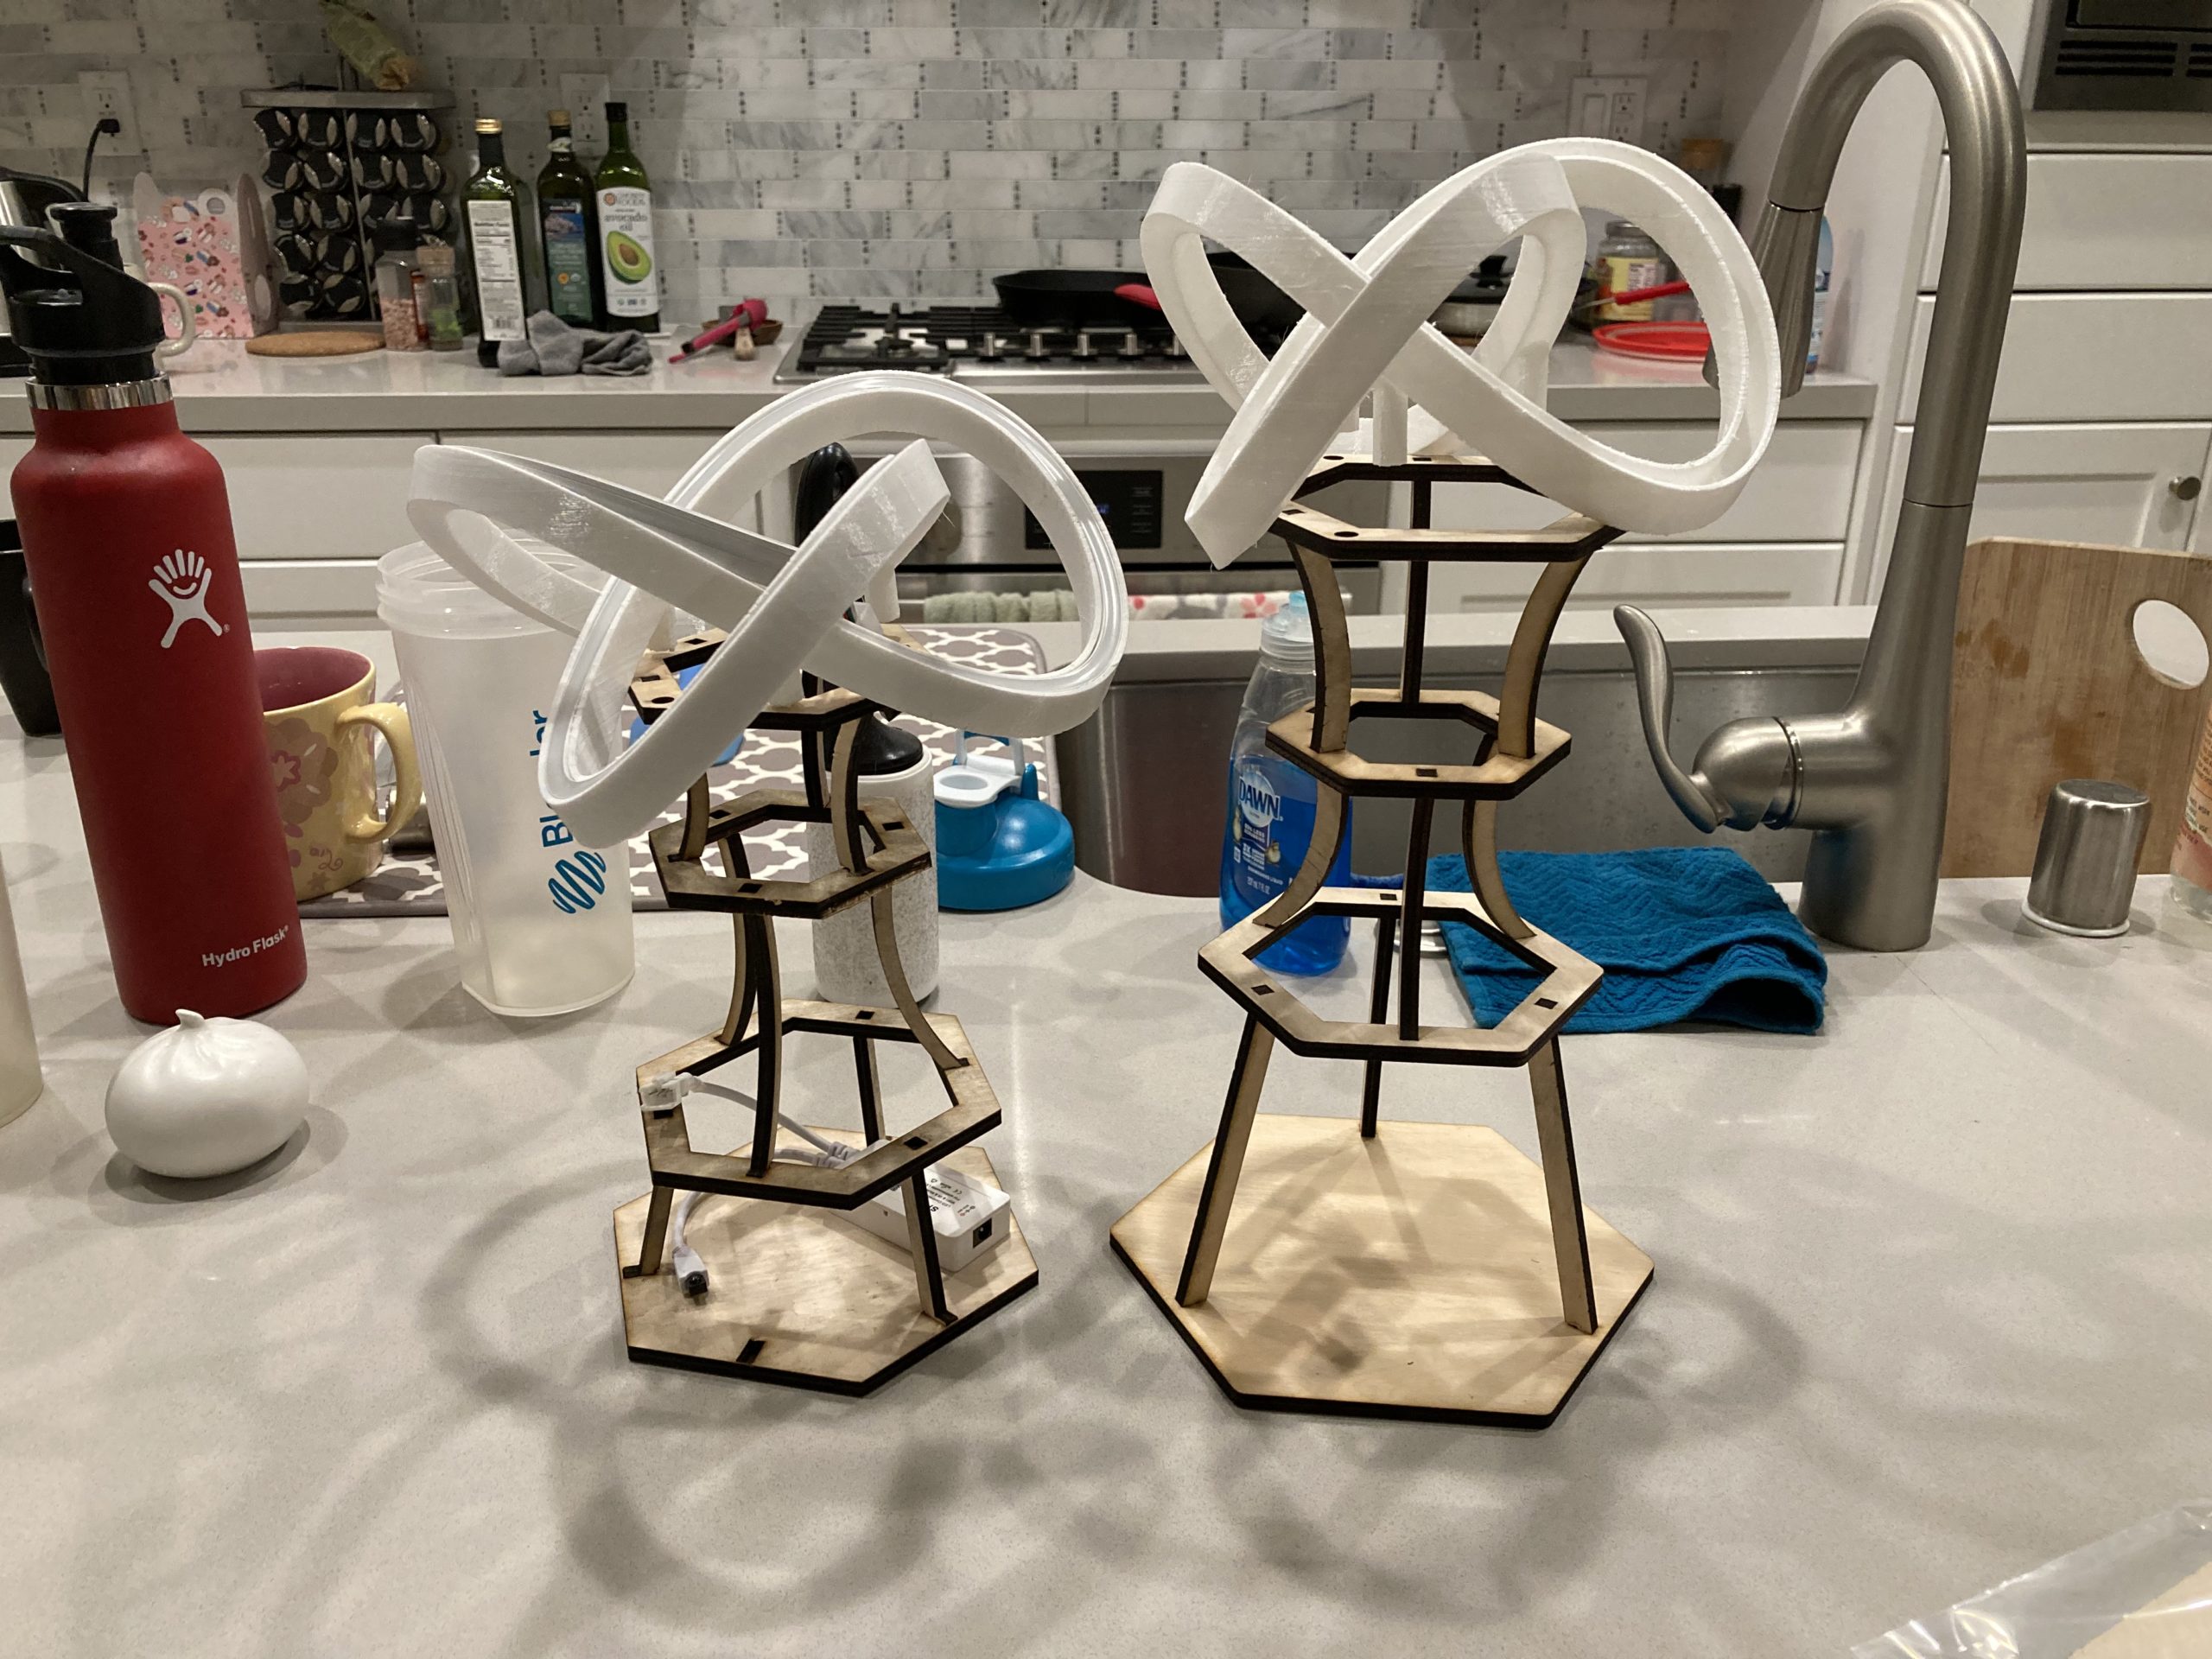
I went through multiple design iterations for the base as well. I optimized the overall height, the number of and shape of the “layers”. Additionally, I had to ensure all the control components could be hidden from view to add to the “magic” factor.
After finalizing the design and building the functional prototype seen above, we got to work in the production phase…

Not only did I need to print about a dozen trefoil knots (each print took ~18 hours), I needed to cut the same number of bases while minimizing plywood waste material.


This took over our living space for quite a while… Not shown in any of these photos are the hours that Tiffany spent sanding to finish the tops before spray painting, the time I spent trimming and soldering the LED ropes, and the preparation of the floral elements.
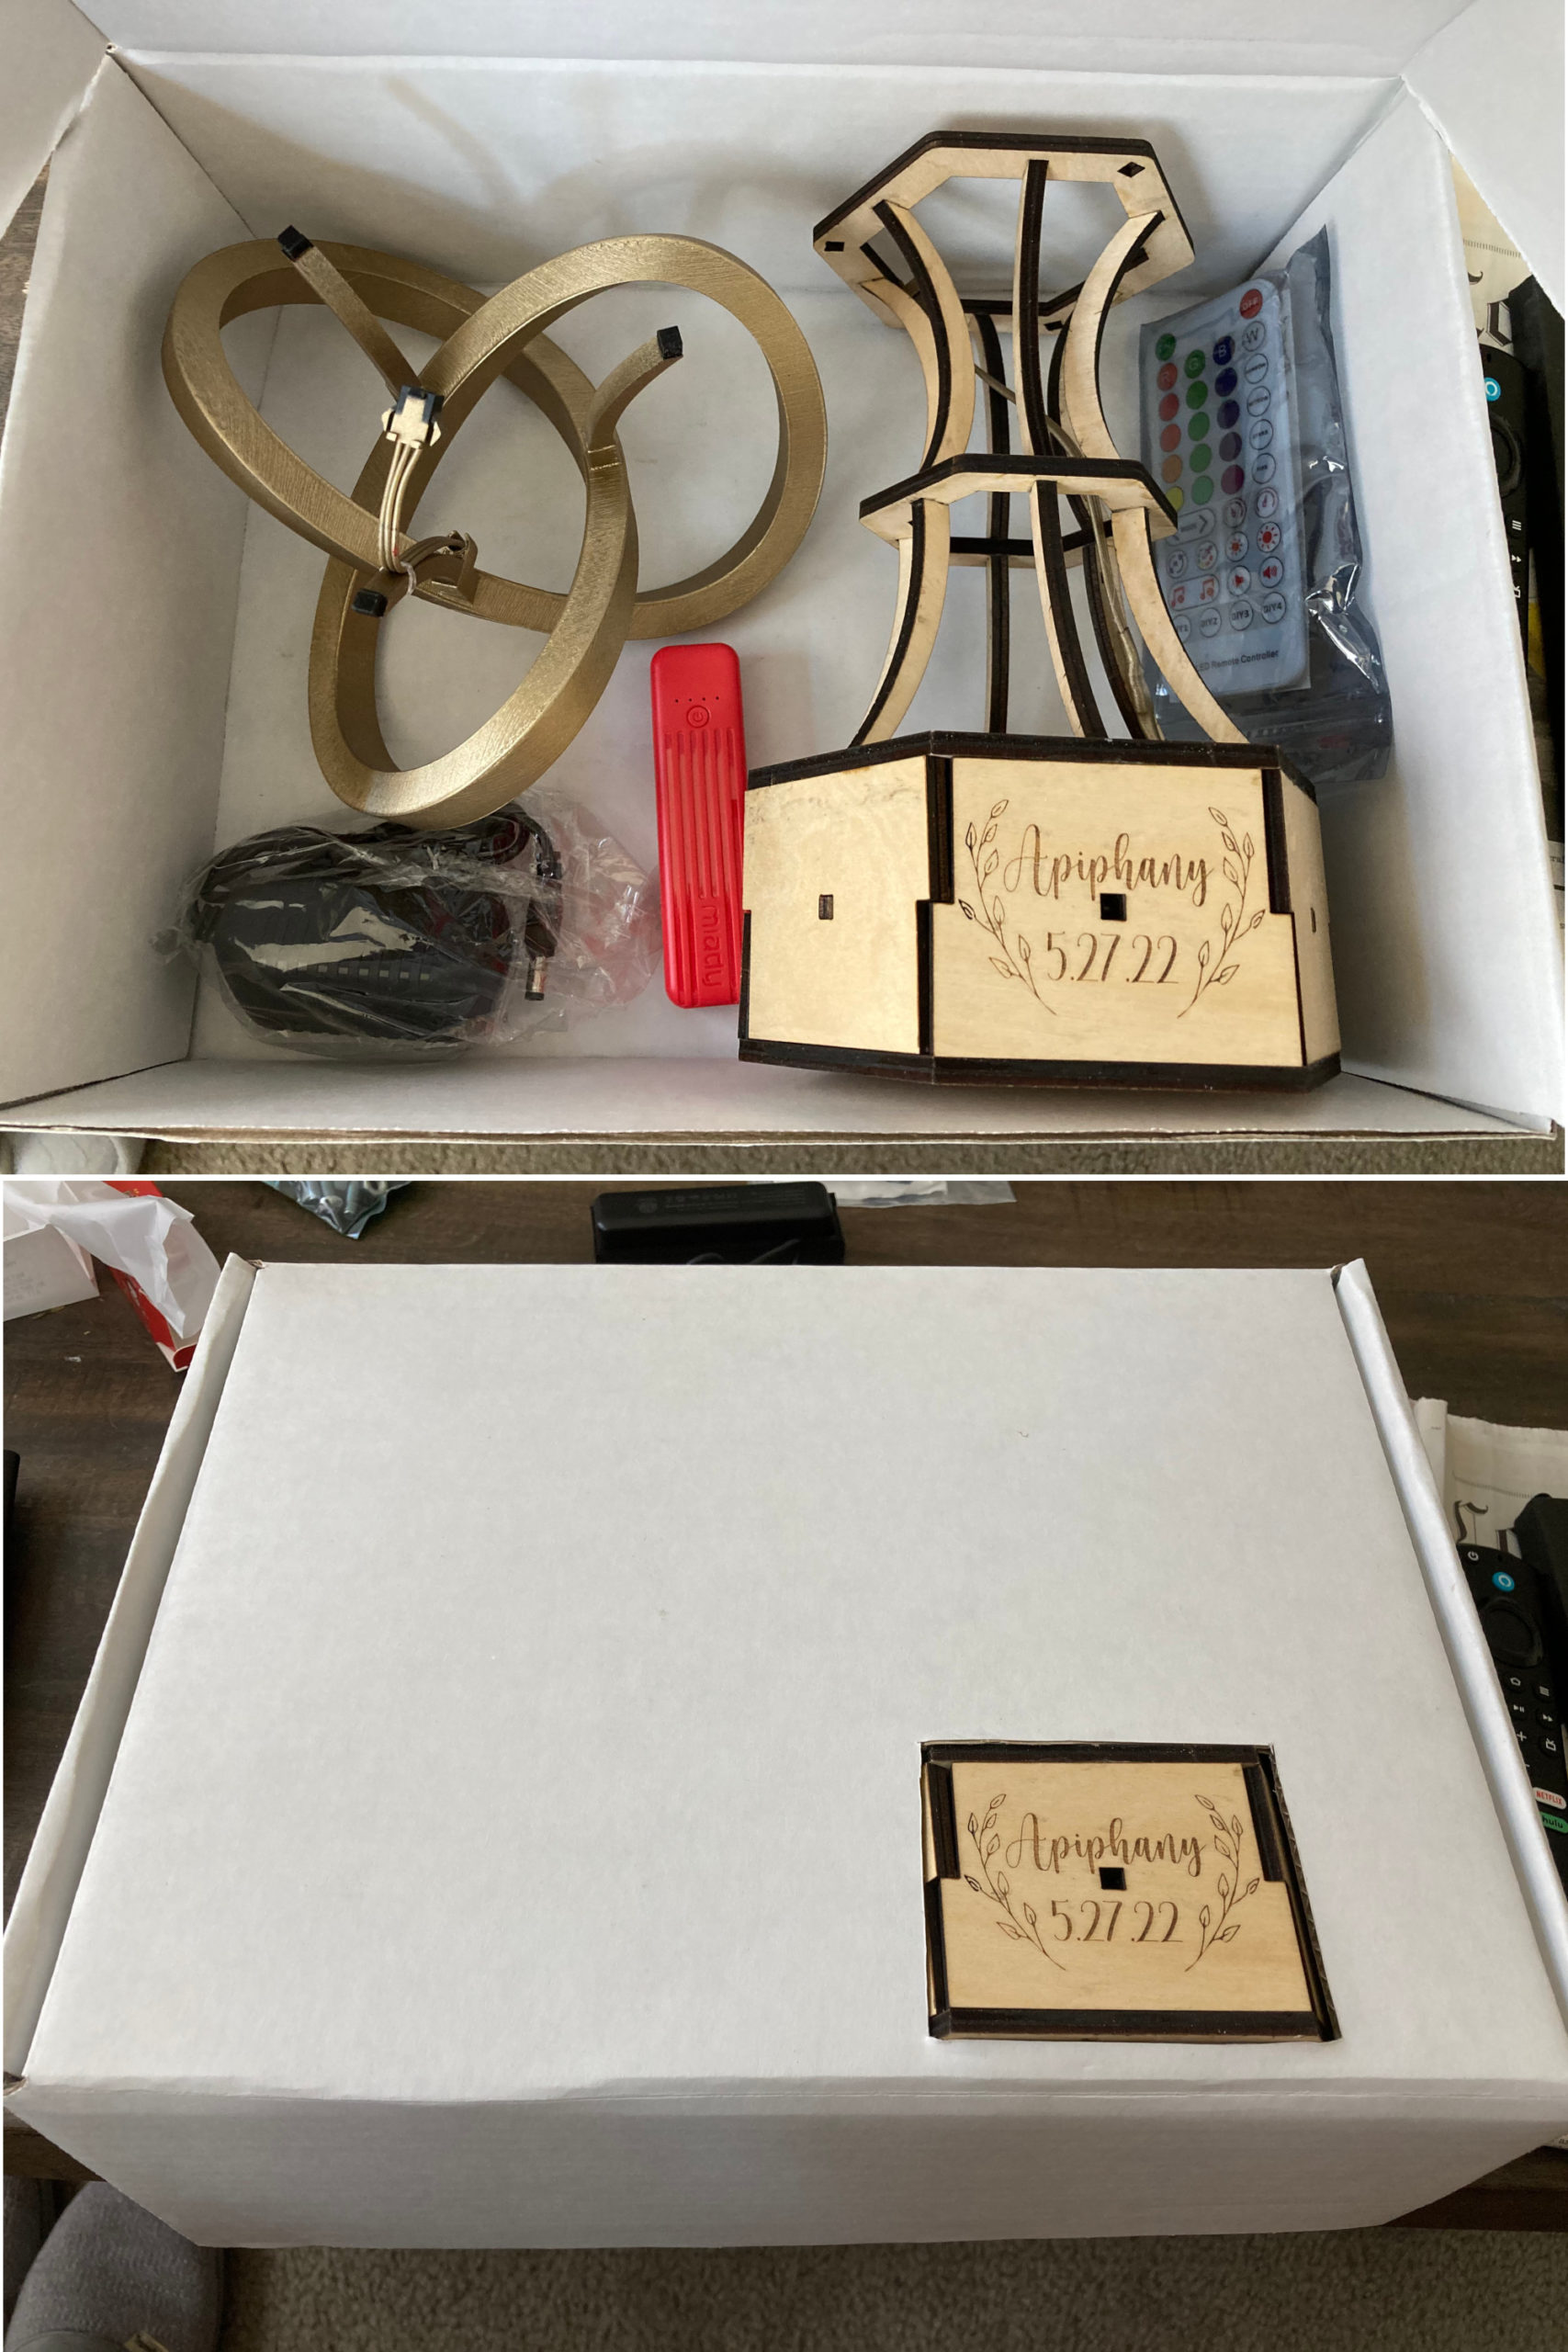
Arguably the most important element of the design is how easy it was to assemble and disassemble… it doesn’t matter how good it looks if nobody else can put it together and take it apart again. I knew I would not have time on the date of the wedding itself to do either, so I put a lot of work up front to make everything as intuitive as possible including: optimizing cable routing, creating sub-assemblies, and writing work instructions.
Thanks so much for sticking with me for this series for almost a year now. It’s been a ton of fun for me, and I hope it’s been at least somewhat interesting for you :). I want to take this opportunity to once again thank my wife, family, friends, and vendors who all made our wedding special and unforgettable!!
For you readers that have made it this far… Here’s a little thank you video I put together that shows the centerpieces in action at our wedding!