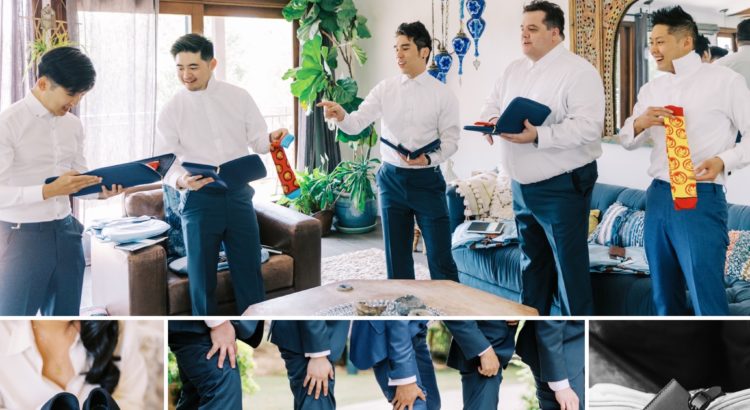
Thanks for sticking with me despite the delayed postings… it’s only been about 4 months since our wedding 😅. This quick post covers a hodgepodge of projects–the personalized elements in our gifts to our wedding party, and the tip jar for our bartenders.
Our wedding party was fairly small–just 4 members on each side–so Tiff and I wanted to give functional and meaningful tokens of our appreciation. For my groomsmen, I gifted duffel bags, personalized luggage tags, personalized Moleskine notebooks, travel tie cases, ties, pocket squares, tie bars, and themed socks :D. For her bridesmaids, Tiffany gifted waterproof shoes, necklaces, robes, and the same personalized luggage tags I made for my groomsmen.

The same process was used to personalize both the luggage tags and moleskine notebooks. First, I designed debossing tools with inverted text and wings to help with alignment:
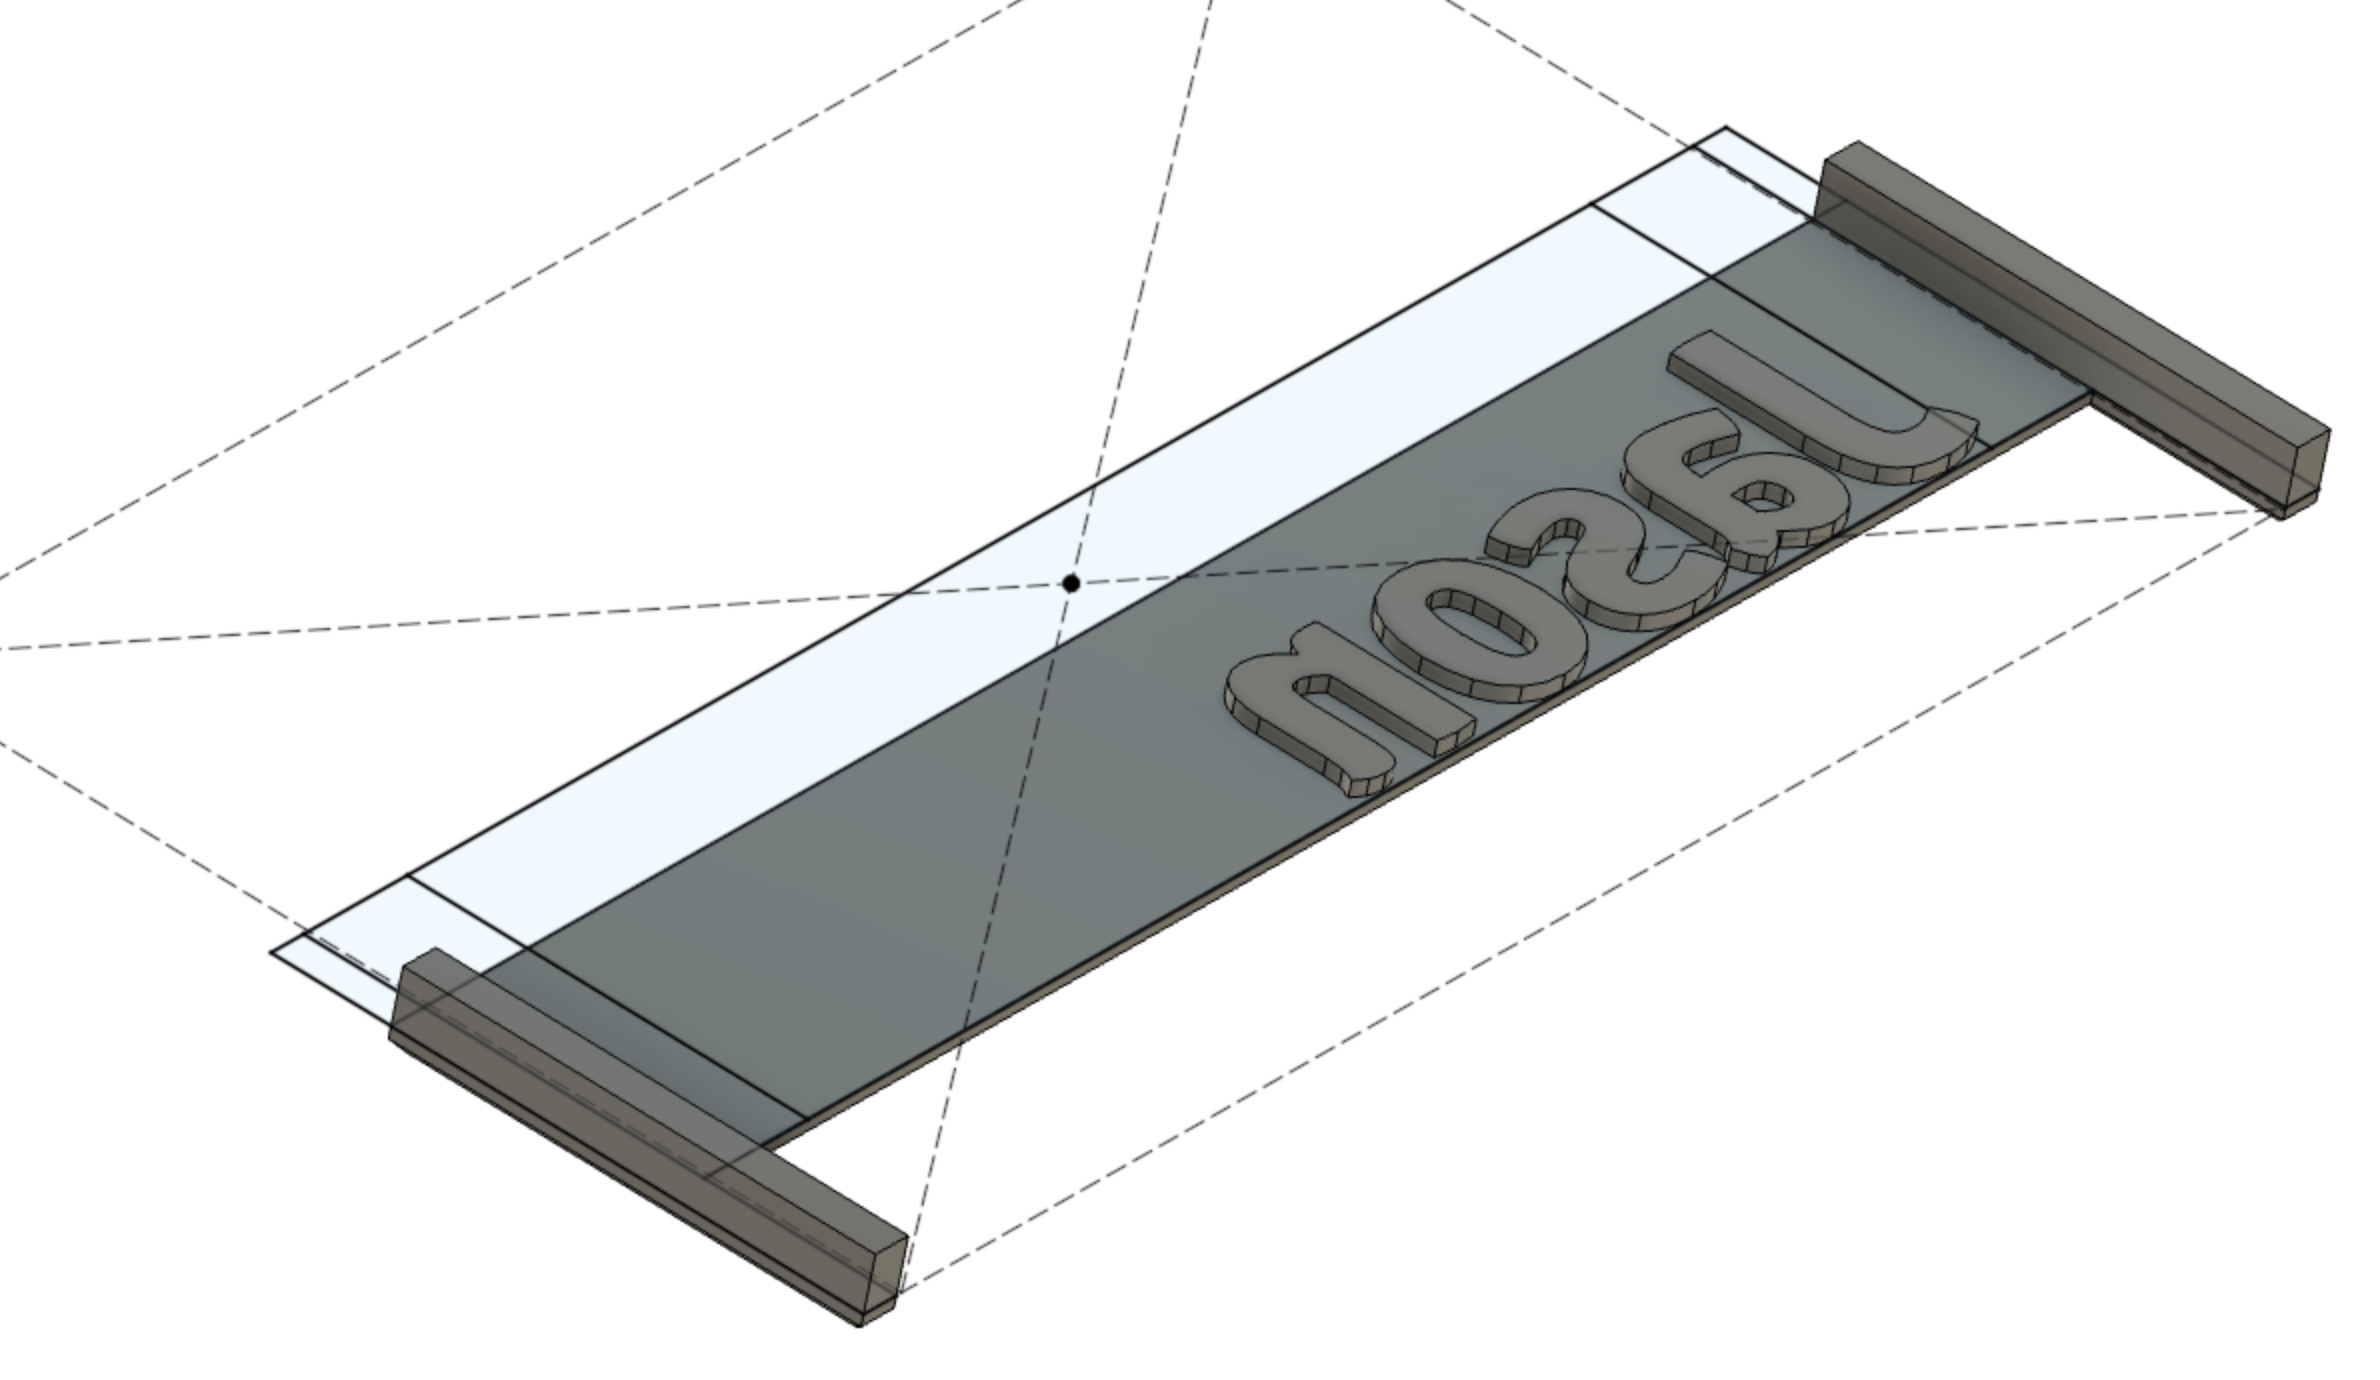
It took a bit of experimentation for me to refine the process, but was extremely straightforward to do once I had all the tools set up:
- For strength, print the debossing tool with a higher than normal number of walls (5) and infill (50%). Normally, there are diminishing returns on adding more infill, but in this case it was warranted.
- Wet the surface to be imprinted
- Add a very stiff backing plate beneath the area to be debossed
- Sandwich the component between more flat plates to help spread the clamping force evenly
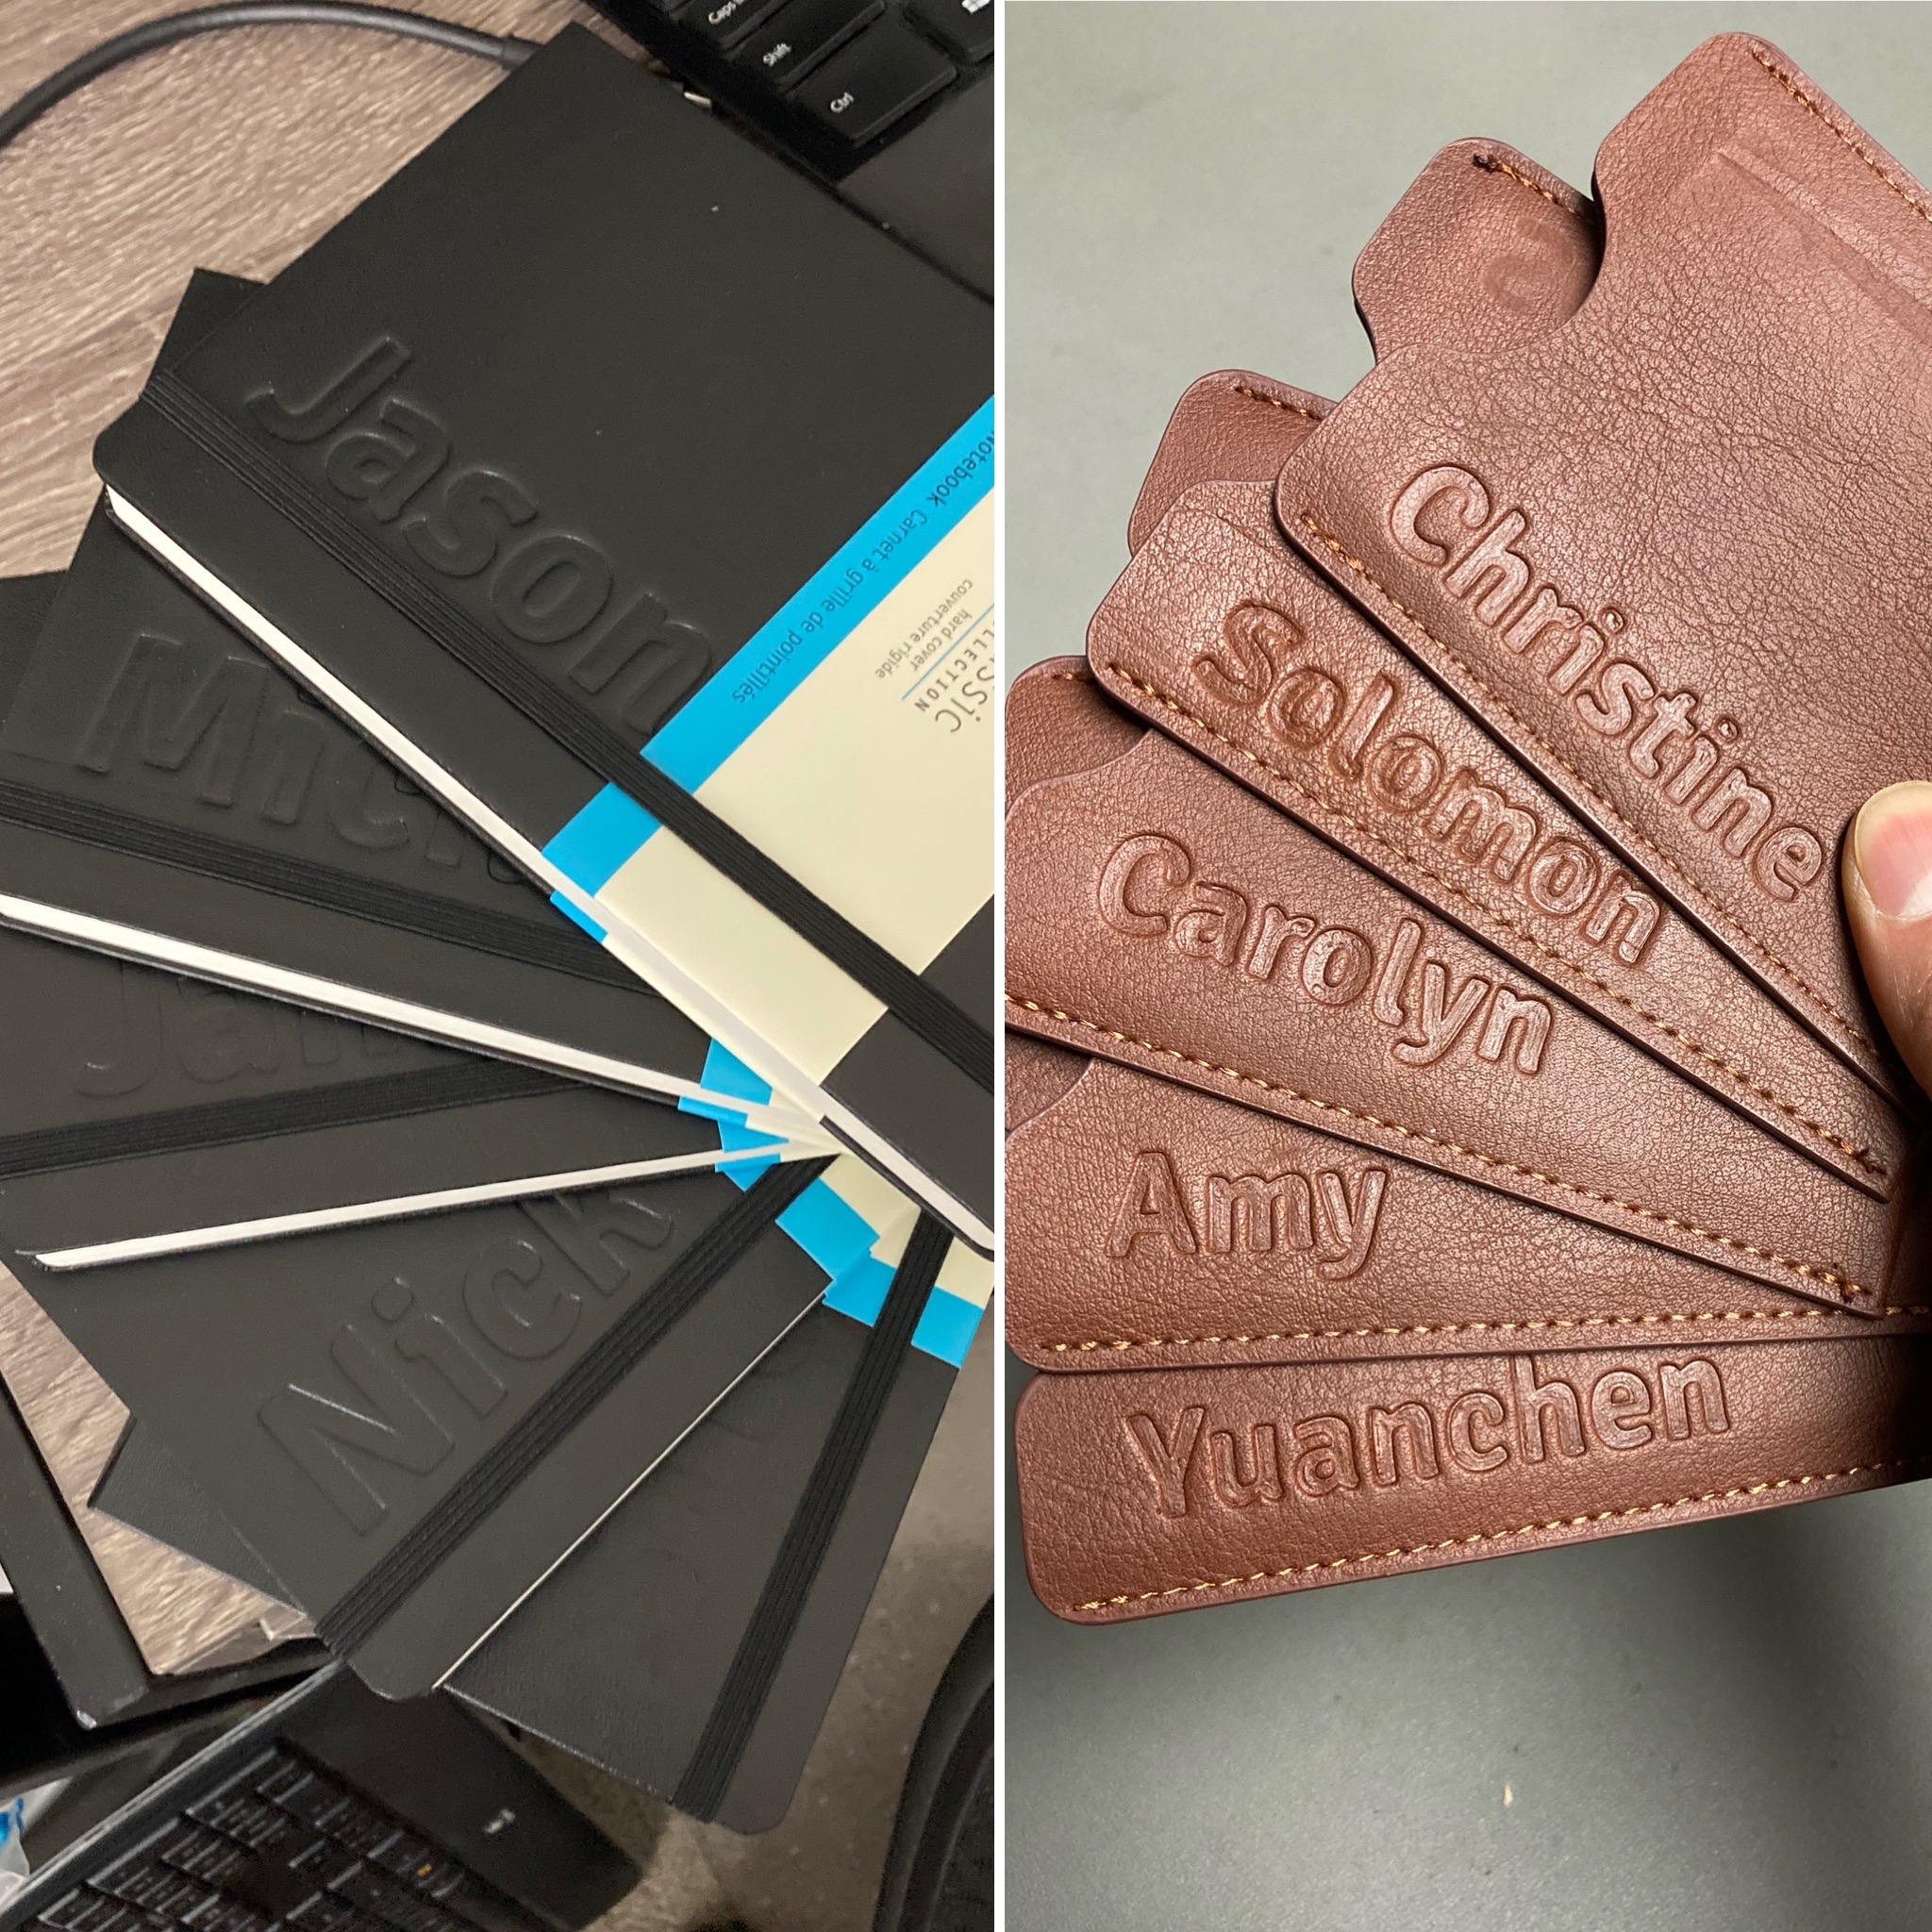
- Clamp down HARD, for at least 15 minutes. Using hard mounted vises makes the work easier.
As one might expect, it was more difficult to emboss larger objects with longer names, since a greater amount of overall force is needed to apply the same amount of pressure (force per given area).
To create the nametags for the bridesmaids’ gift boxes, I used the laser cutter my groomsmen gifted me. I used inkscape to generate vector files to create a background piece, a border to fit on top, and names. Aside from dialing in the diode laser intensity settings for clean cuts in each color, the most difficult part of the project was actually applying the adhesive spray without making a mess.

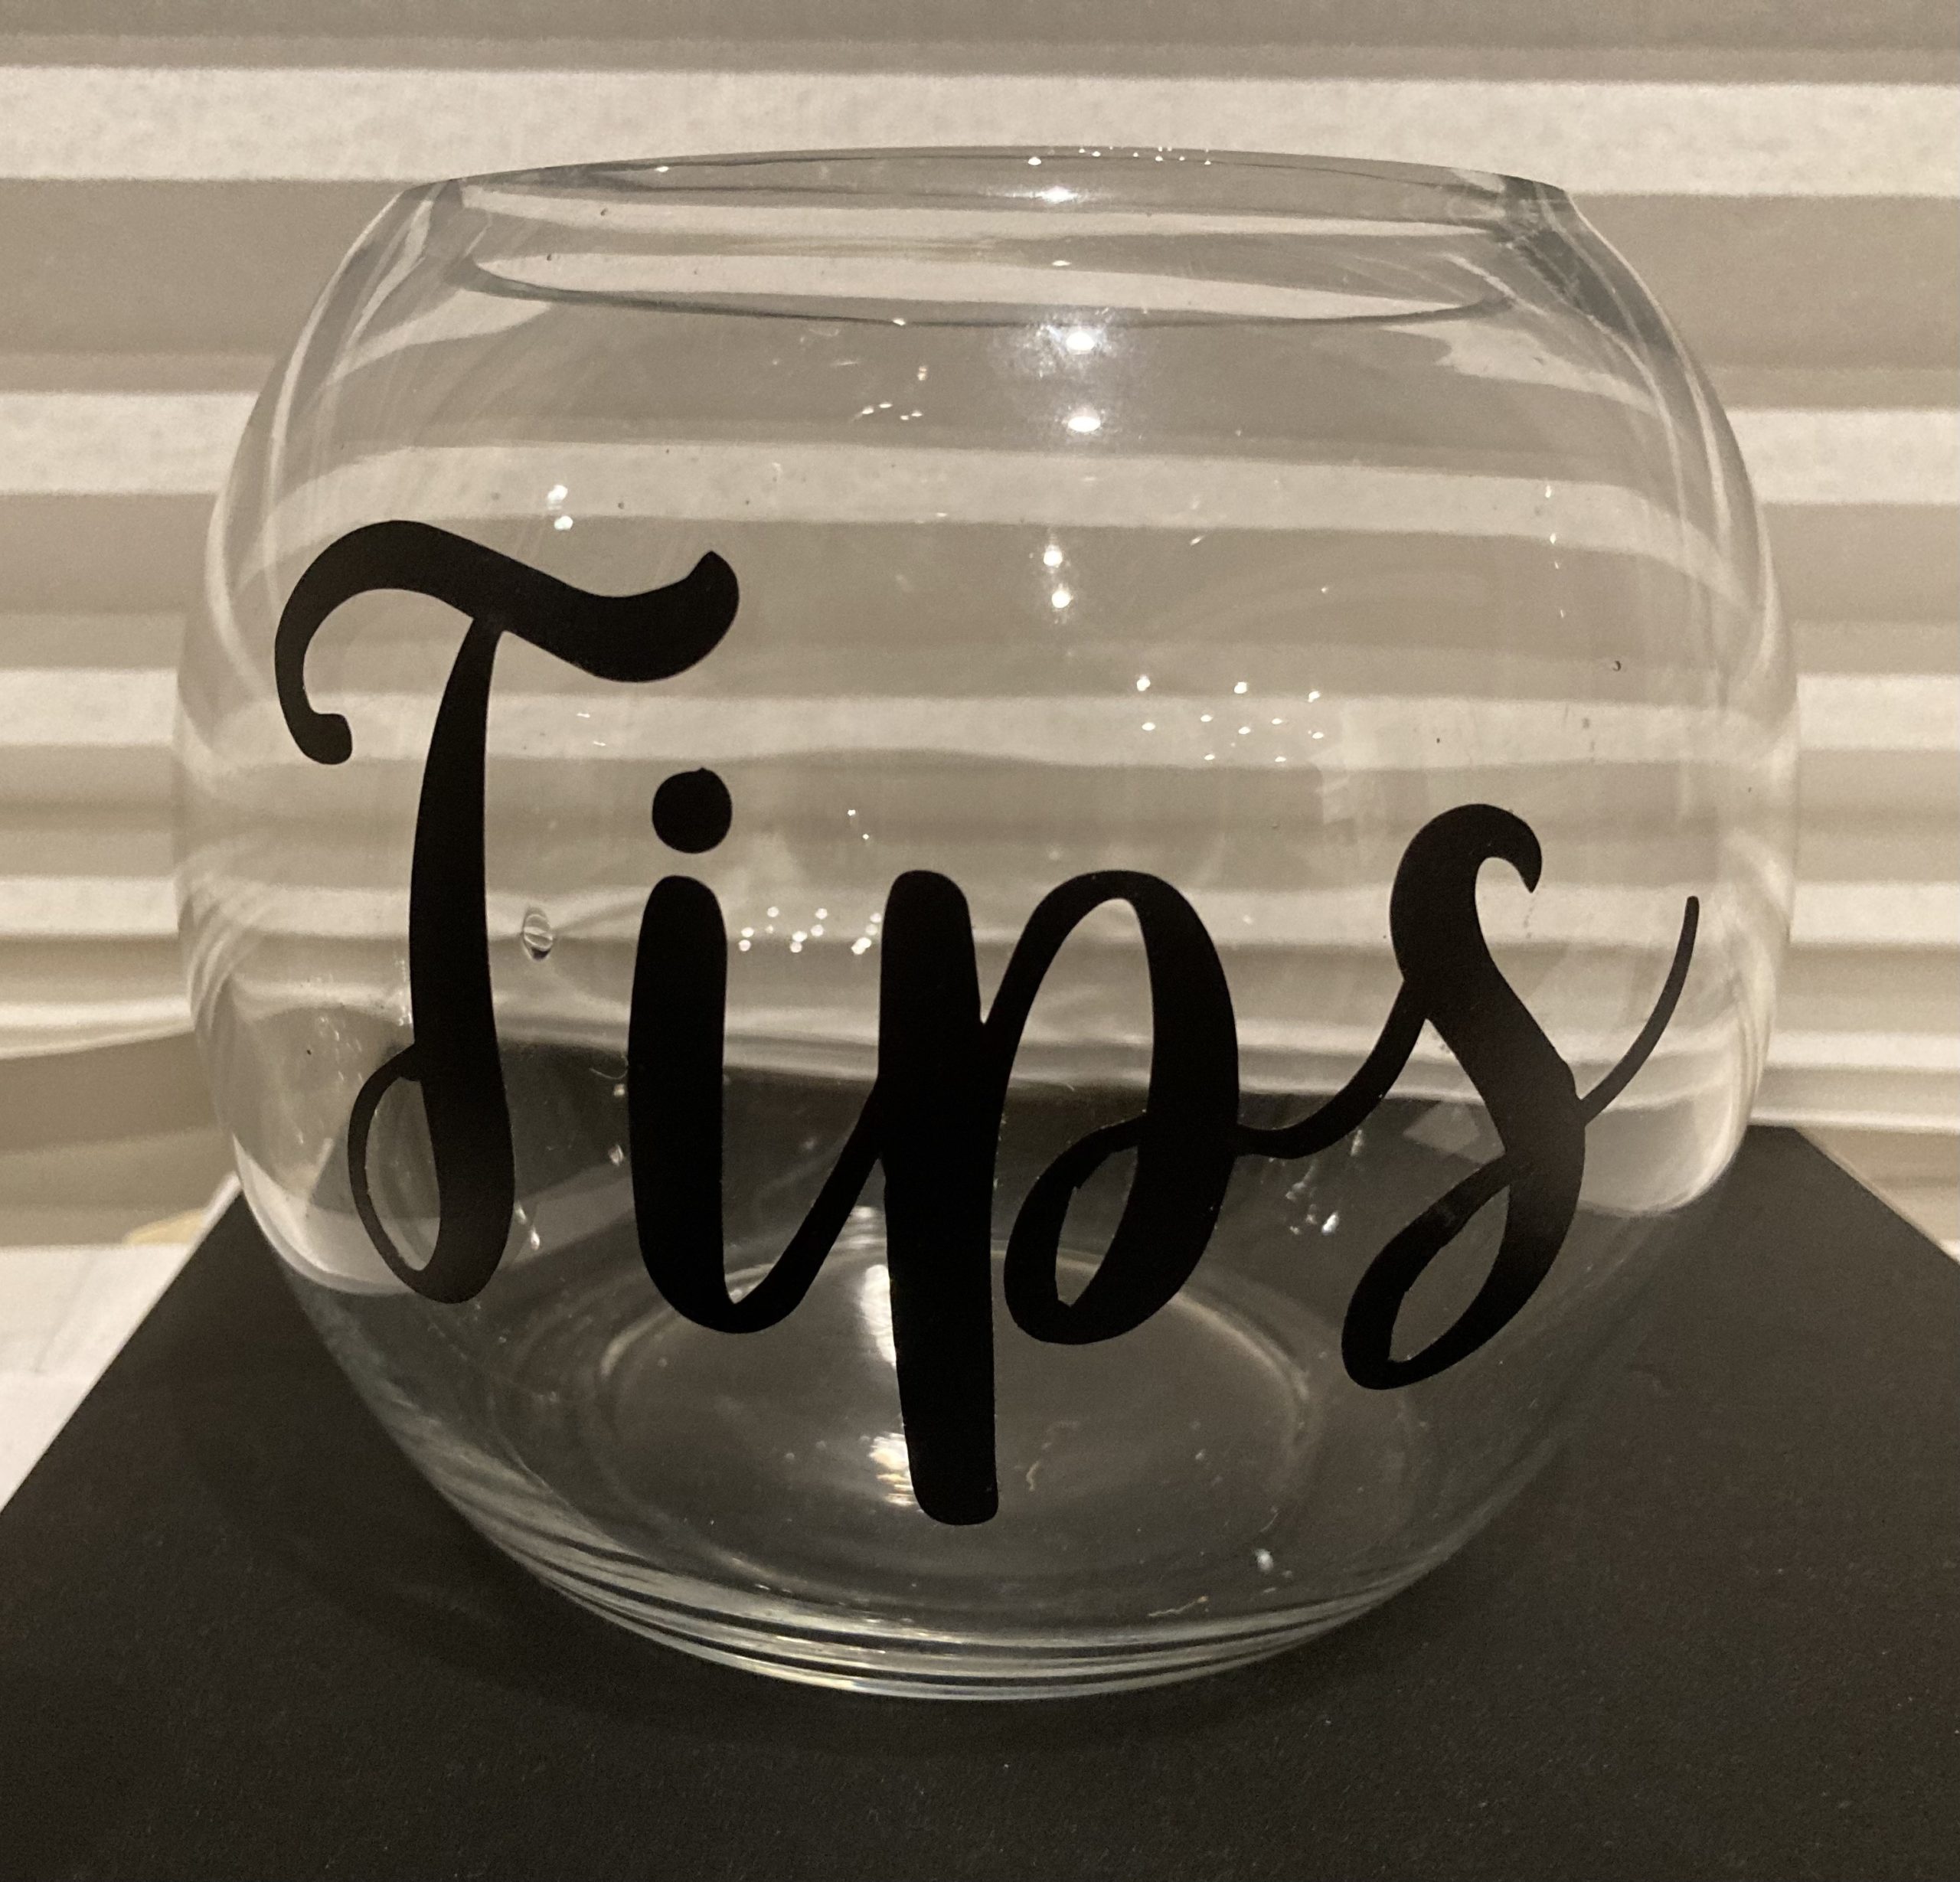
Of all the projects, the tip jar was probably the most straight forward. We found a round glass vase we liked. Then, I used a vinyl cutter to cut the word “Tips” out of a sticker material and used transfer tape to place the stickers on the vase. That’s all it was!
Once again, thanks for sticking with me–I should be able to wrap things up within two more posts, hopefully before Thanksgiving rolls around!