TL;DR: For my friend Teddy’s birthday, I made him a hypebeast worthy (if I
do say so myself) Supreme EL box.
My good friend Teddy is one of the biggest hypebeasts I know, so I wanted to
make something he would like. I went back to the EL wire well again for this
project (see: headbands https://www.andrewpip.com/2019/03/28/el-wire-lighted-headbands/
and sign <https://www.andrewpip.com/2019/04/07/faux-neon-signage>).
However, I needed to dig into my paint supplies dating all the way back to my
Iron Man Mask (https://www.andrewpip.com/2018/05/06/infinity-war-masks).
Conceptually, this project was relatively simple:
I made a box.
I cut some channel shaped holes in the box.
I painted the box.
I put my wire through the box.
I gave Teddy the box.
For this project, honestly I think the gallery will explain things better than I can in words, so here it is (it looks nicer if you click to open the full-sized images):
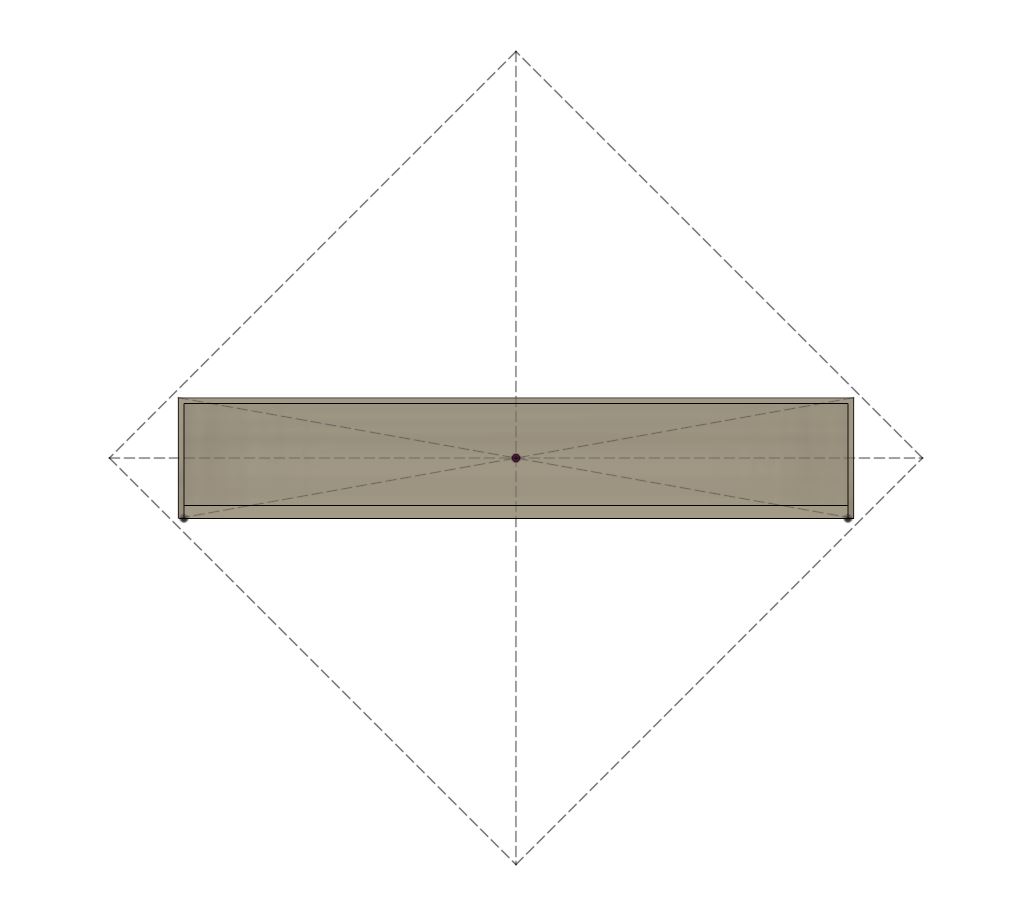
The outlined box shows the extents of my 3D printer's bed (200mm x 200mm). I wanted to make this single part as large as possible, so used a single master sketch to lay out all the features.
I used my layout sketch to extrude all of the basic box features very quickly. Completing a lot of the planning up front was a great time-saving investment.
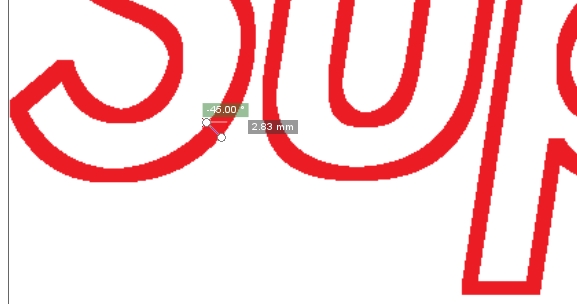
I created a stroked version of the logo in Gimp in a similar way to what I've done for previous projects. In Inkscape, I did some minor spacing and resizing tweaks to make sure the EL wire would fit well.
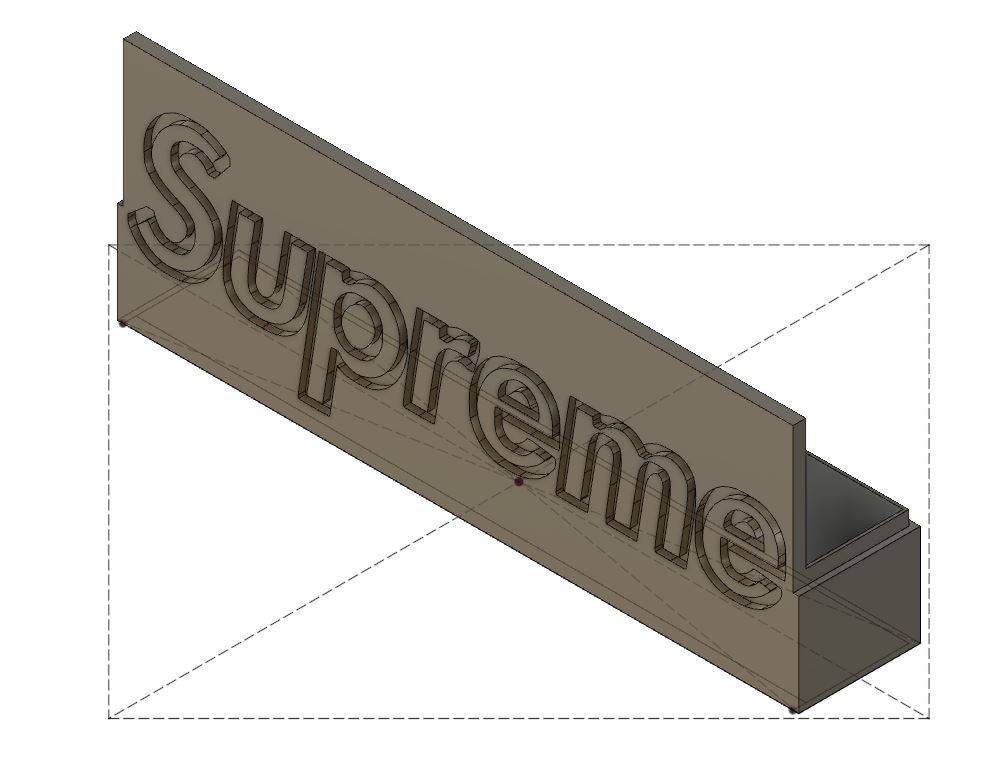
I inserted the SVG version of the logo and made a simple extruded cut.
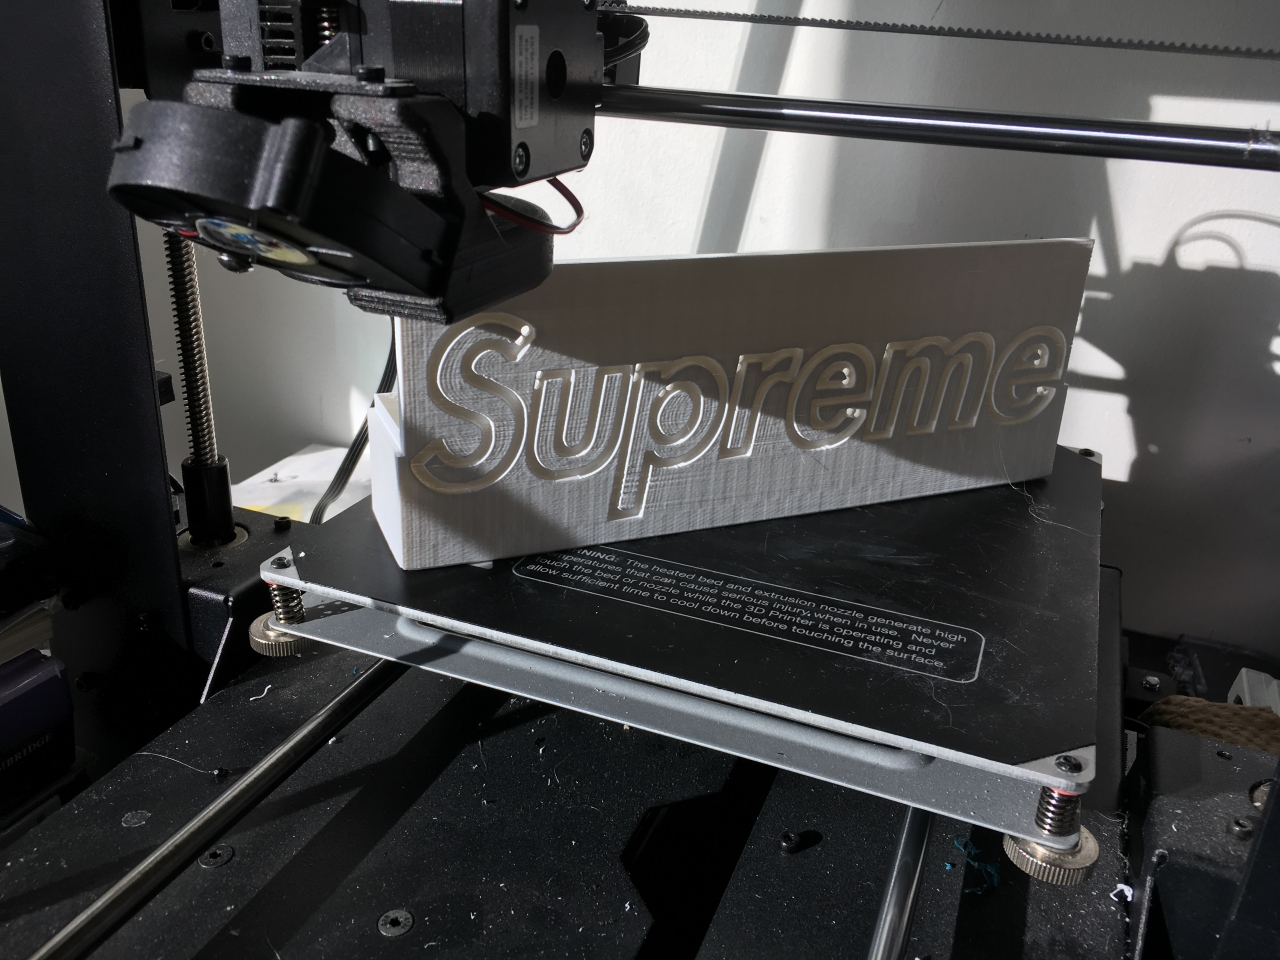
This print maximized my available print area, as planned. If you look closely, you can see where I placed the wire pass-thru holes.
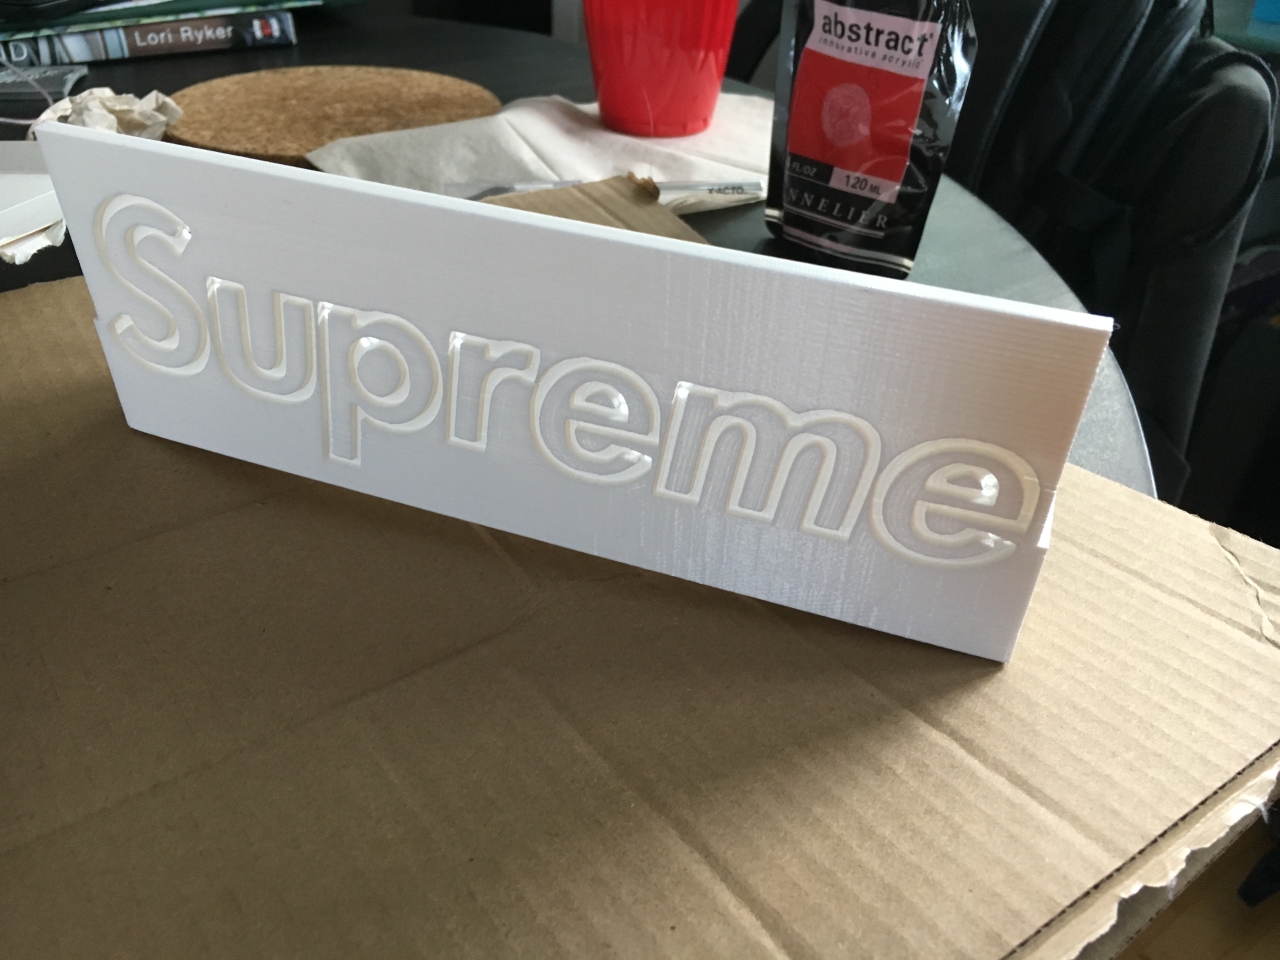
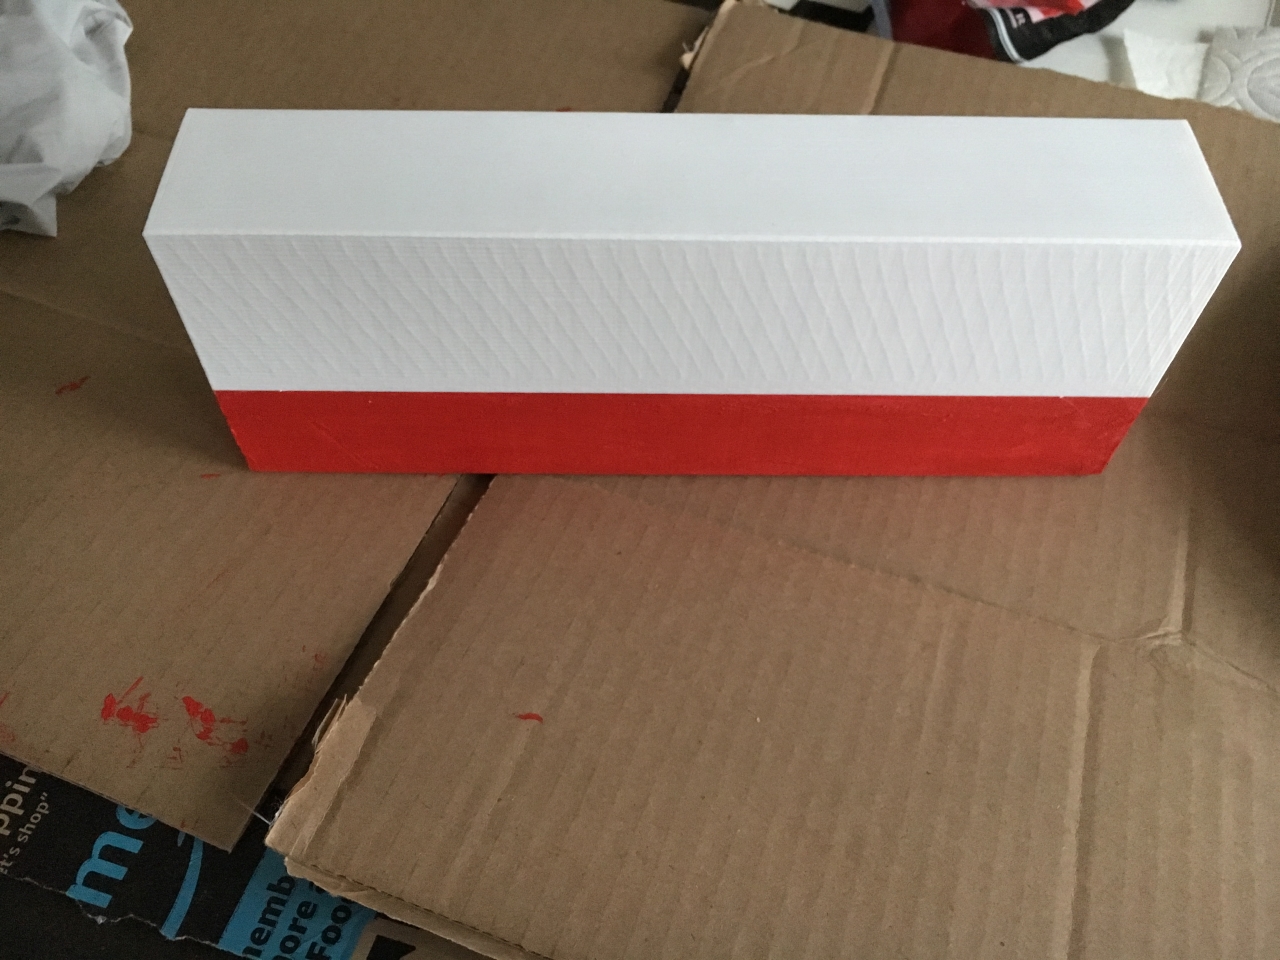
Off the printer, ready for painting...
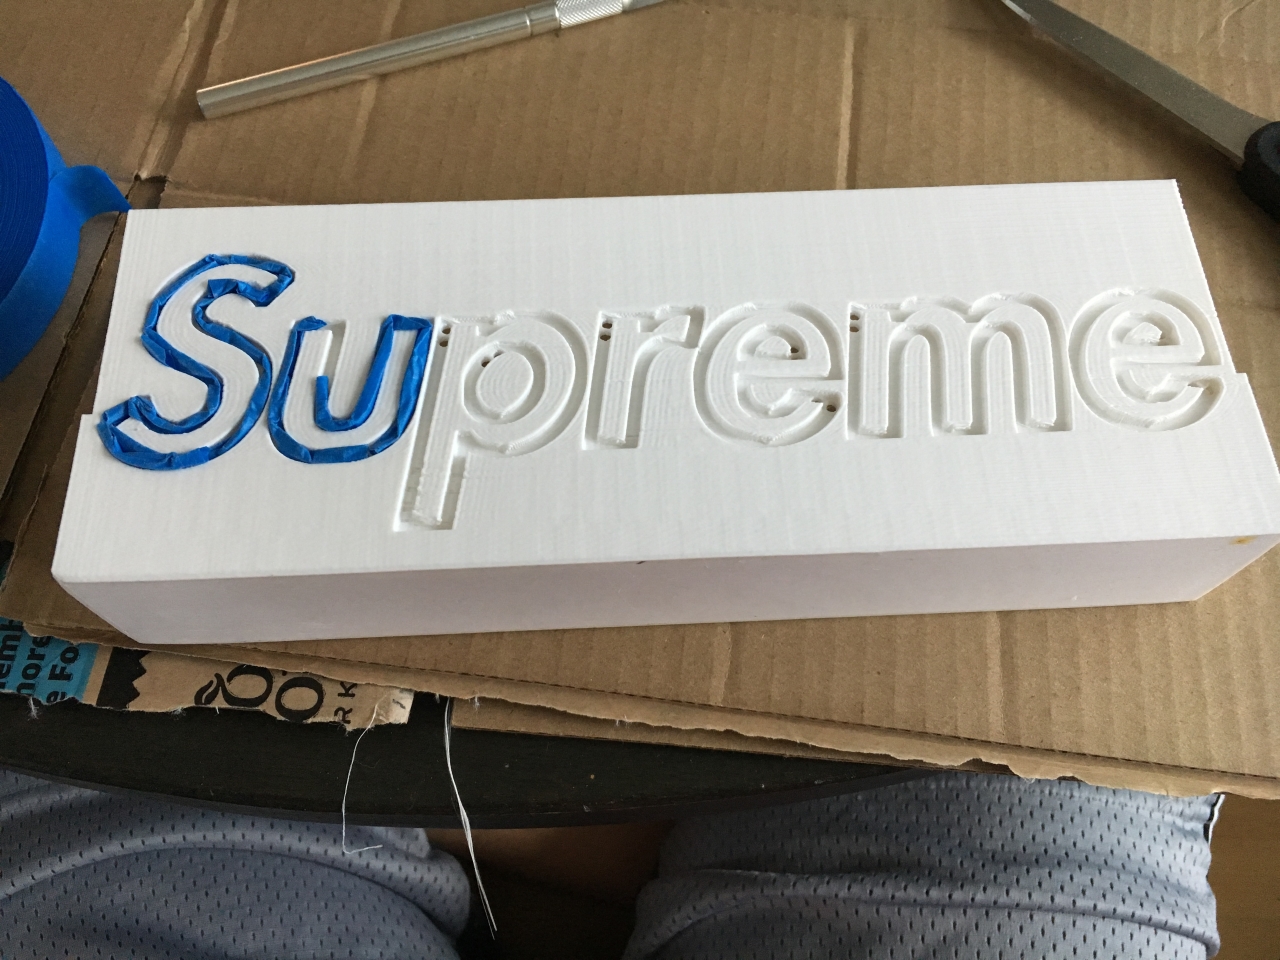
Just kidding. I had to add a lot of masking to stop the paint from entering the channels and cross over into the lettering.
The masking took longer than I anticipated... If I were to redo this project, I would make this assembly into 3 pieces and just print the box in red PLA instead of trying to paint >.<
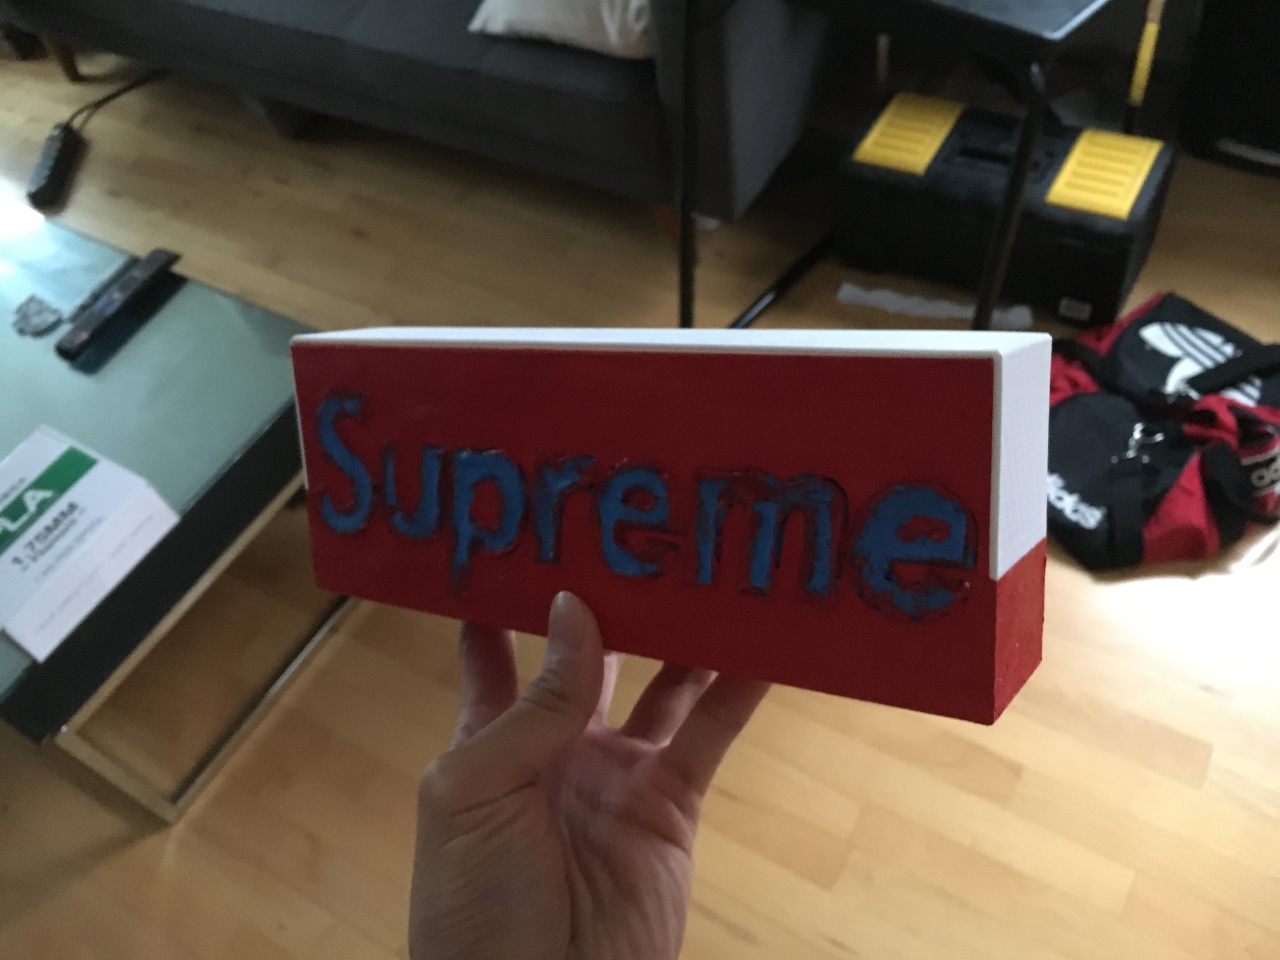
While I waited for the paint to dry, I printed the lid. Unfortunately it looks like I've got some printing artifacts that I need to address. Luckily, the paint ended up covering up most of this ugliness.
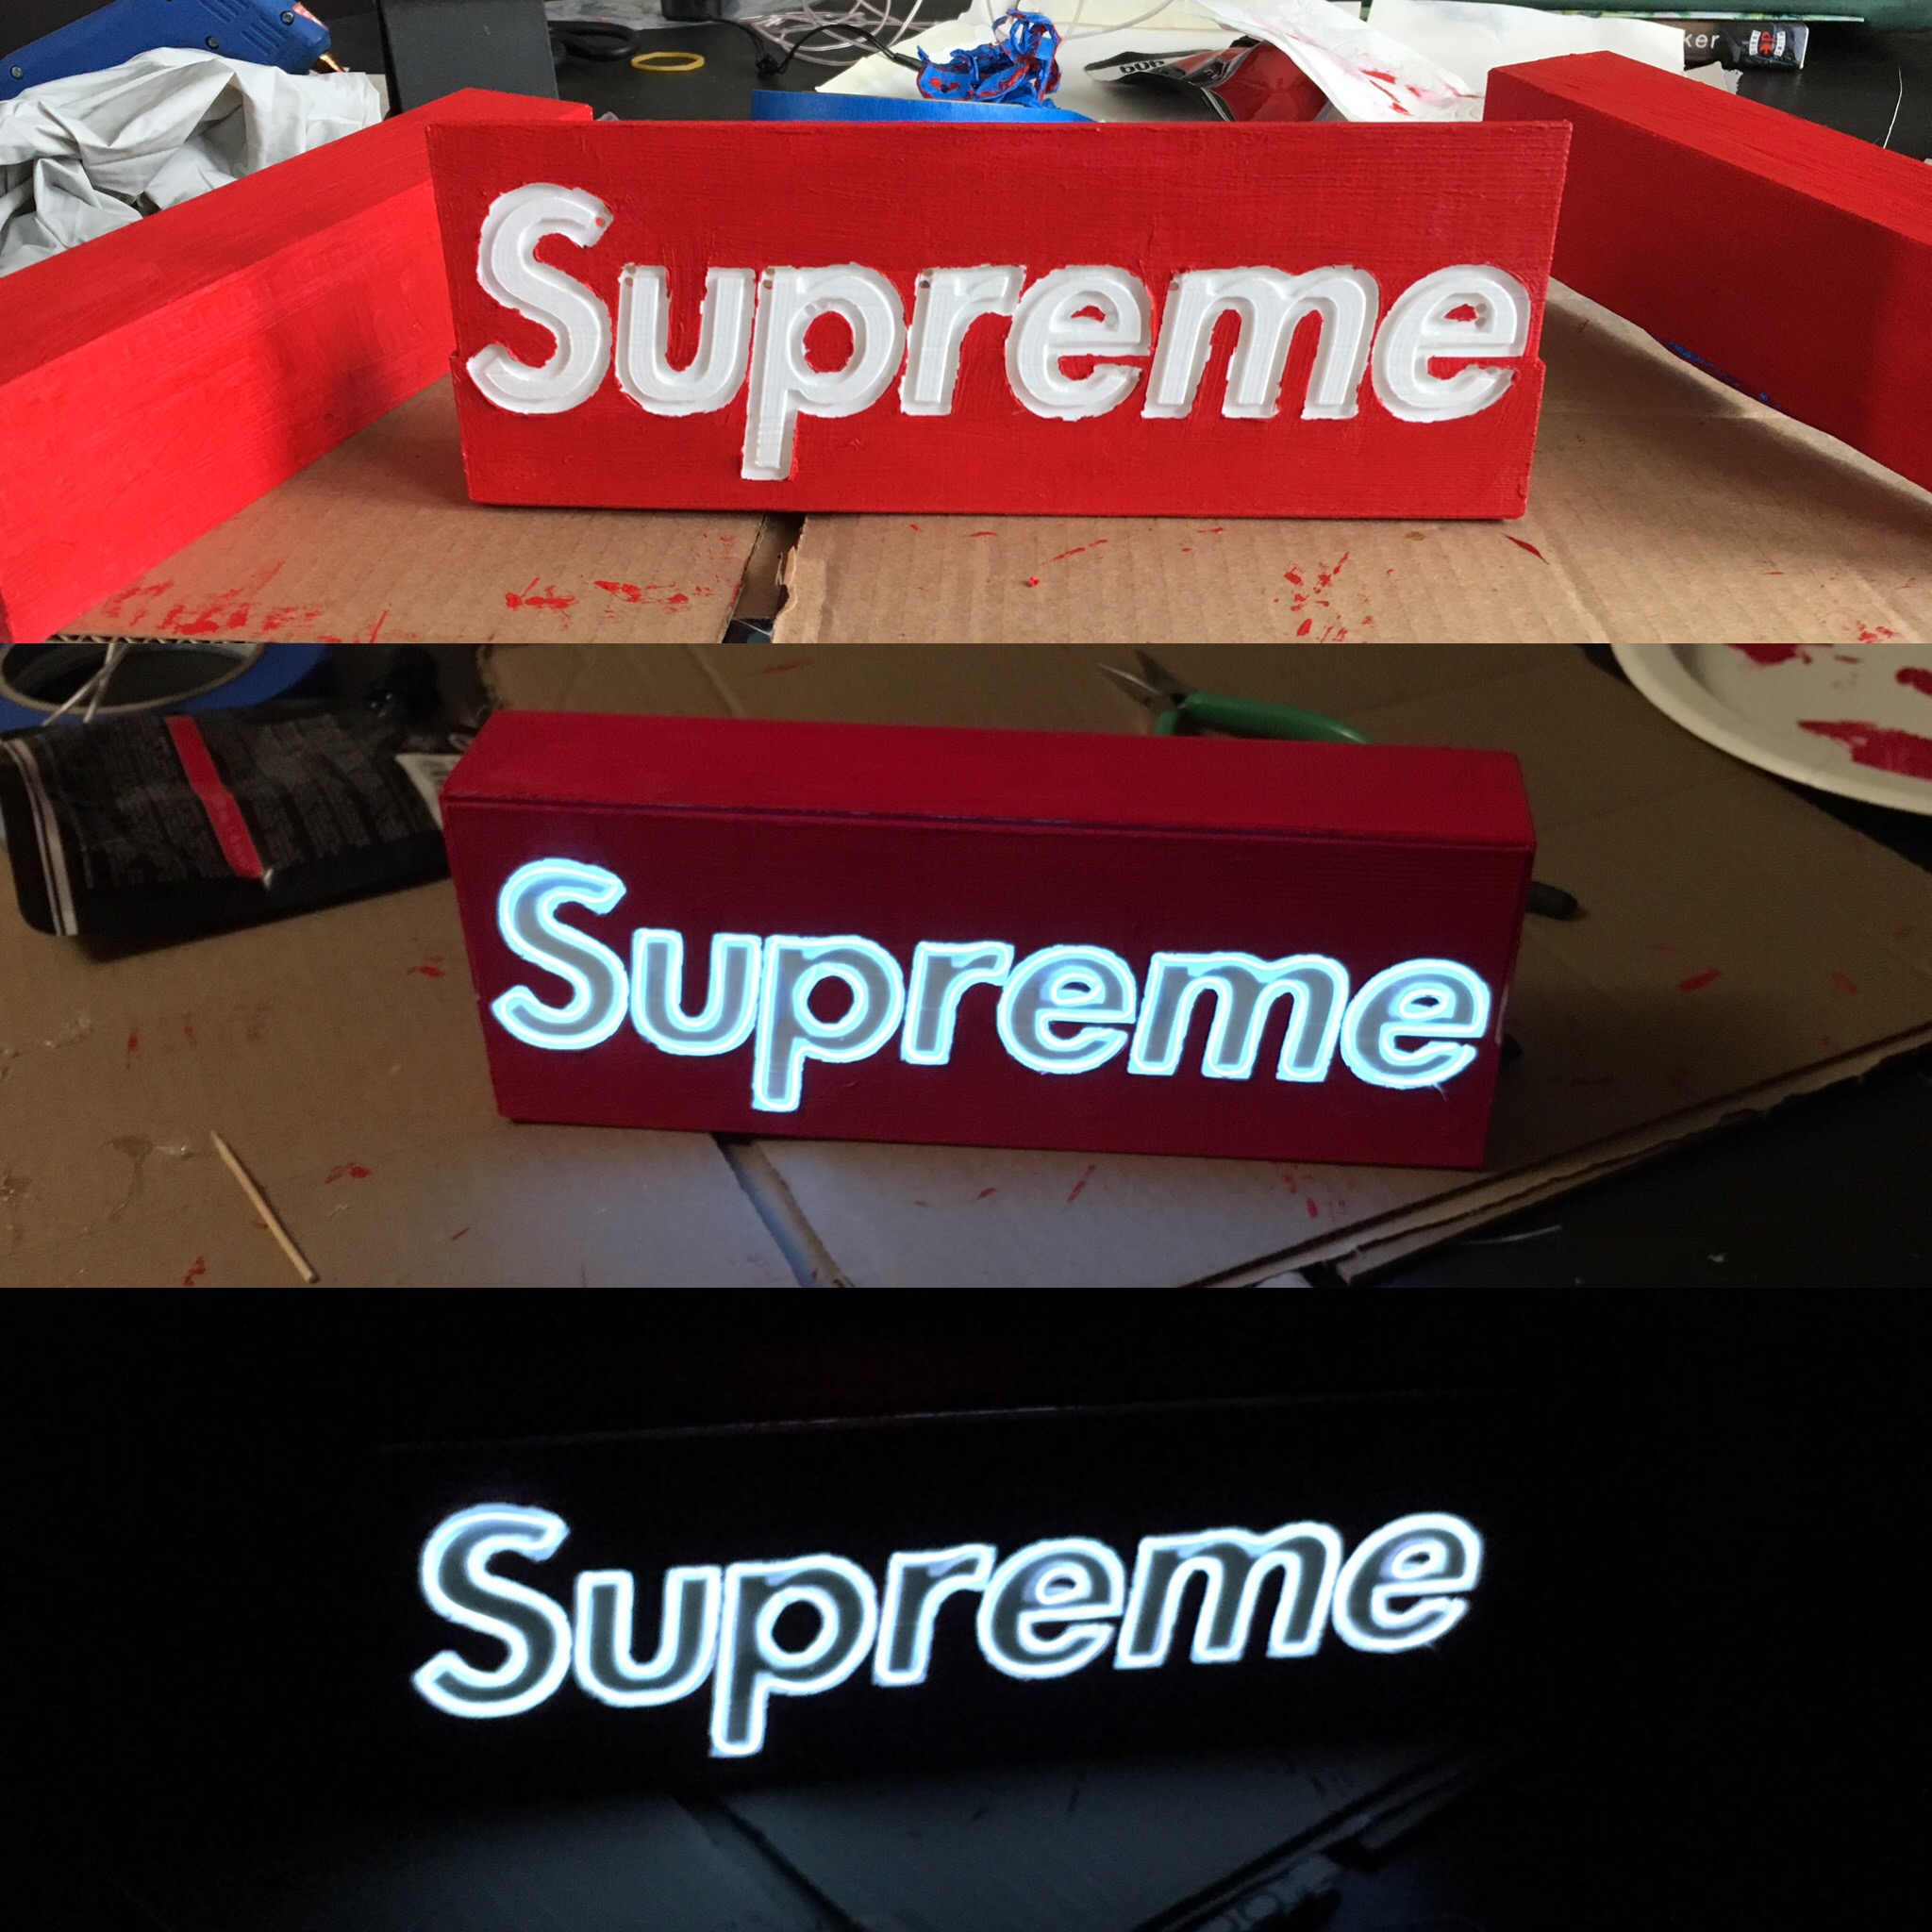
Here's the fit check of the lid from the front
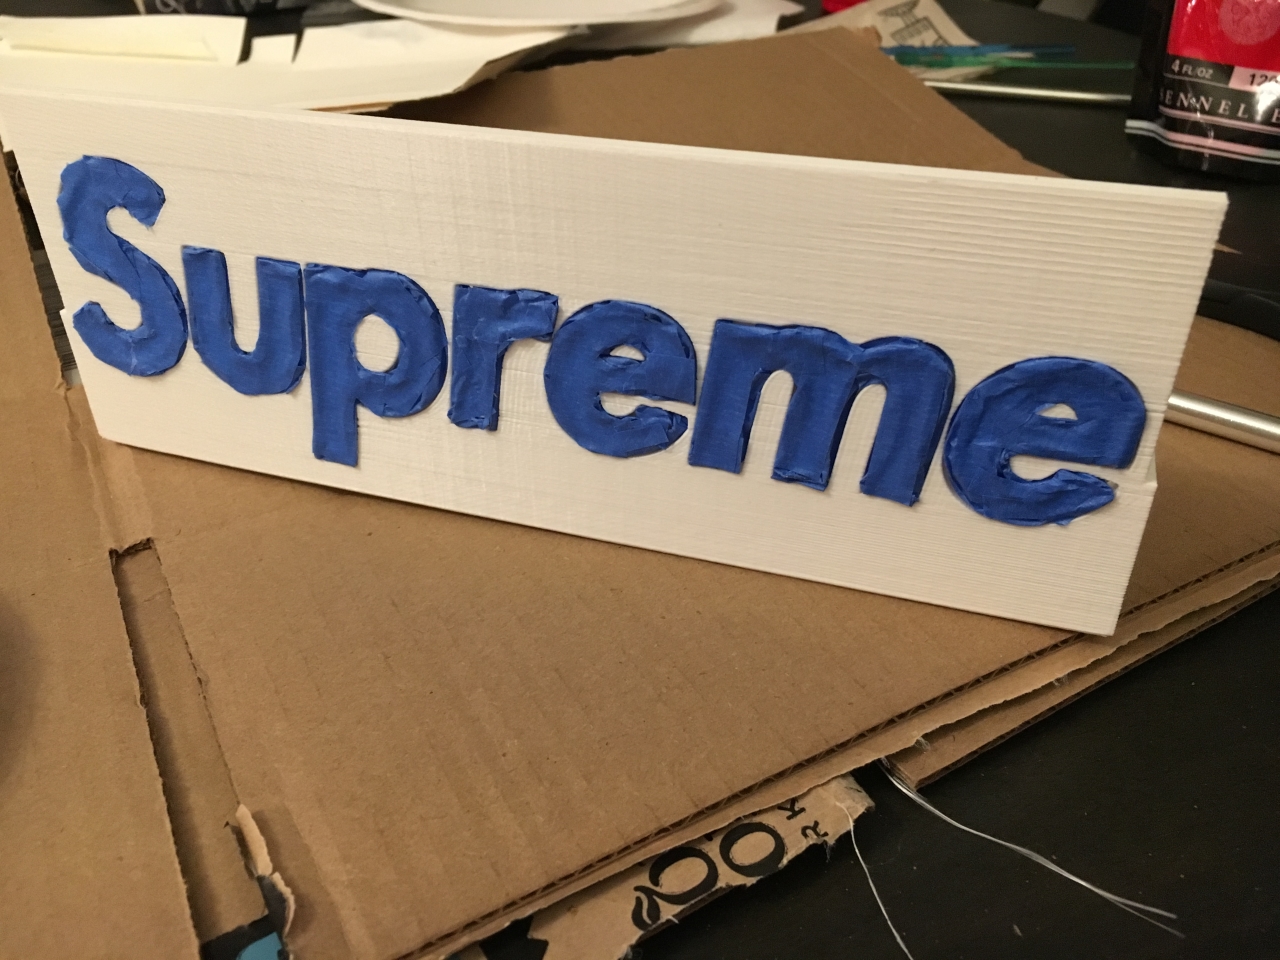
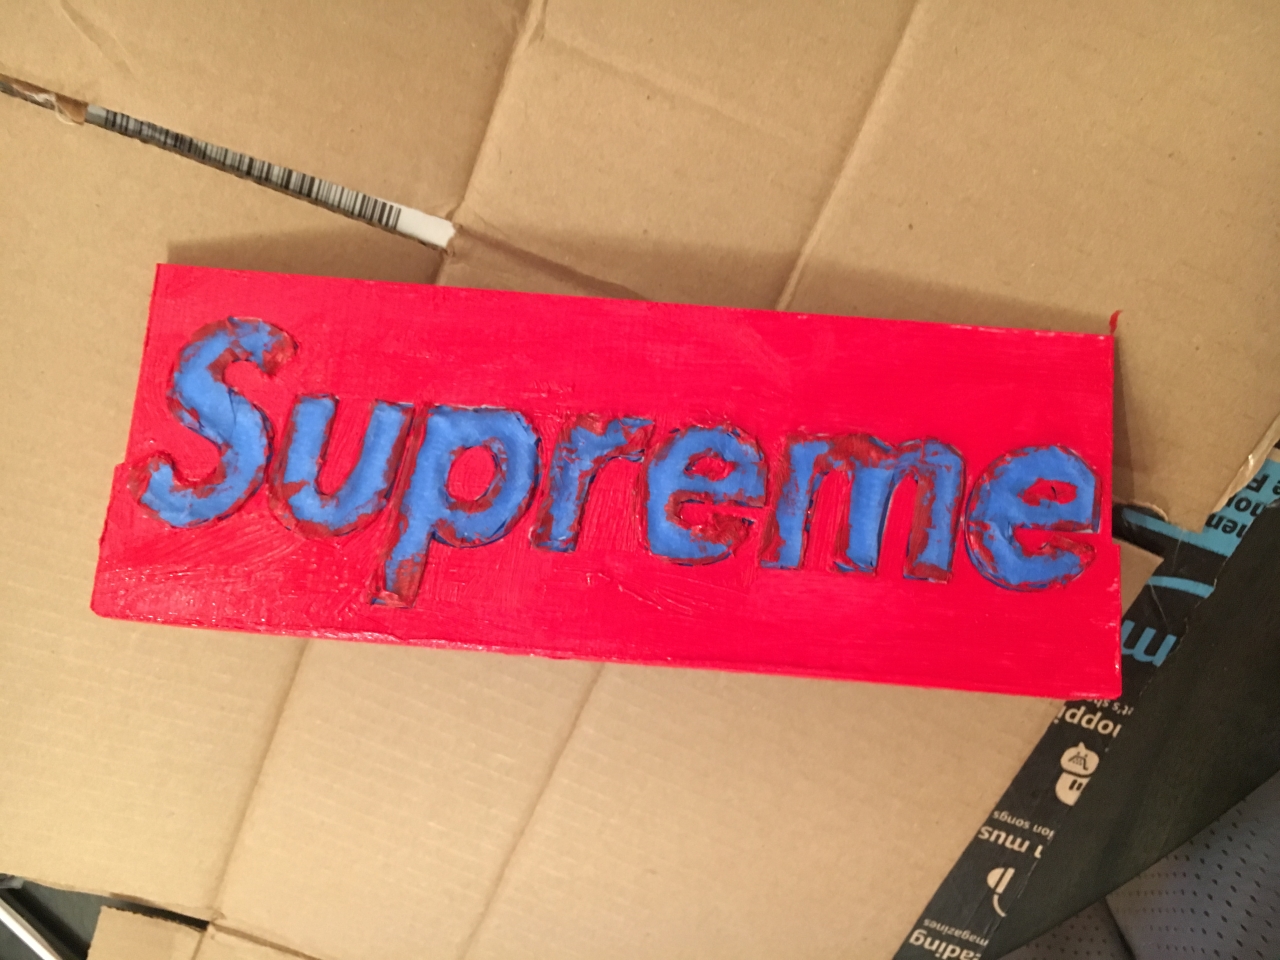
I peeled the blue tape mask off and started adding the EL wire. Not pictured is the steps where I went back in with a toothpick before this step to add/remove tiny specs of red paint where the masking was imperfect.
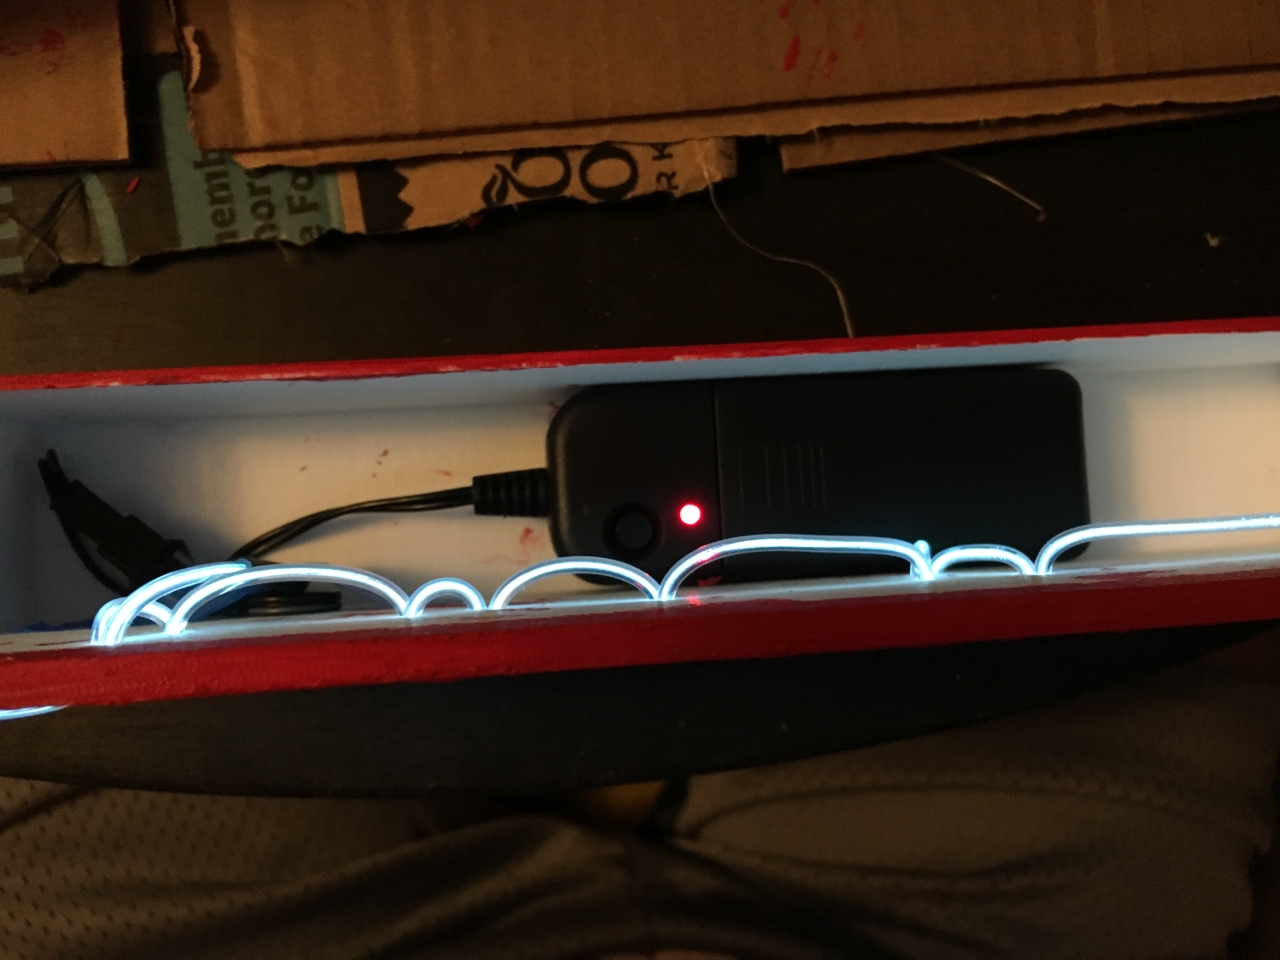
Here's a look inside the box after stringing--the control box fit inside perfectly... almost as if it was designed that way 😉
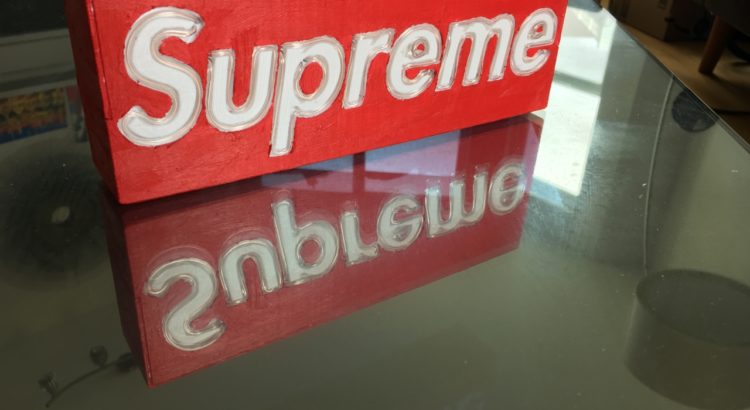
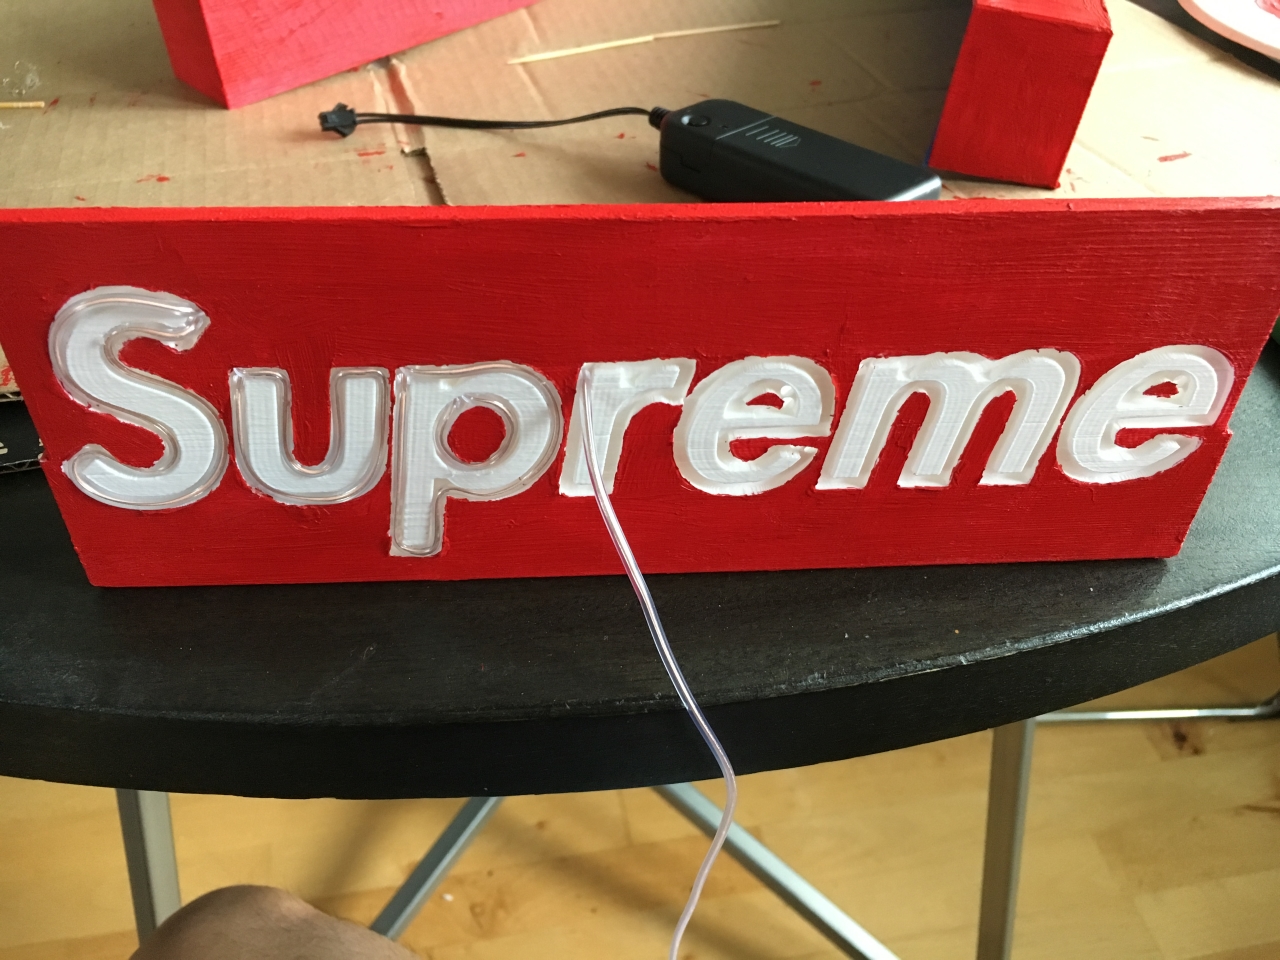
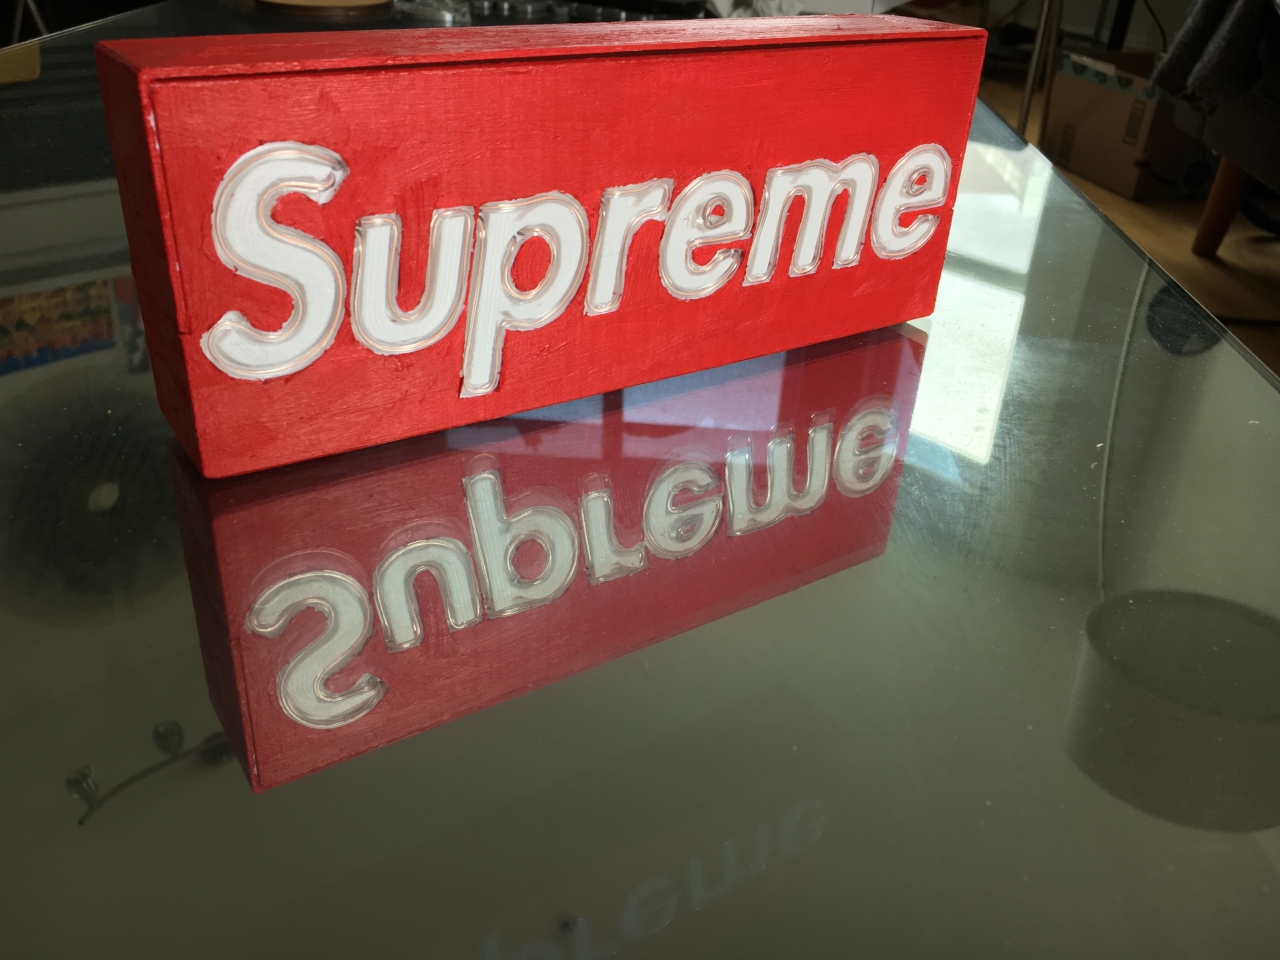
Here's a glamour shot... I ended up adding a bit of hot glue to help hold the central portions of the e's down.
The payoff was really worth it for this project. I really love how this box turned out... I think it looks even better in the dark!